The-Art-of-Anamorphic-Lenses-in-The-Witc
https://www.youtube.com/watch?v=e5suKk-Ofyw
Hello everyone! Welcome to my session today. I'm very excited to be here. I'm sure you could tell.
It's my first time in Unreal Fest, so I'm very happy to be presenting the Art of Anamorphic Lenses in the Witcher 4 cinematic reveal trailer. Let me start by properly introducing myself. Hello, my name is Sarah. I'm a Portuguese software engineer and a very proud dog mama.

This is my little baby, Alpha. And my career started in the game industry, where I was developing prototypes and porting games for different consoles.
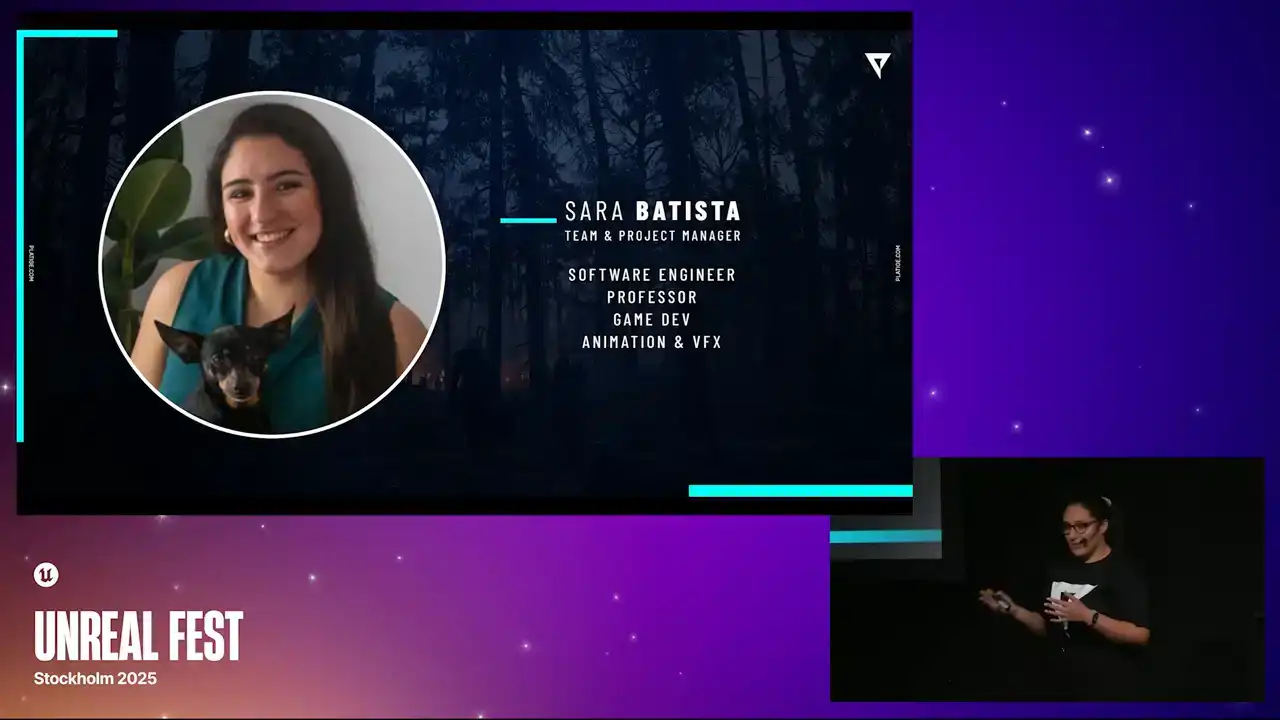
and I also worked as a professor in the meantime where I was teaching tech courses, including an Unreal Engine 5 course.
And a couple of years ago, I switched to the animation and VFX industry, so I joined Platige as an R&D developer. So I was mostly researching the new Unreal features, trying to support our projects and our artists. And lately, or recently, I stepped into the role of team and project manager,
so I keep supporting our teams, like our R&D and pipeline teams, but in a different angle. And that's a little bit about me and my precious little baby.
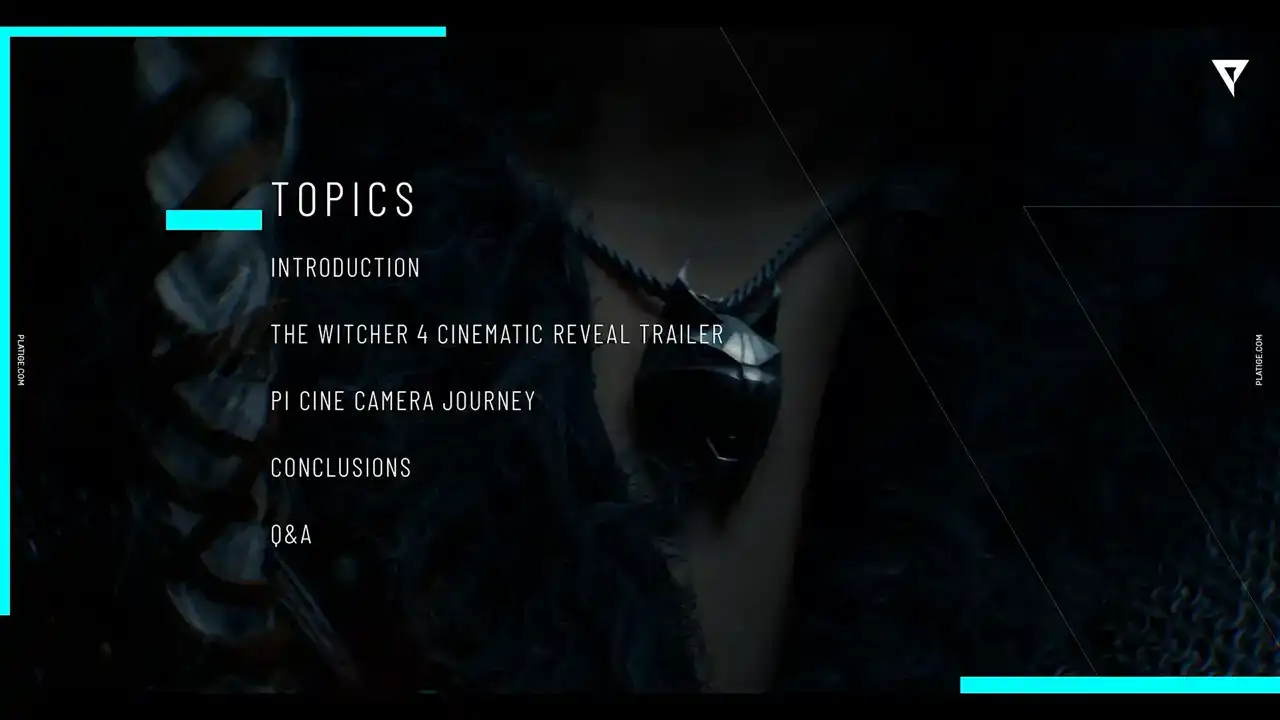
So these are the topics that I'll be covering in today's session. I will continue with introductions as I show you the work we do in platige. And then we'll dive into the project. And I'll share with you the main highlights and the main challenges we faced.
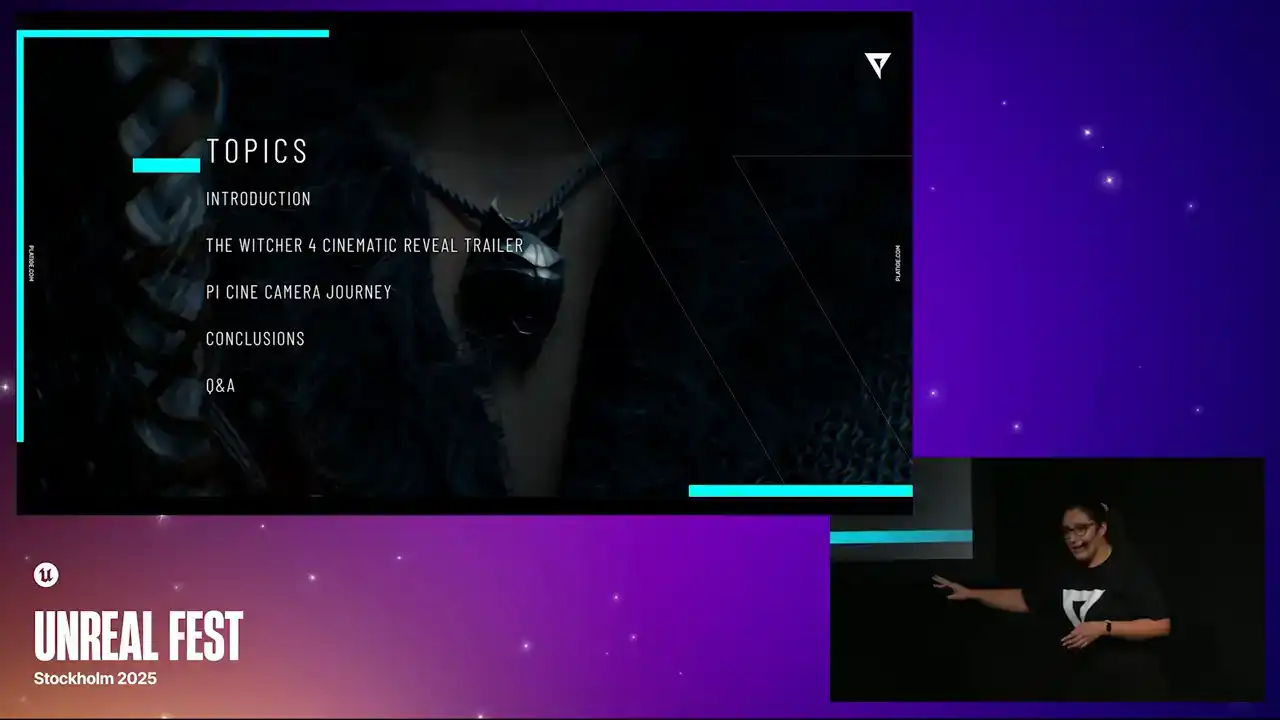
And that will lead on to the journey we took to implement our camera, our custom camera. We call it the PI Cine Camera, PI for platige image. And in the end, we'll wrap up with a few conclusions. and I'll try to save some time for Q&A. So if you have any questions, I'll try to do my best to answer them in the end. So let's continue with our introductions and talk a little bit about Tij.
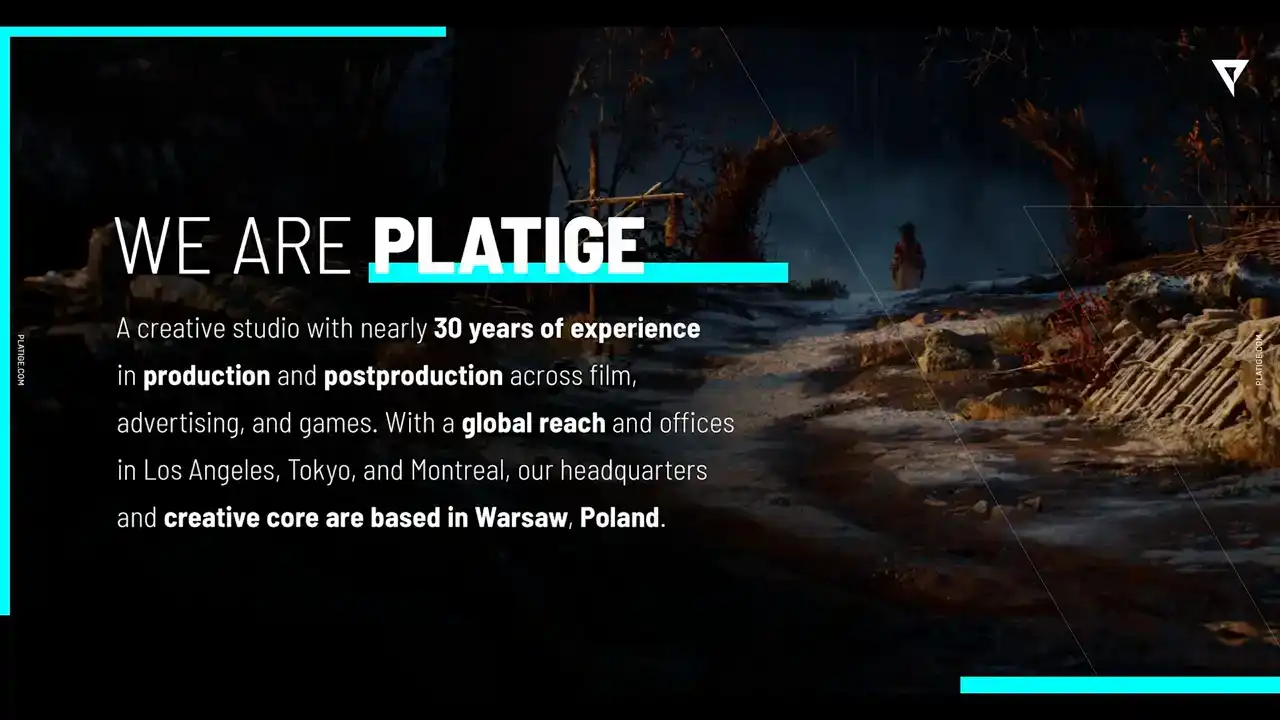
So we are a creative studio, nearly 30 years of experience in production and post-production projects across film, advertising, and games. We have a global reach with offices all around the world, including Los Angeles, Tokyo, Montreal,
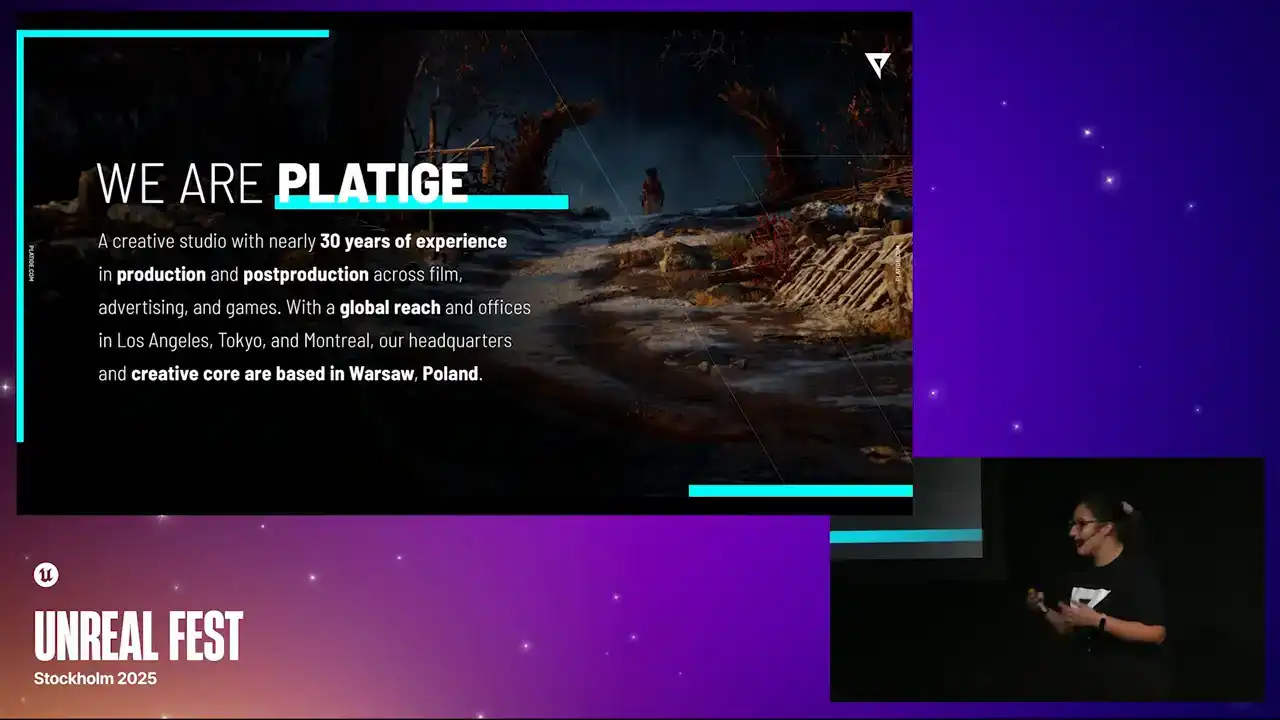
and our heart and soul are in Warsaw, Poland. But we all know that images tell more than words. So let's take a look at our showreel.
Look what we can do. Ciao.
I love this ciao. In the end, it gives a good flair. So since 2023, we became authorized service partners with Epic. And this is a very proud achievement for us because it really highlights our expertise and experience with Unreal Engine.
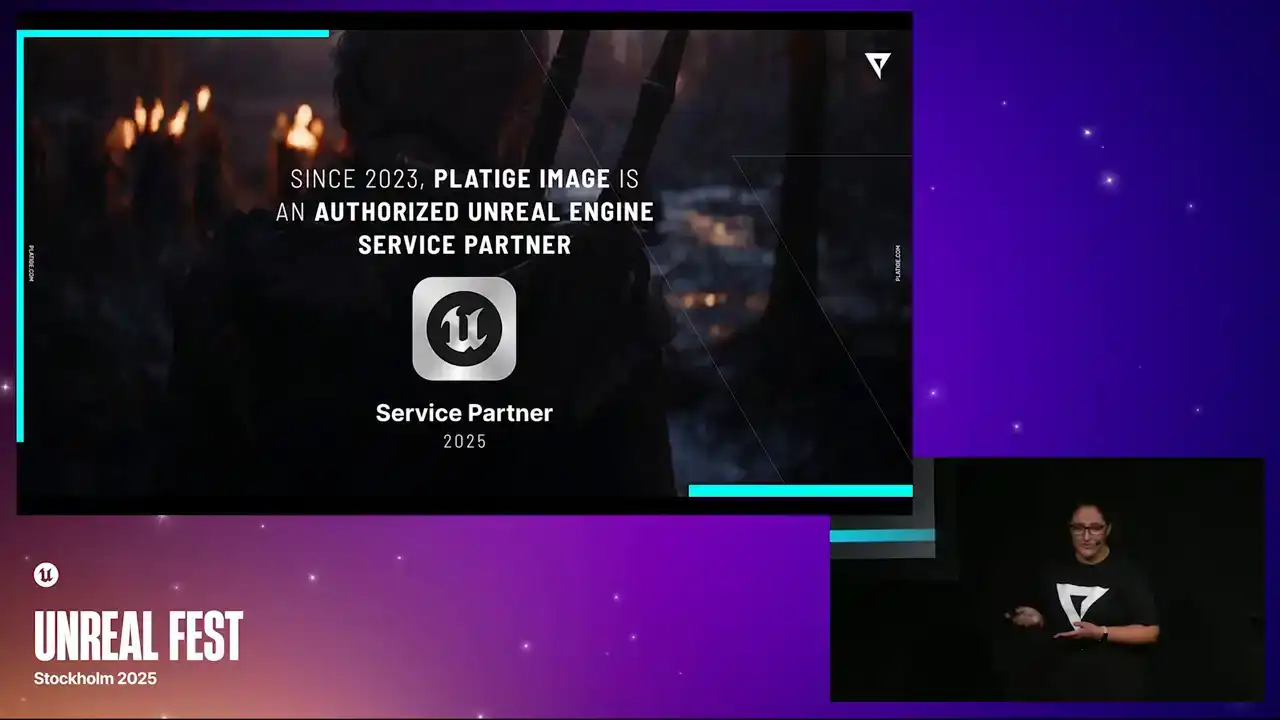
So we are very proud of achieving this title. So let's move our attention to The Witcher Project.
And Steve, a little context. CD Projekt entrusted us with the tremendous task of creating the cinematic reveal trailer
for the upcoming Witcher 4 game.
And the goals were very ambitious, so that really led us to push beyond what was available at the time and really work with new technology.

And truly it wouldn be possible to achieve this high quality without the work and expertise of amazing teams So allow me to just do a quick shout out to all the people that were involved in this project including our dear R departments for the incredible work And very special thanks to Kuban Makitsky. He's a true Jedi master behind this camera implementation. So huge thanks to everyone. But again, let's take a look at a little snippet from the trailer before I dive into more details.
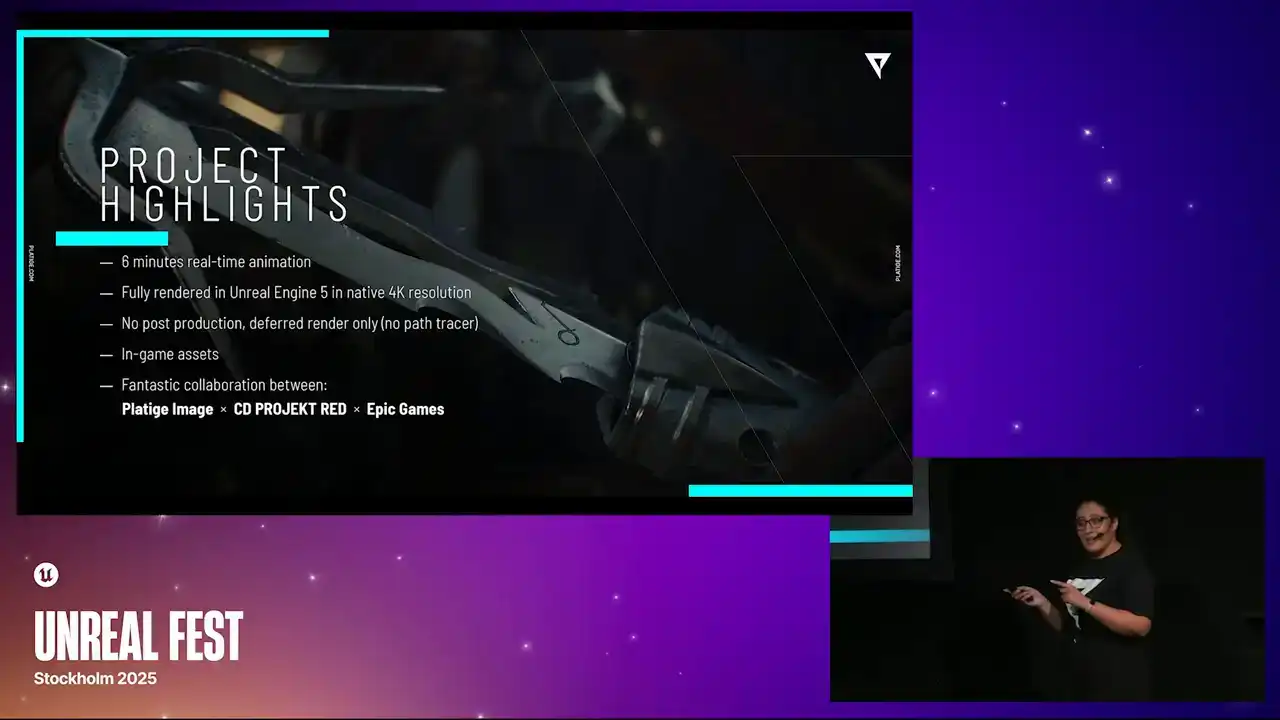
even dizer I'm oh So moving on to the main highlights of this project. This was a six-minute long animation done in Unreal Engine. It was fully rendered in the Engine in native 4K resolution. There was no post-production after, no comp, no effects added. We just used the third render, and this is what we obtained.
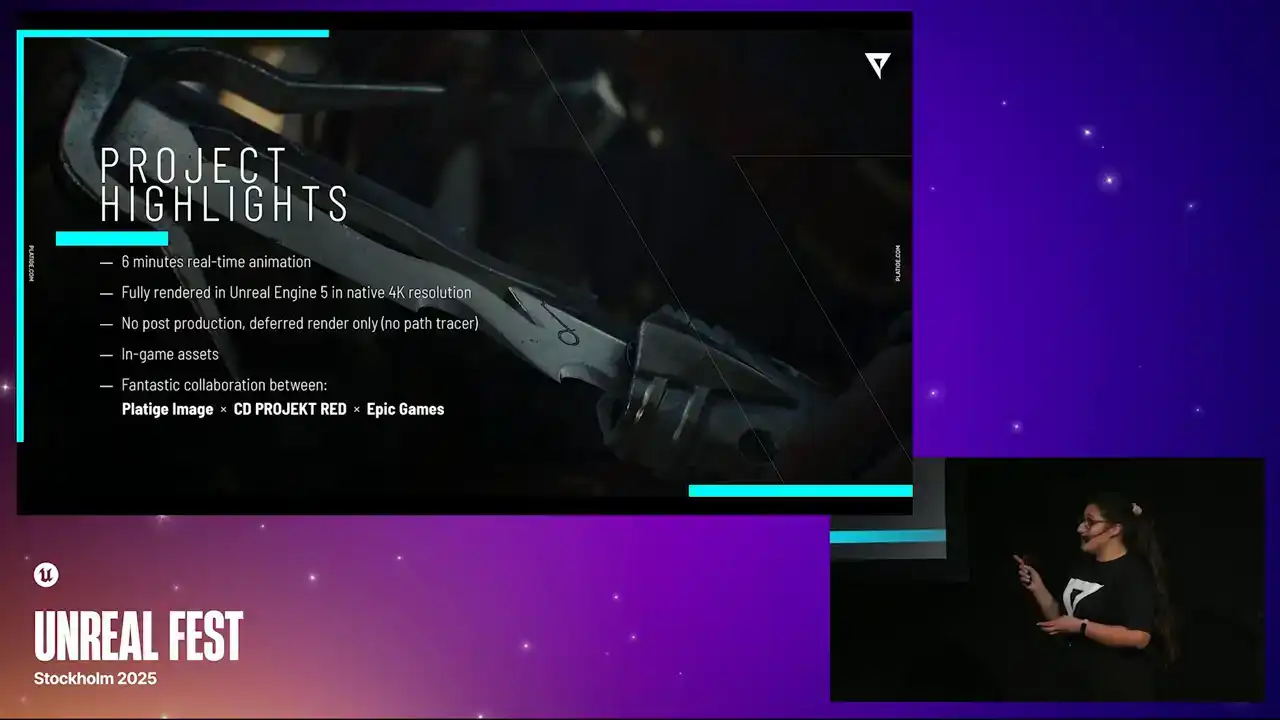
We did use in-game assets. Of course, we enhanced them to look a bit more cinematic, but there were in-game assets, and it made it much easier to just migrate everything from the actual game to our production. And it might be a cliche, but one of the main highlights
was definitely this fantastic collaboration that happened between Platige, CD Projekt, and Epic Games. I will elaborate on it a bit further in the presentation, especially in the conclusions. But trust me when I tell you that this is a crazy, crazy collaboration, and it really made it possible,
especially because we had a bunch of challenges.

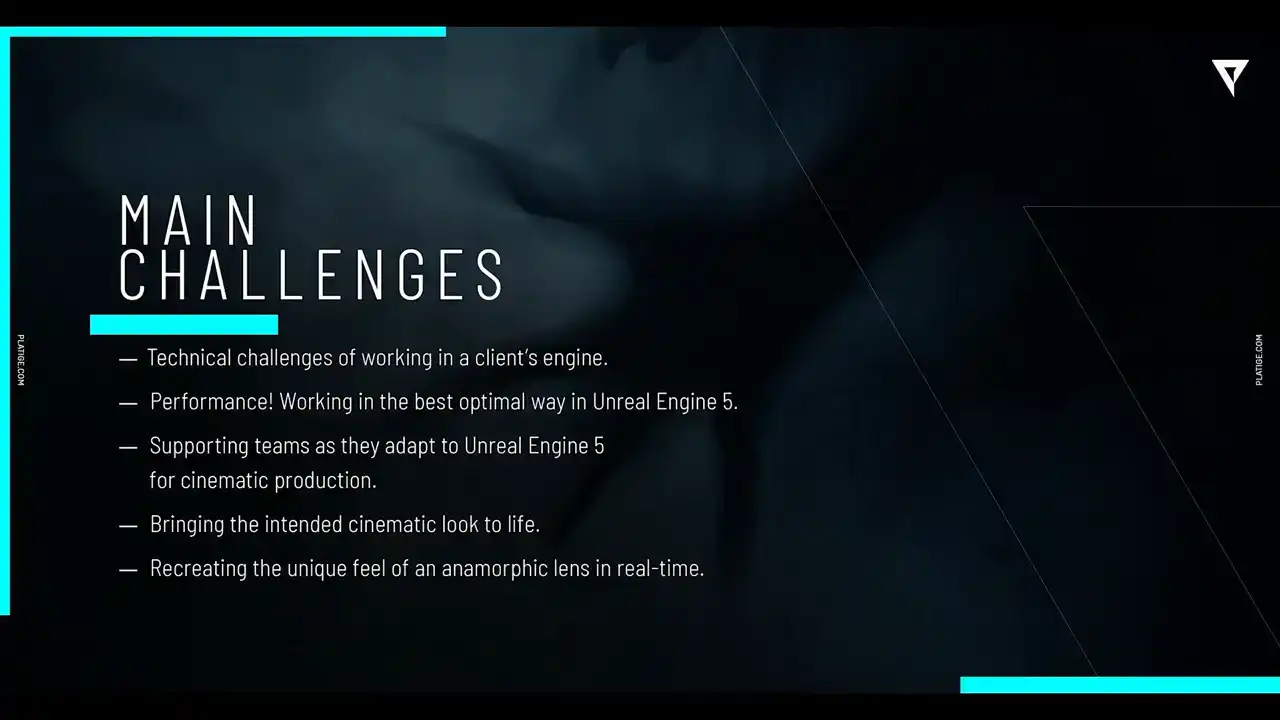
And the first one is that from the beginning, we knew that we had to work in the client's engine. And to make it possible, we had to make sure that all our tools and automations and processes were compiling and working in their custom engine. And to do that, there was a lot of back and forth between us and CD Projekt engineers. And in the end, we had to spend some time during the initial setup to make sure everything was working properly before we even started the project. The second thing was performance. We had to make sure that we were working in the most optimal way in Unreal.

And we truly needed our artists to be able to even open the scenes without any issues. So that really moves into the third point, which is this daily support we had to provide to our artists as they were taking their steps into using Unreal for cinematic production. And these last two topics actually will guide our presentation further because one thing we knew from the beginning is that we needed to bring to life this specific chosen cinematic look. And to do that, we needed to recreate this unique feel of the anamorphic lenses, but in real time. This is one of the main requirements. whatever solution we came up with, it had to work in real time.
So alone, this was already a huge challenge.
So the question that followed was where do we start We knew that we had a deadline we had a feature to develop a bunch of dreams But how do we actually start What our starting point
And we start with references.
So from the beginning, CD Projekt knew exactly what they wanted to achieve. They knew how much of the anamorphic lenses, features they wanted to incorporate. They knew the scope of the effects that we needed to develop.

And even provided us a bunch of tests, trials, and even a lot of visual references. and working together with the art director Lucien Vioncek and cinematographer Karol Stutnik, it made all of this possible.
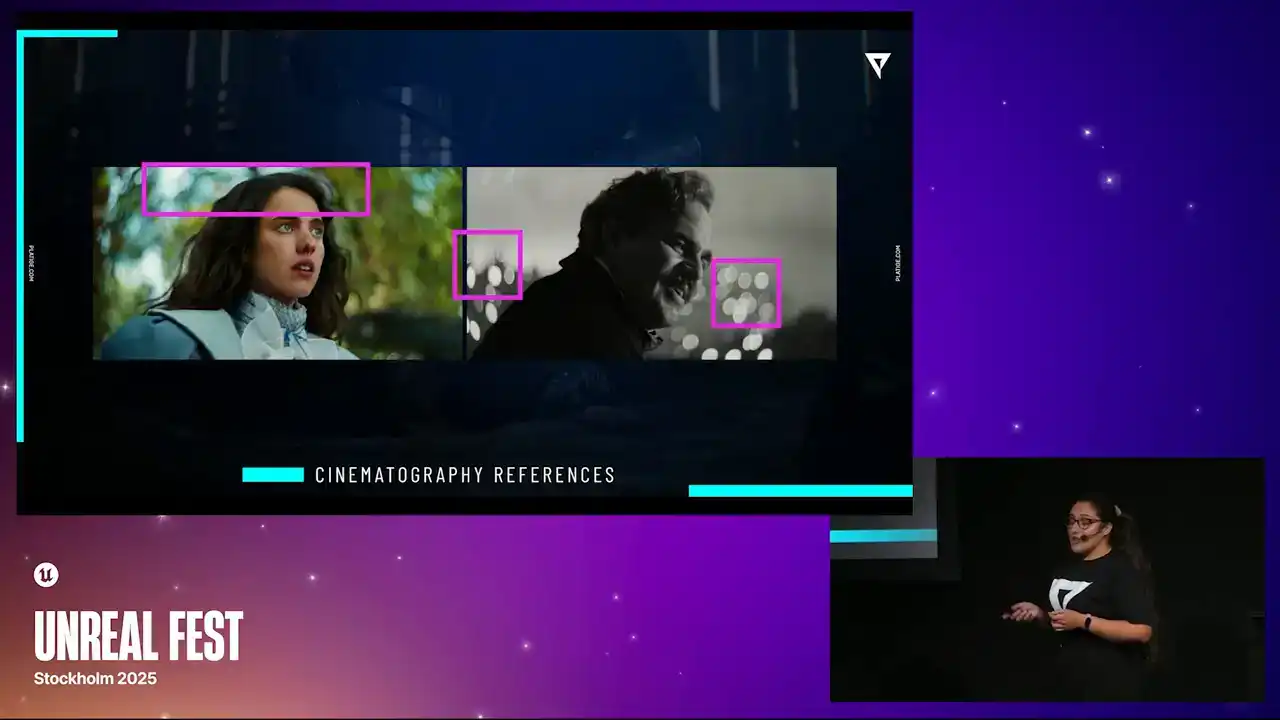
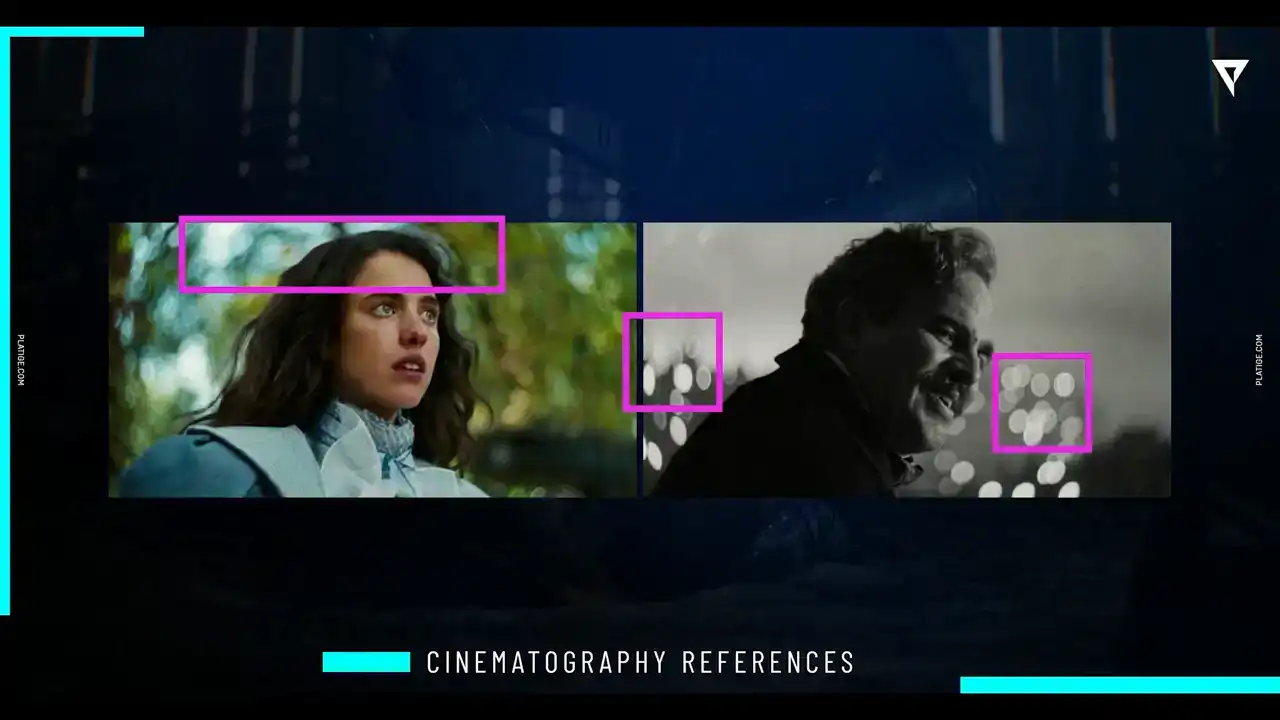
So a huge thank you to these guys because as we were starting to take a look at these initial references, we could start paying attention to things like
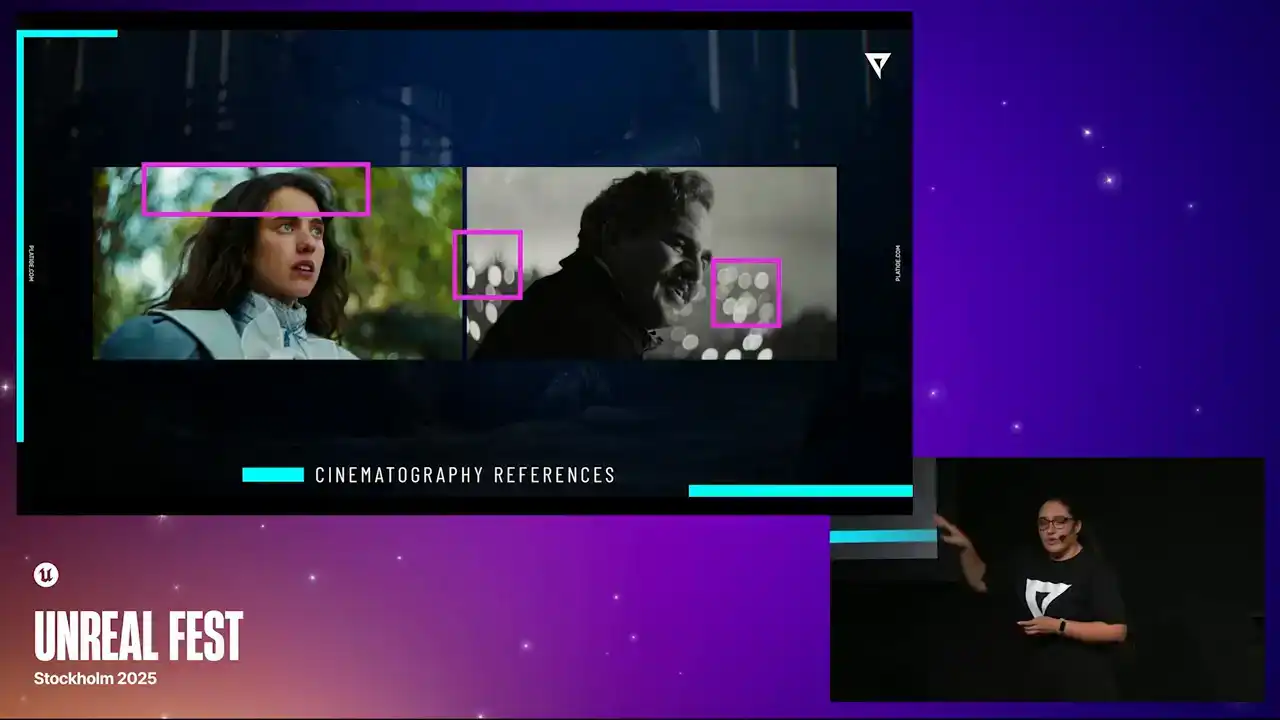
how the bokeh shapes are looking, what is giving this swirl effect in the background, how the rims are appearing, how much it is enhanced. So we were starting to understand a bit better
what was the end goal. And by analyzing these, we could start writing our to-do list, things we needed to achieve.
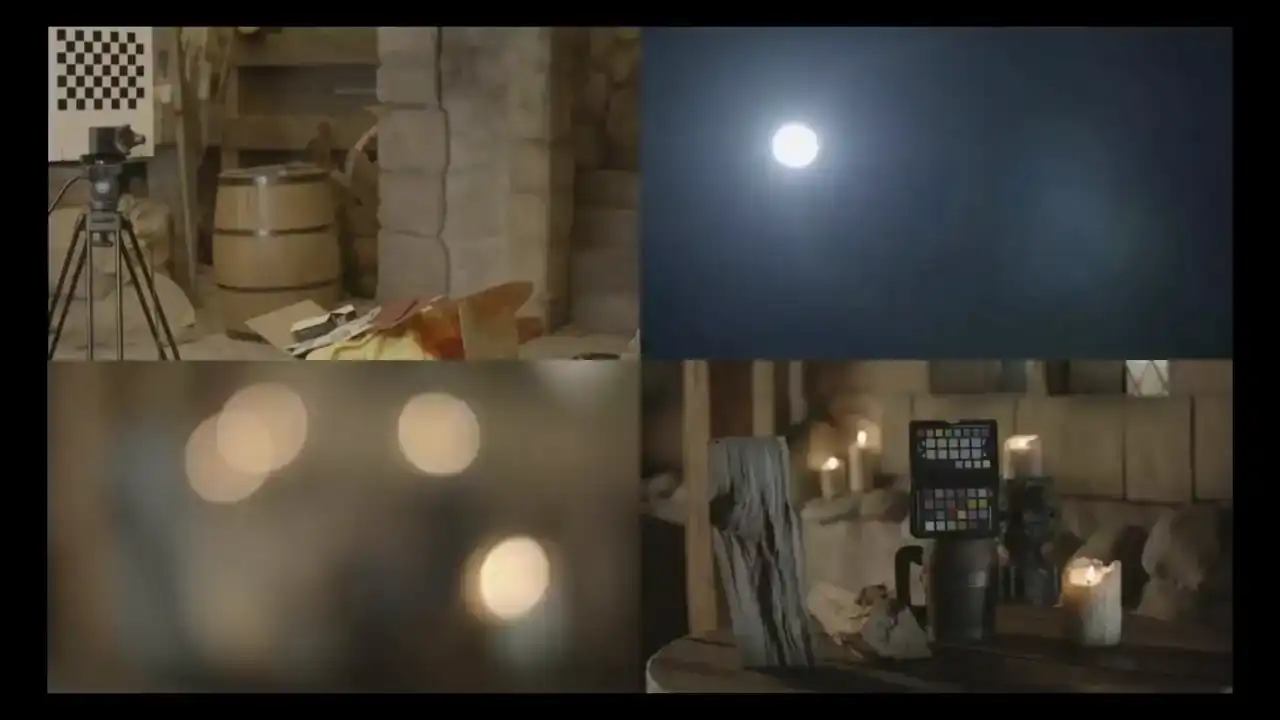
CD Projekt also prepared a bunch of footage and tests with different focus distances. They were trying out the lenses and making sure they understood how different focuses were affecting the images. And they provided all of this footage to us. And they also did a really cool thing, which was to scan their physical test environment and migrate that into a scene inside Unreal.
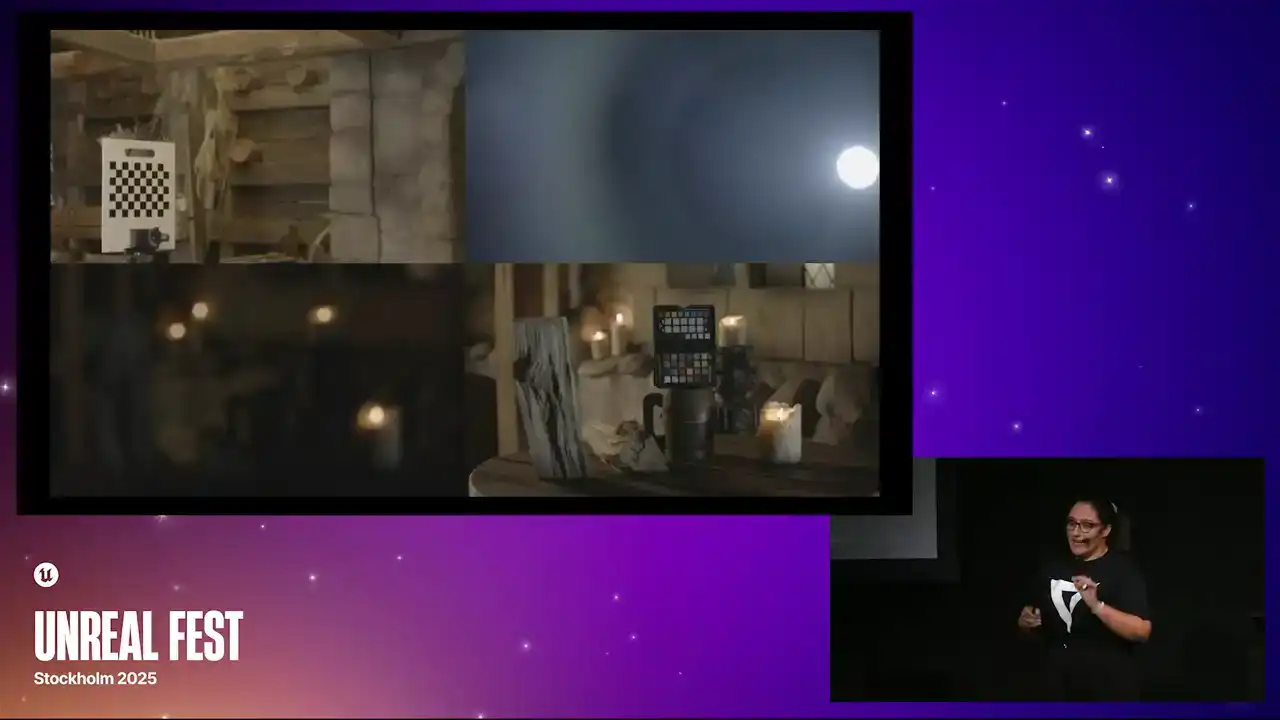
and that allowed us to test our lens in the digital format so we could also compare with the actual physical results that they were getting. So this was really cool and these references were key for us
to make sure that we were on a good track.

So now that we knew a bit better what we wanted to achieve, we now needed to understand how do we actually implement this in Unreal. And to do that, we needed to understand what was already available.
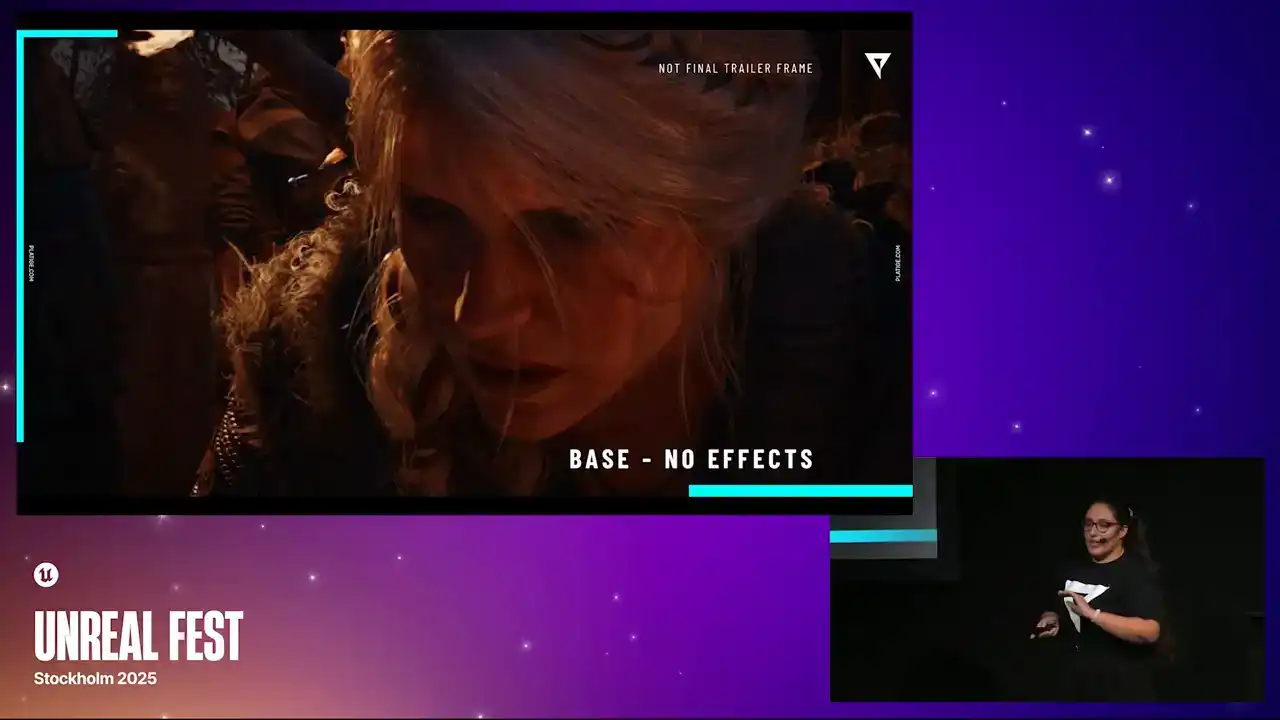
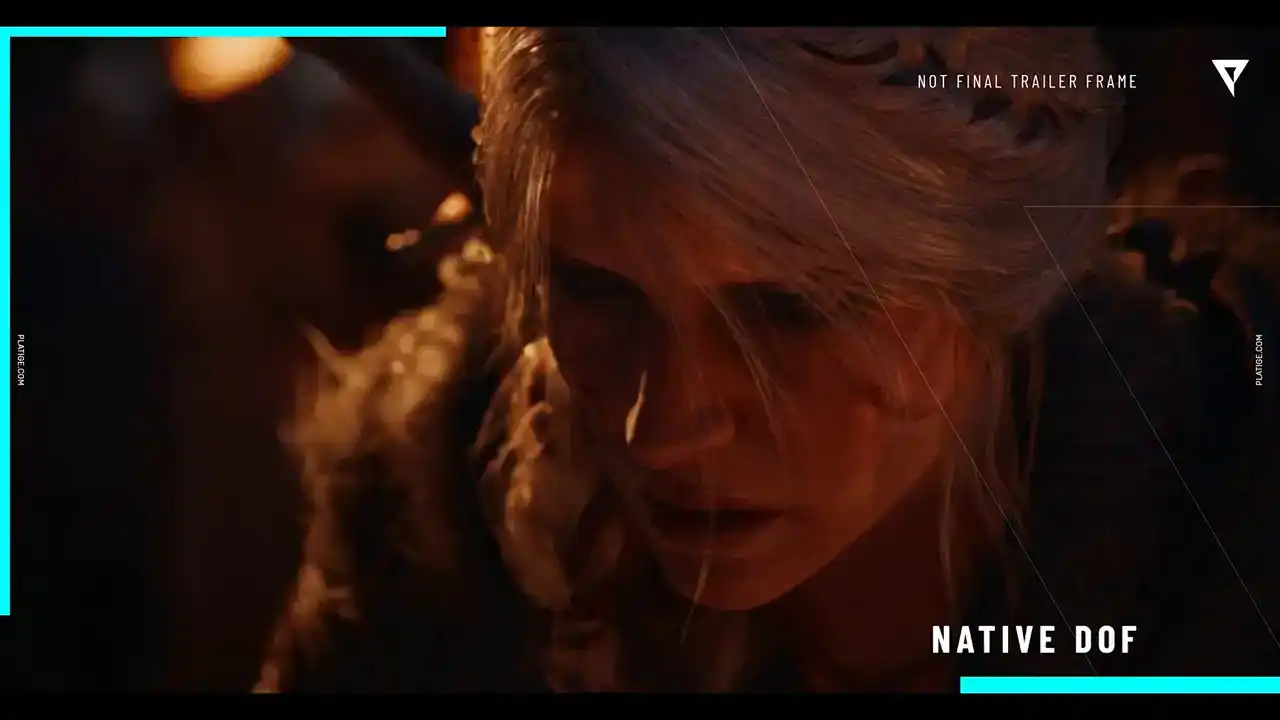
So that's what we did. Let's take this frame with Siri. This was just a simple frame we chose from the shots. We did enhance it a bit. We played with the lighting a little bit so the effects would be a bit more visible. So this is not the final image,
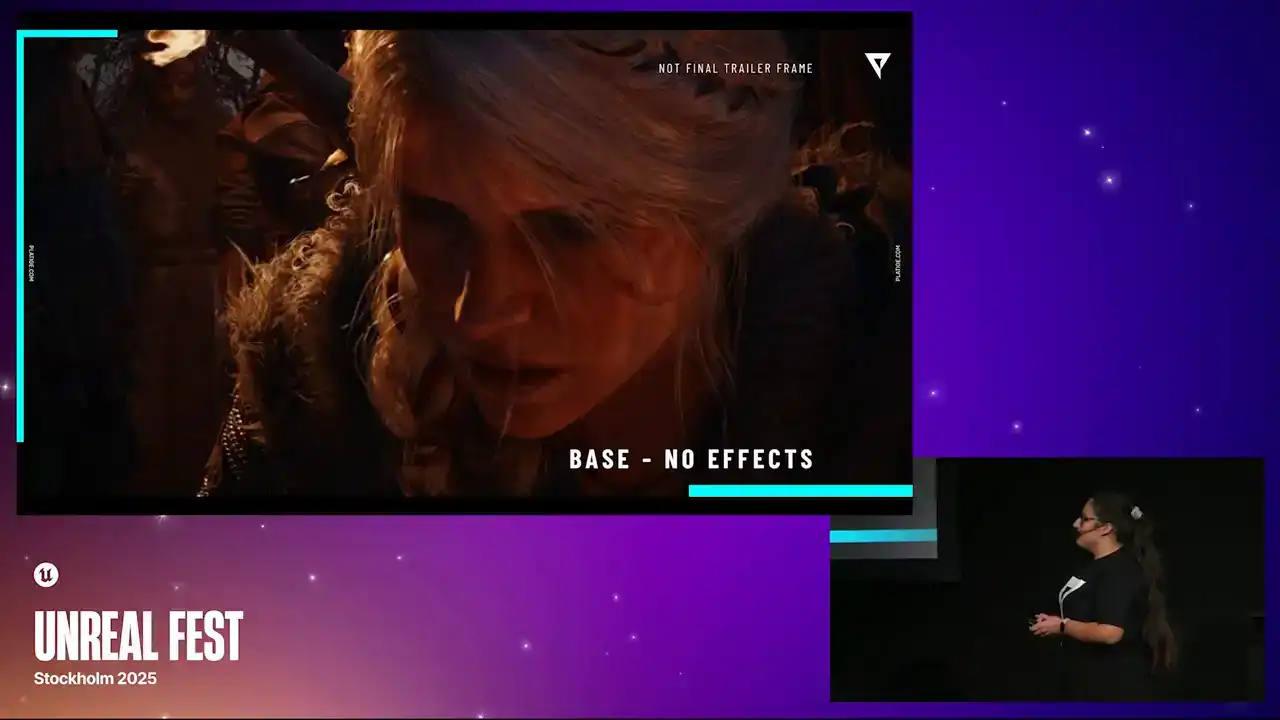
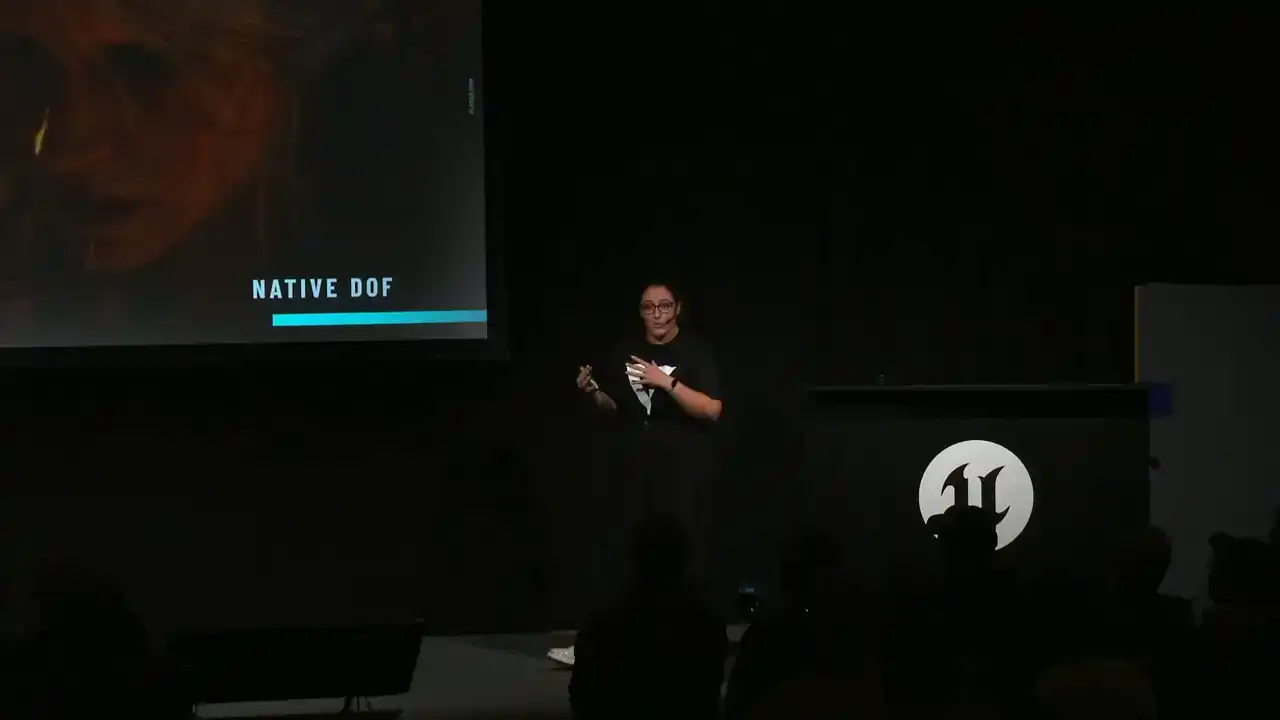
just a little information there, but it is from the trailer. So here we have no effects. We just have some actor placement. That's it. But if we enable the native Dove, we could actually start seeing the bokeh shapes forming. We could see this blur in the background. So we knew, comparing this with our references, that we needed to push beyond the native implementation. We needed to expand it.
We needed more control over all of these little details that would control the shape of the bokeh, the rotation, all of those little things to actually match our references. So now that we know what we are working with and we know what we want to achieve, we could dive into the research phase. And this took a little while to figure out. So the first thing we did was, of course, study all the references, all the visual materials we received. And we did have a previous project that had a similar look to this. So we did create this solution in Nuke that was mimicking these effects. But as I mentioned before, whatever solution we were going to come up with had to work in real time. So even though this Nuke solution was not going to work directly, we could still study it to understand the logic, understand the math and try to recreate it in the engine So that what we did We studied this solution we had and simultaneously we were learning all the concepts diving into documentation learning the math and you know just to make sense of all of these things combined So of course here I making them like different steps just for presentation purposes but these were all simultaneously. As we were exploring our solutions and diving deep into the concepts we were doing all of this simultaneously. And one thing that was very important for us to do was dissect all of these individual effects to really understand what we needed to expose as parameters, for example. We needed to know what we are aiming to have control over.
So let's do a quick exercise. Let's take our Bayes reference image with no effects and let's start adding a few things on top so you can really understand the level of detail we were aiming for.

So let's enable Dove. Again, we have our bokeh shapes already created. And if we add in some radio blur, we can now see that the focus is in series phase. So everything else has this nice blur into it.
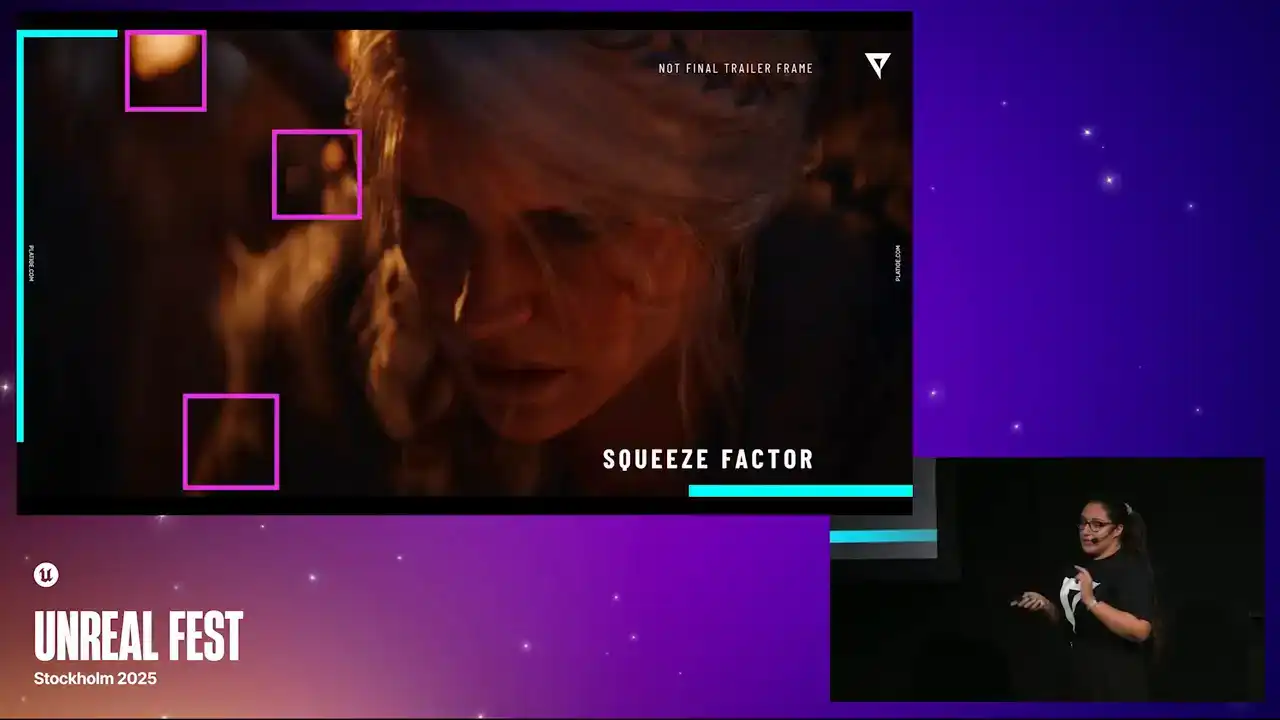
If we now play with the squeeze factor, let me switch back and forth, you can see that those bokeh shapes are now being squeezed.

So we now could control the shape of the bokeh. If we boost it, you can see that it starts to become way more visible. If you play with the rotation, we can now start to mimic this swirl effect
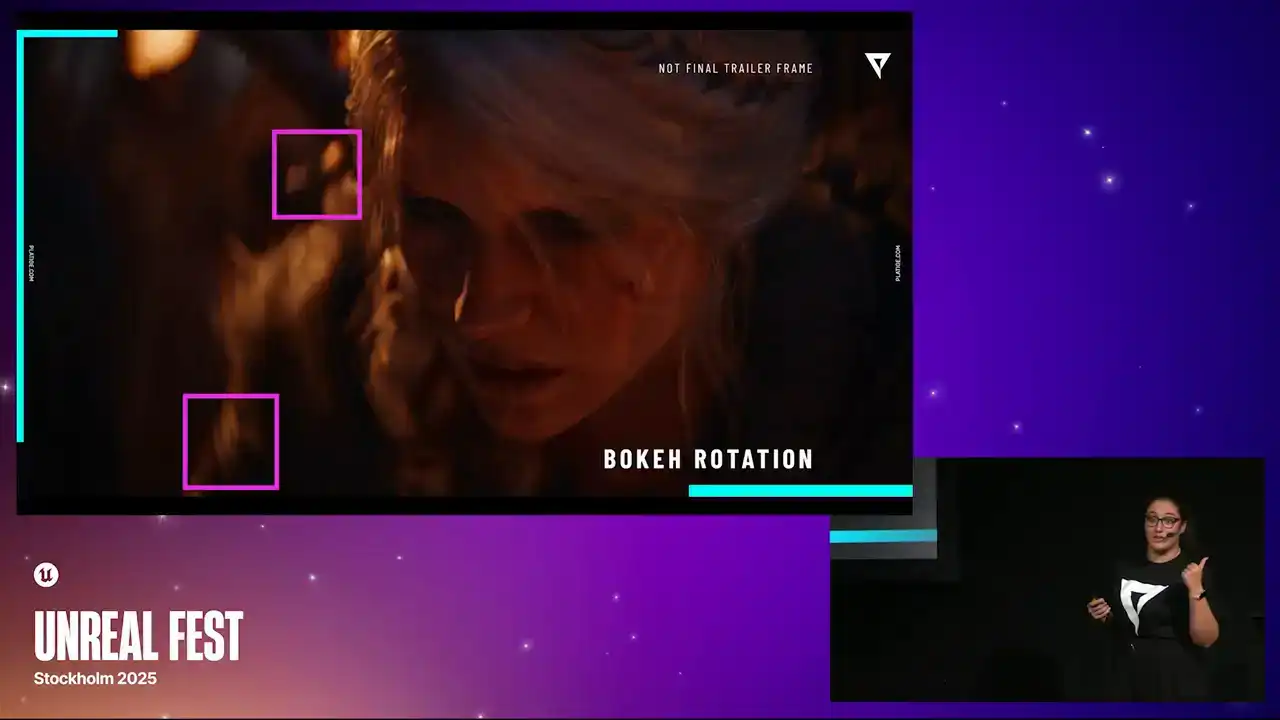
that we are aiming with the initial references. So as you can see, they're always facing the center of the image. If we start modeling the shape, we can now have control over how bigger the shape can be in one of the side or in the other. Now, we also needed control over the rims, the inner and outer rims. Here you can see that it's much more enhanced and we could tweak them separately. If we enhance it a bit, again, it becomes more visible.
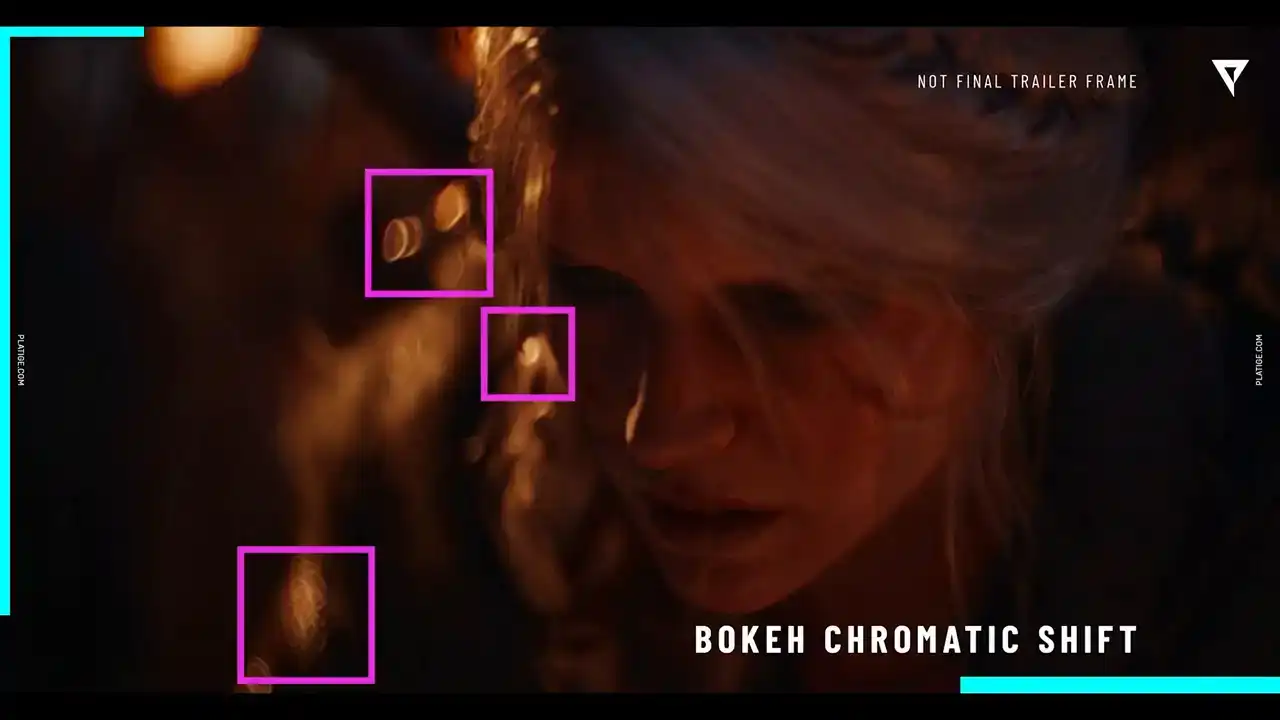
If we add in some chromatic shift, you can see, especially in this little shape in the middle,
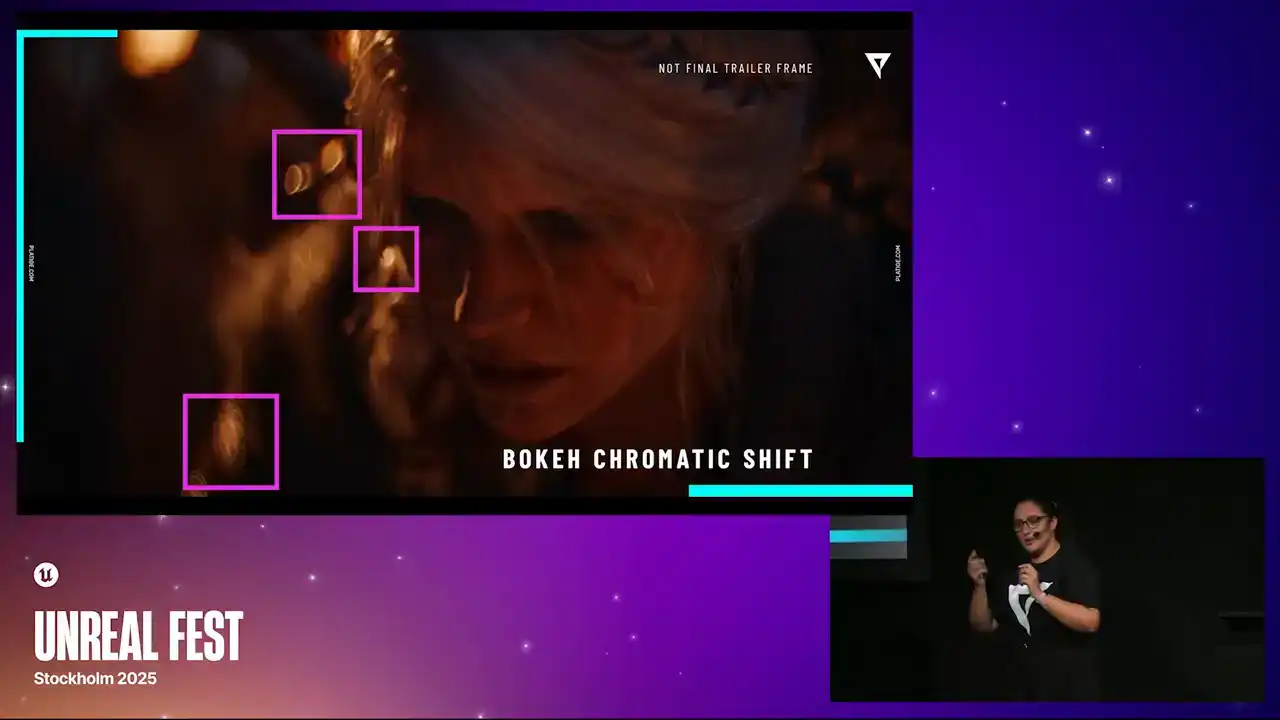
you can see some slight red and blue coming out of the bokeh shape. And lastly, this one is a bit trickier to see, but if we add in the bandwagon effect, you can spot that those bottom bokeh shapes, they're actually being cutted. There's a harsh cut in there, so that's the Bandor effect. As you can see, all of these little details were things that we needed to work to improve the native doff so that we could have more control over everything that I just showed you.
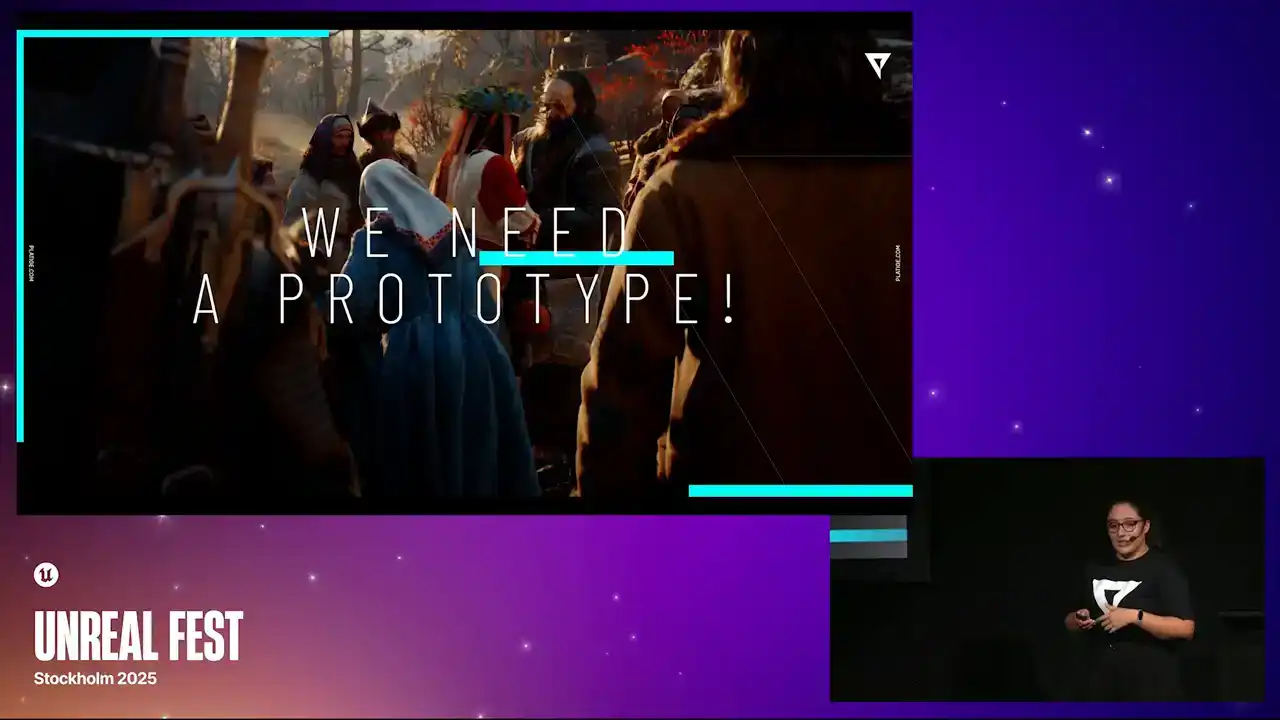
Now that we know what we need to implement, we need a prototype. We could actually start developing some proof of concept. There were a few ways we could do this in Unreal. Let's call it the quick way and the proper way.
And our first prototype was actually done the quick way, using the post-process materials.
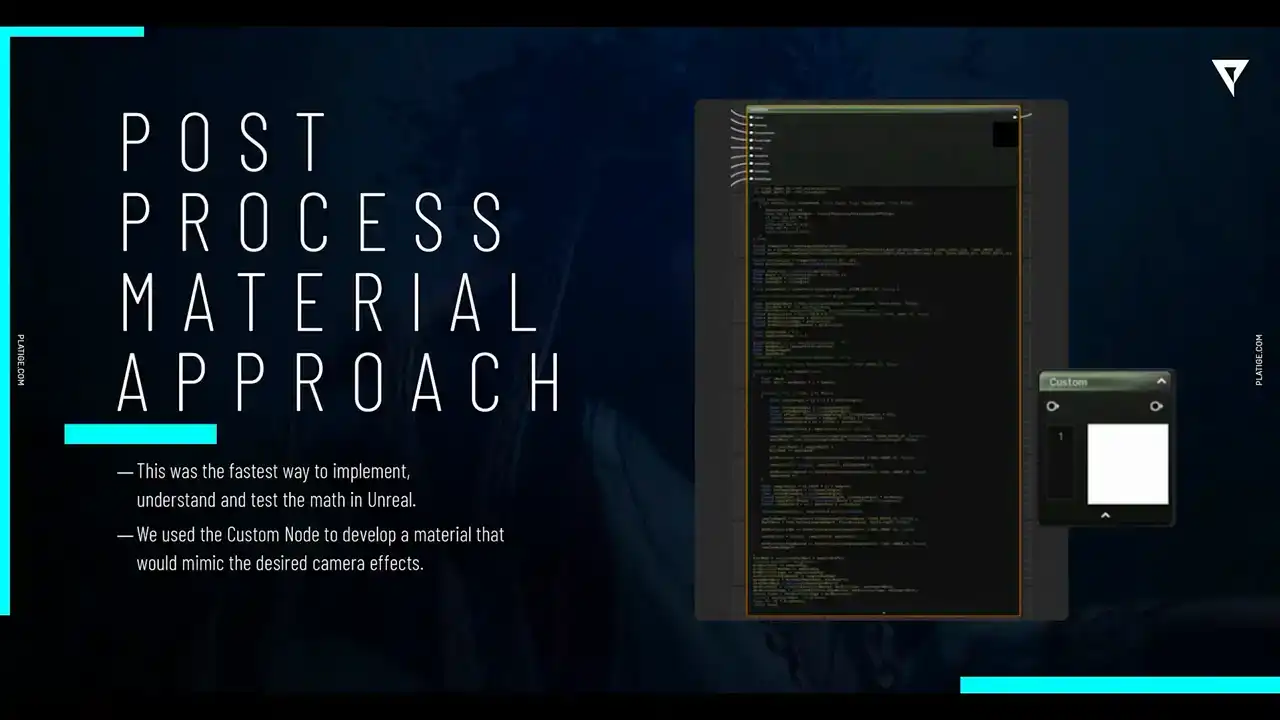
So we did use this custom node available in the material editor to create a pretty complex shader that was mimicking all of these features. It was a very quick way to just test everything, like all the logic, all the math.
And to be honest, the initial results were actually quite satisfying.
They were pretty great. We could replicate everything, all the classical features from the anamorphic lens, including those oval, bokeh shapes and it did give us pretty fast feedback so we were able to know very quickly which parameters to expose for example to the artist so we were already thinking about what they would

need control over and you know to tweak daily so you can see here for example we already had things like the brightness the the radius the focus distance squeeze simple parameters that were able to just control directly from the material and they could play it in real time
But, as you can imagine, we did face a few challenges and a few issues with this approach. And if you're asking or thinking about what was the main issue here, it was timing.
So we needed to control when our doff pass would be running in the rendering process. And with post-process materials, they always run after the main render.
and in our case we needed our DoF effect to run after everything was rendered

but before those extra effects like the vignette, for example. So we needed to control when it would run and with the materials we couldn't really do that.
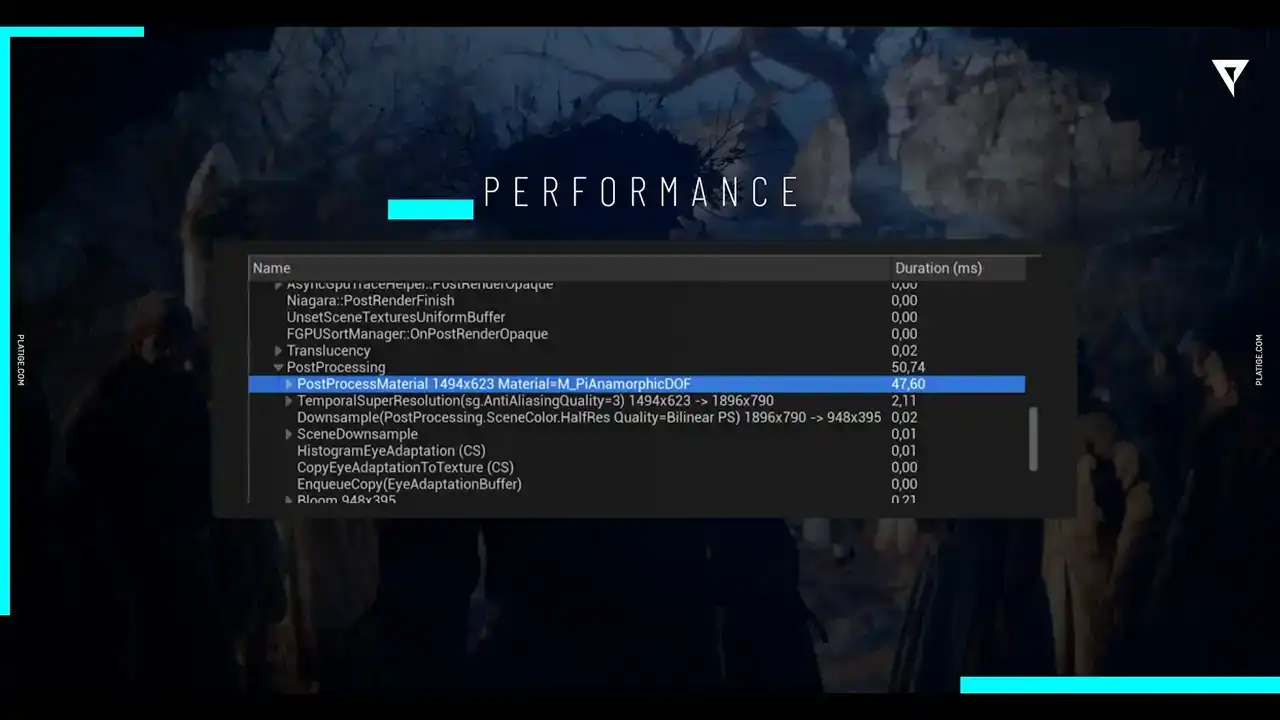
Another thing was performance, as always. So this material solution was still pretty resourceful, heavy. The resource was heavy. Even with more beefy machines it was still causing some frame drops and it wasn't a good solution in the end
because we would still have extra effects in our shots. So we were circling a bit with performance.
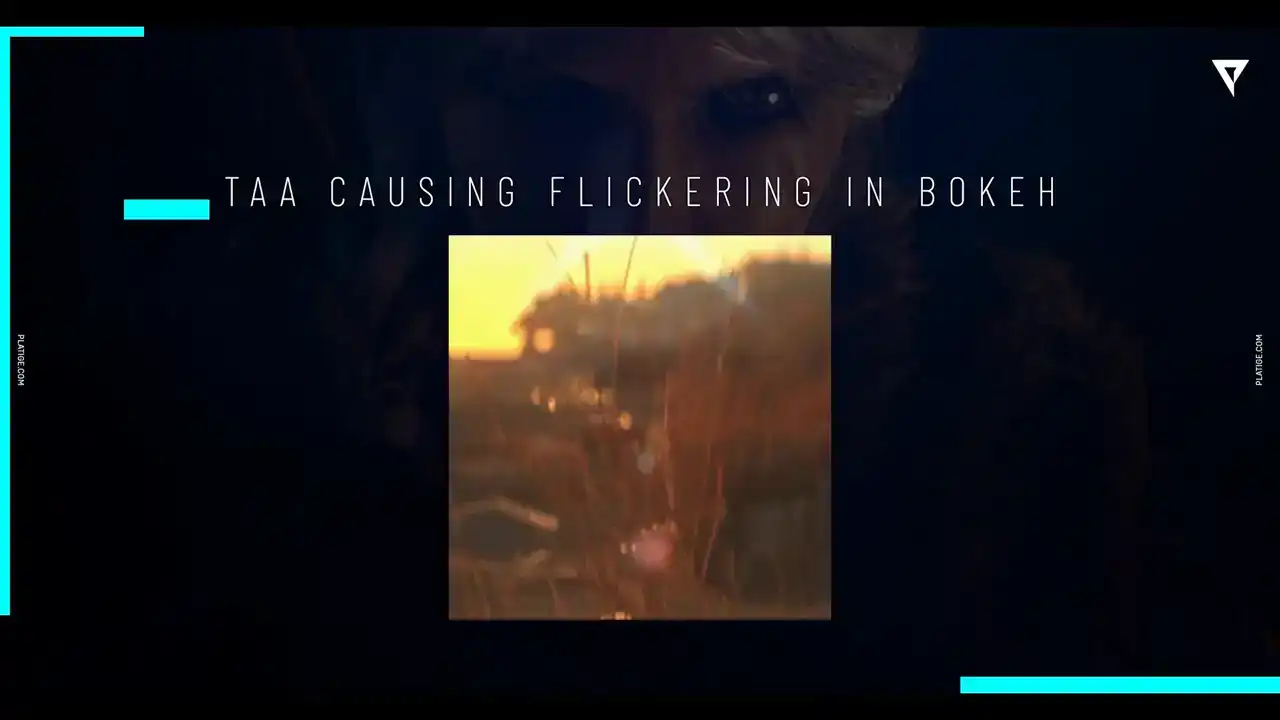
Another issue we had was with temporal anti-aliasing. It was causing this flickering in the bokeh, especially with the out of focus and some blur heading in the scene. We did have a fix for this. It was making it higher resolution or even adding more temporal time samples.
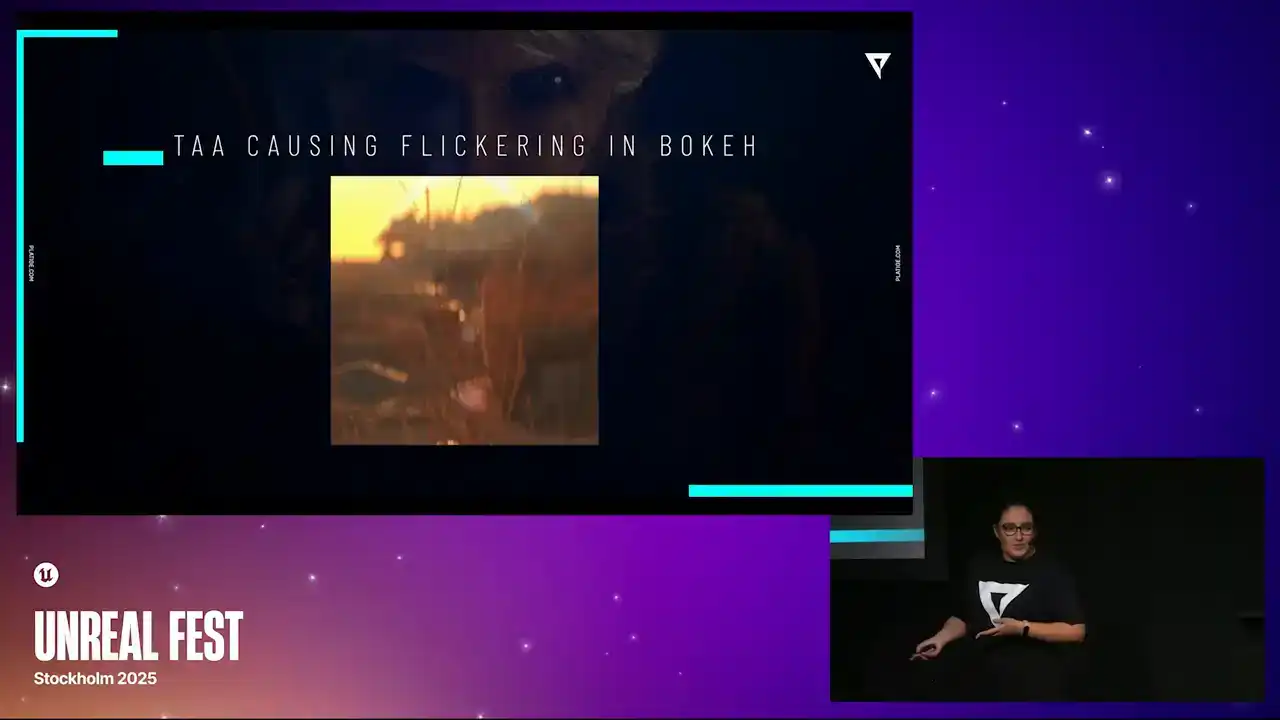
but we knew that it wasn't a long-time solution.
It wouldn't be a viable solution in the end. But we were able to work around this one, but it still got some nice twinkling effect.
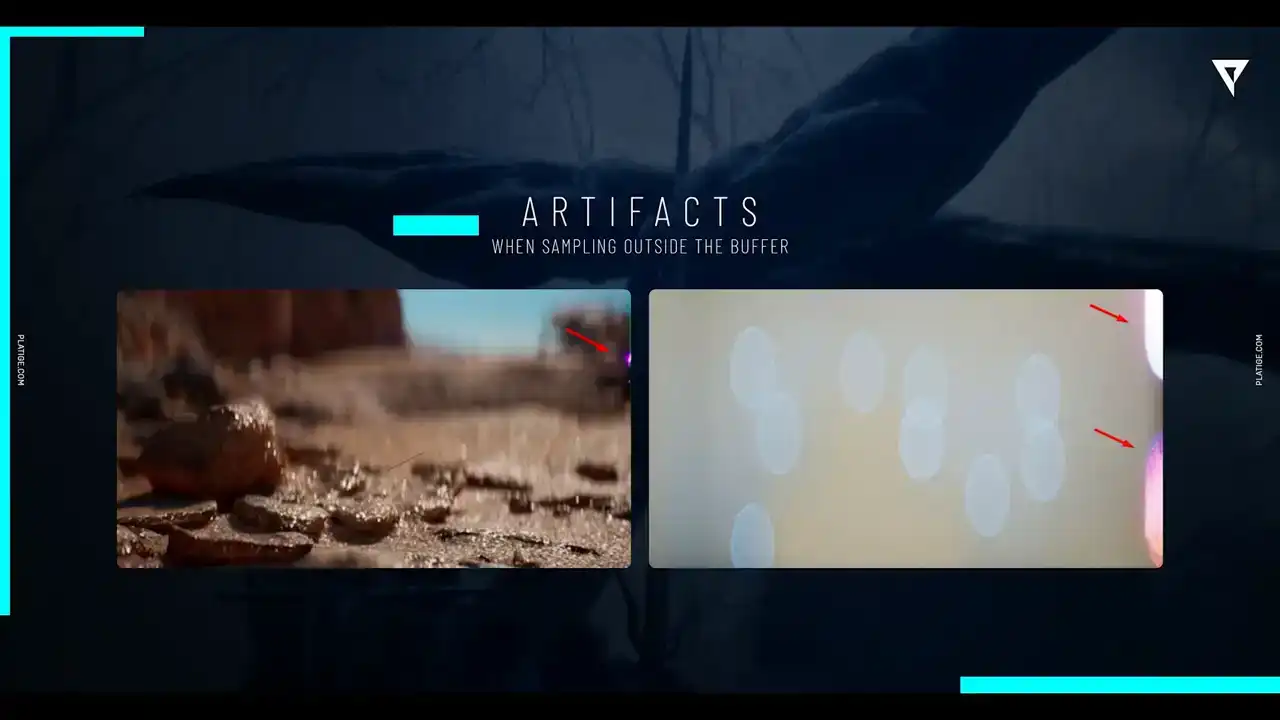
Another weird one, we actually named this internally as the touch of pink because essentially our sampling algorithm was just reading outside the buffer and it was causing this weird pink shift in the edge of the image.
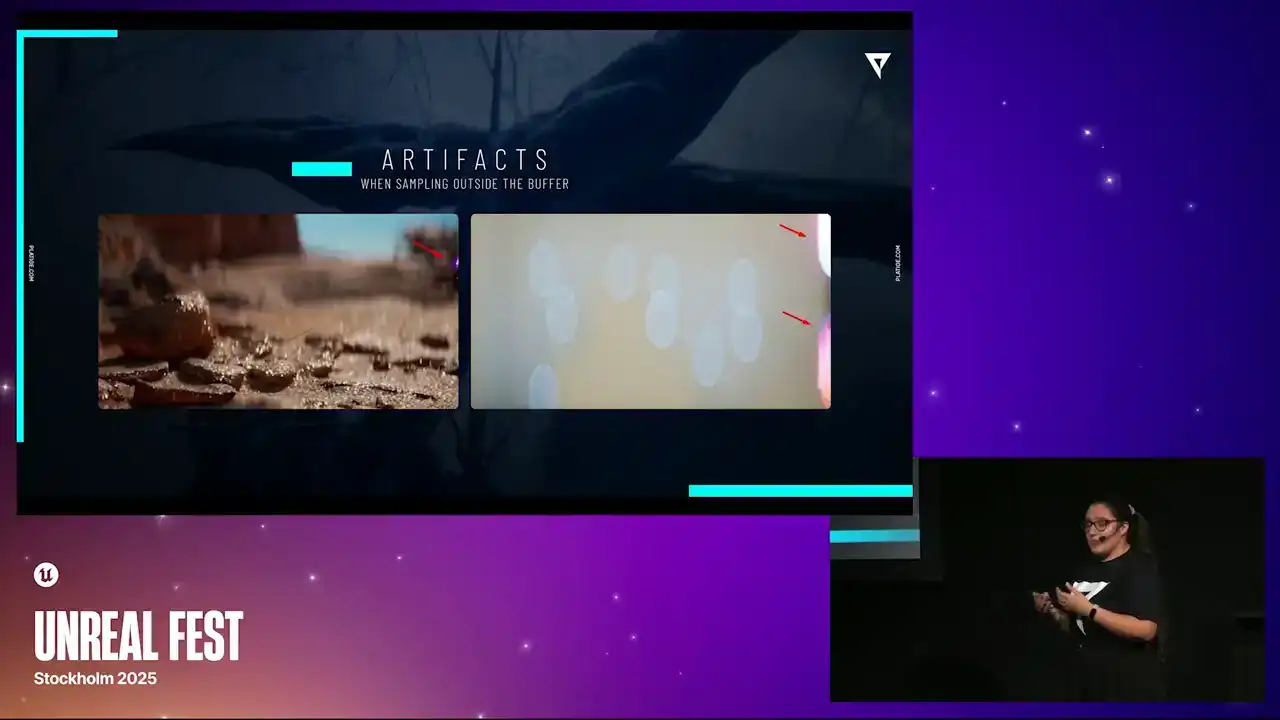
And we didn't really find a solution for it, but we did understand that probably the materials would not be able to support it. So we were stuck with this issue with some weird artifacts.
Another thing we were trying to figure out was the calculations for the circle of confusion, the COC.
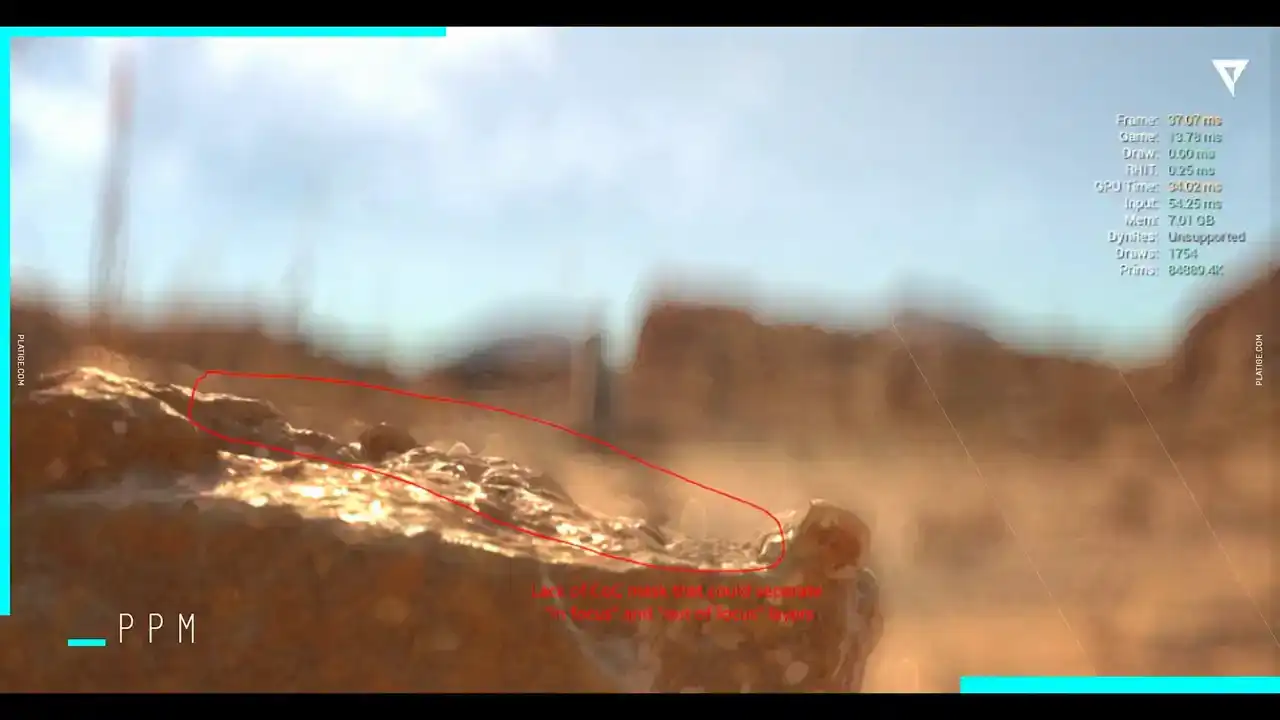
And we couldn't really find good ways of separating the in-focus and out-of-focus layers. So let me just show you a quick comparison between what we were supposed to achieve and where we got stuck in this PPM approach. So for example, here we are trying to focus on this bigger rock closer to the image. And as you can see, we don't have this like crisp line separating these layers with this approach. So for example, what we should have achieved was something like this. Same thing here we were having some blur bleeding into more sharp objects For example this straw here we were supposed to be focusing on this one And it was clearly a weird looking straw As you can see, this is what we should have obtained. And same thing here. We are trying to focus on the meerkat, for example, but in focus and out of focus areas don't really have a clear separation. So we were struggling a lot with having this. And we ended up figuring out that we couldn't really separate the layer behavior in the PPM approach. So this is what we were supposed to achieve and it got fixed after our second approach,
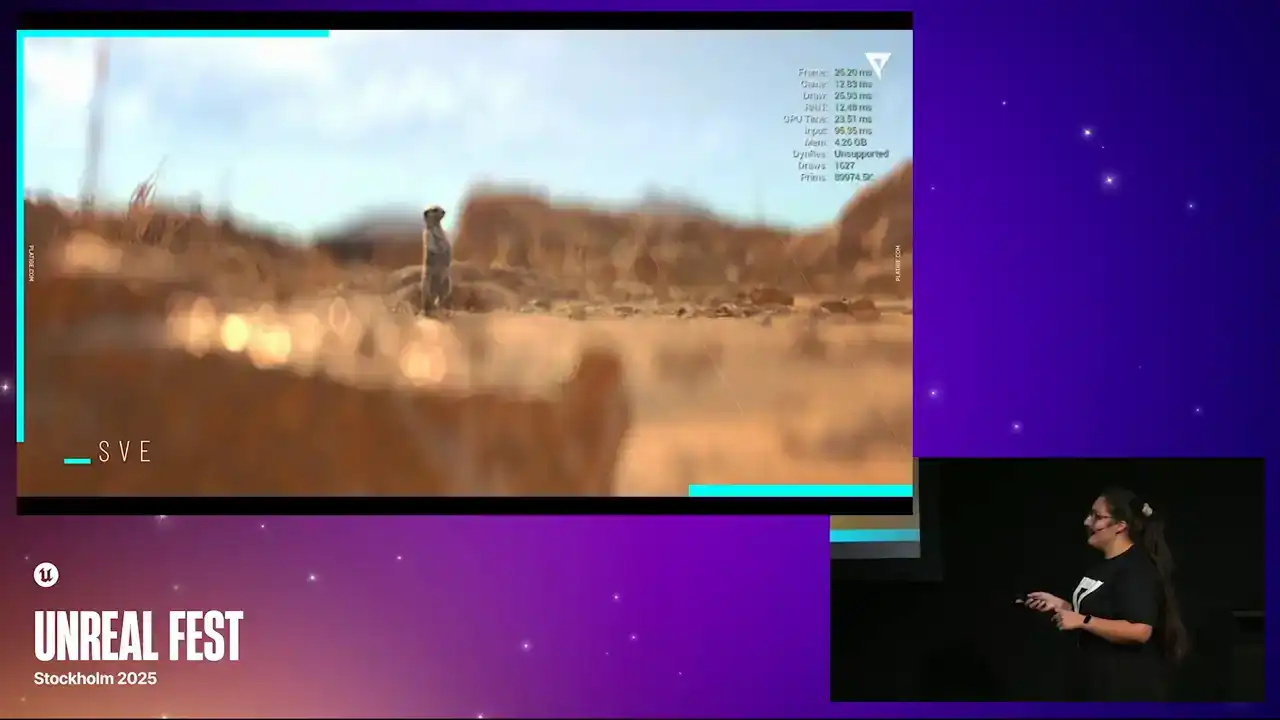
which I will dive into in a little moment.

So there was no perfect solution for it,
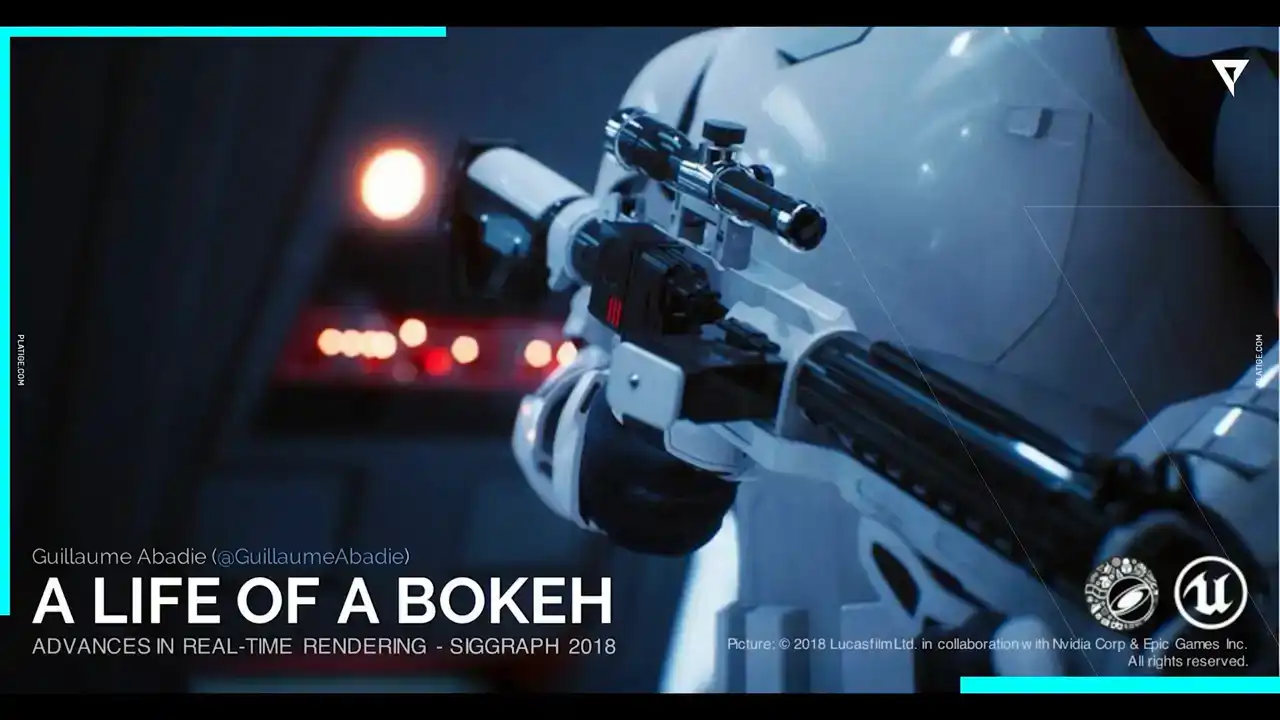
but we did find good workarounds to try to approximate these calculations and we highly, highly recommend taking a look at this talk. It's A Life of a Boca from Guillaume Abadi.
It's from SIGGRAPH 2018 and it really explains really nicely how Unreal Engine deals with DOF.
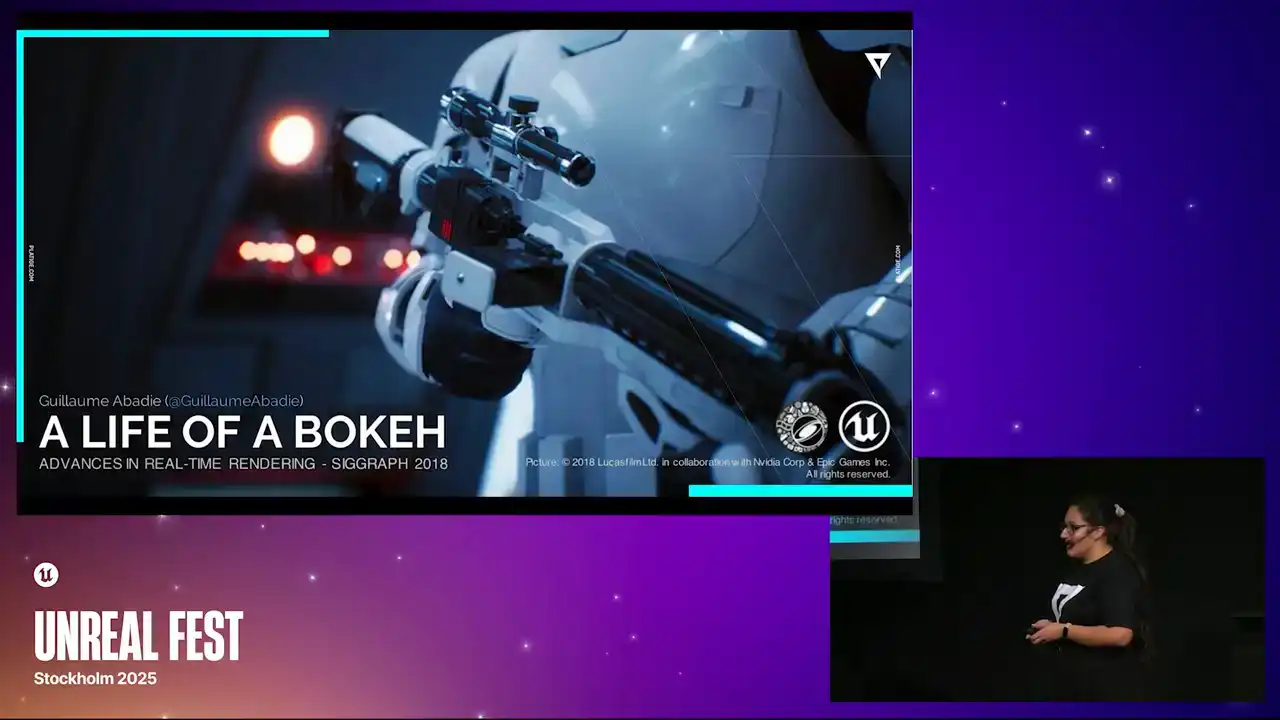
and how everything is working, so we couldn't recommend it more.
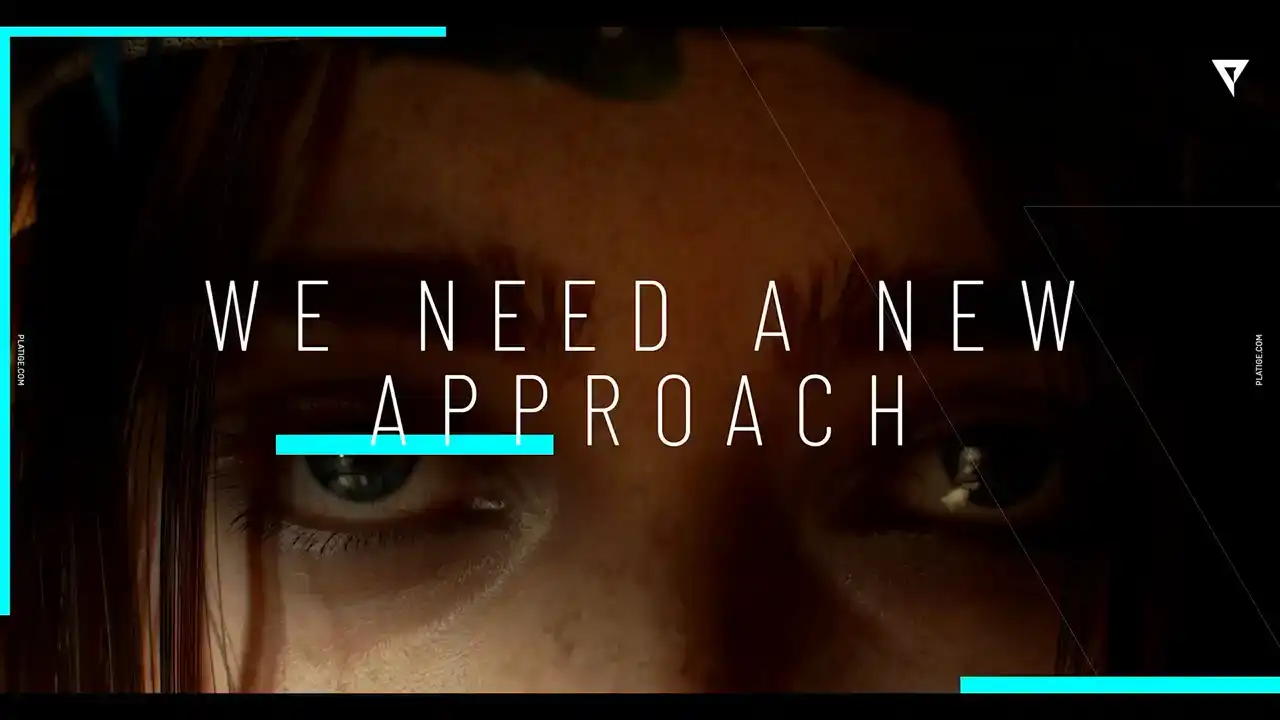
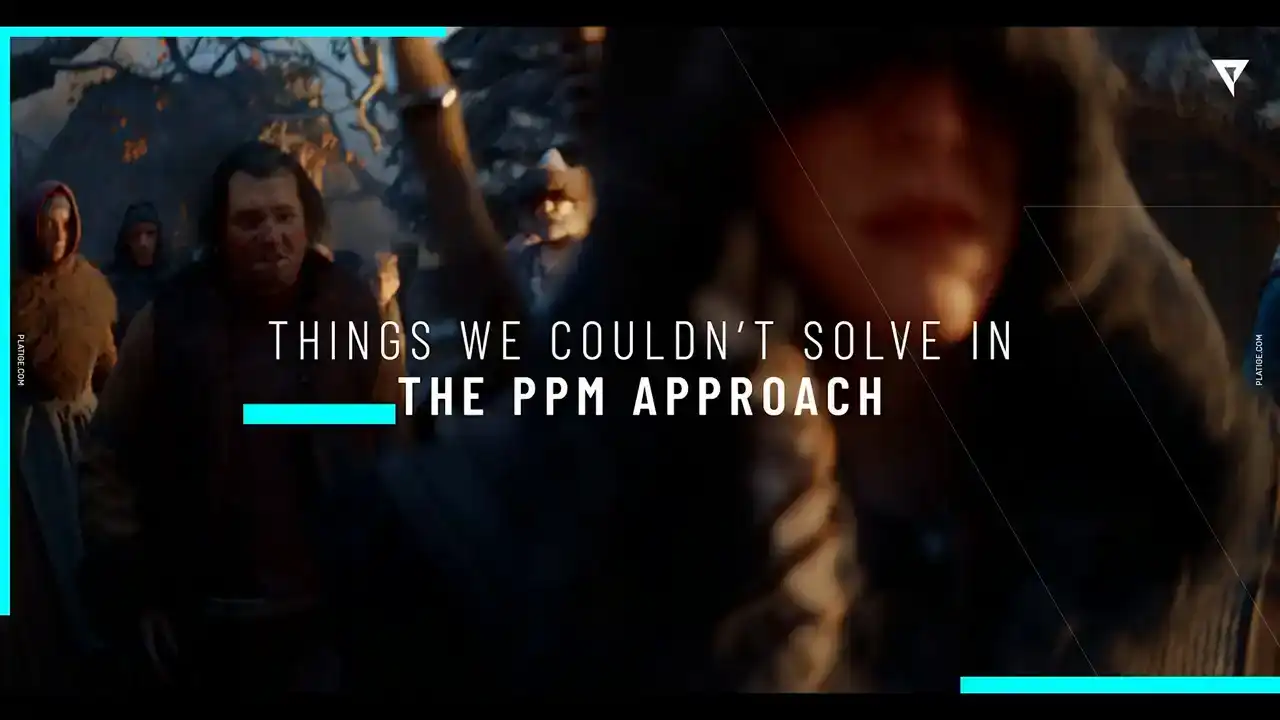
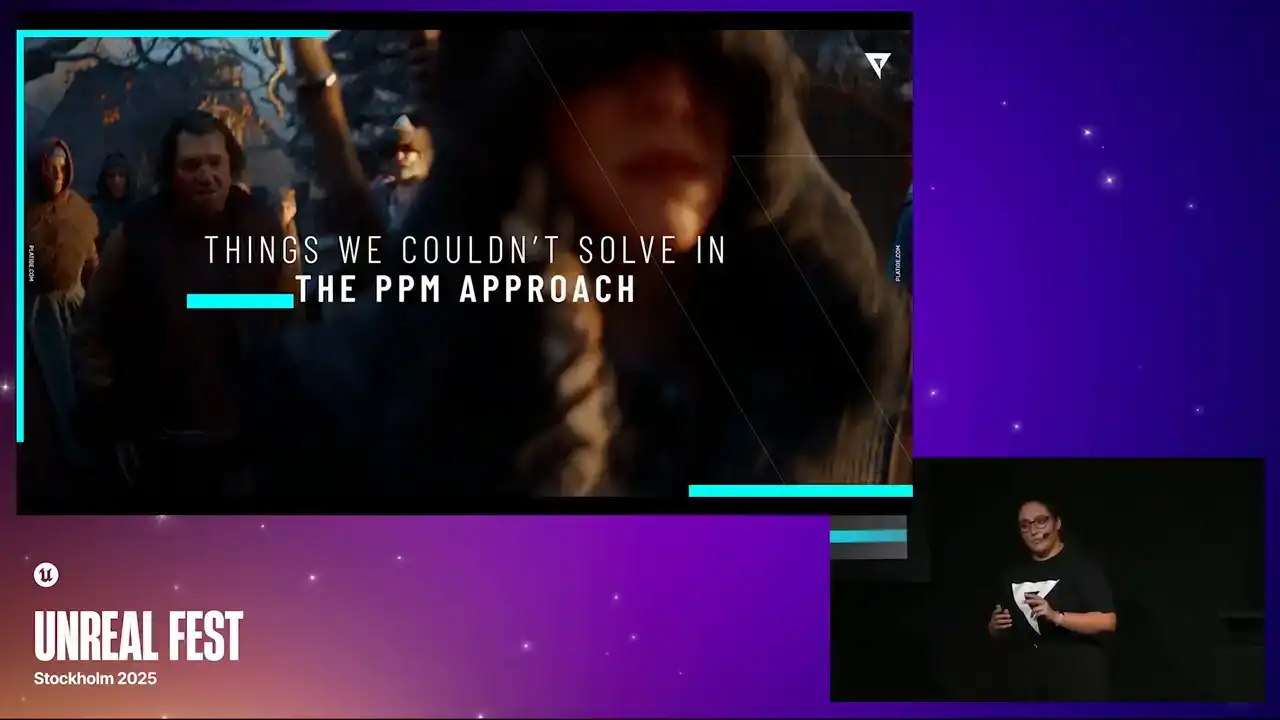
So as you might be thinking, it was clear at this point that we needed a new prototype, we needed a new approach to deal with all of these things we couldn't really overcome. So this is the moment where we contacted Epic,
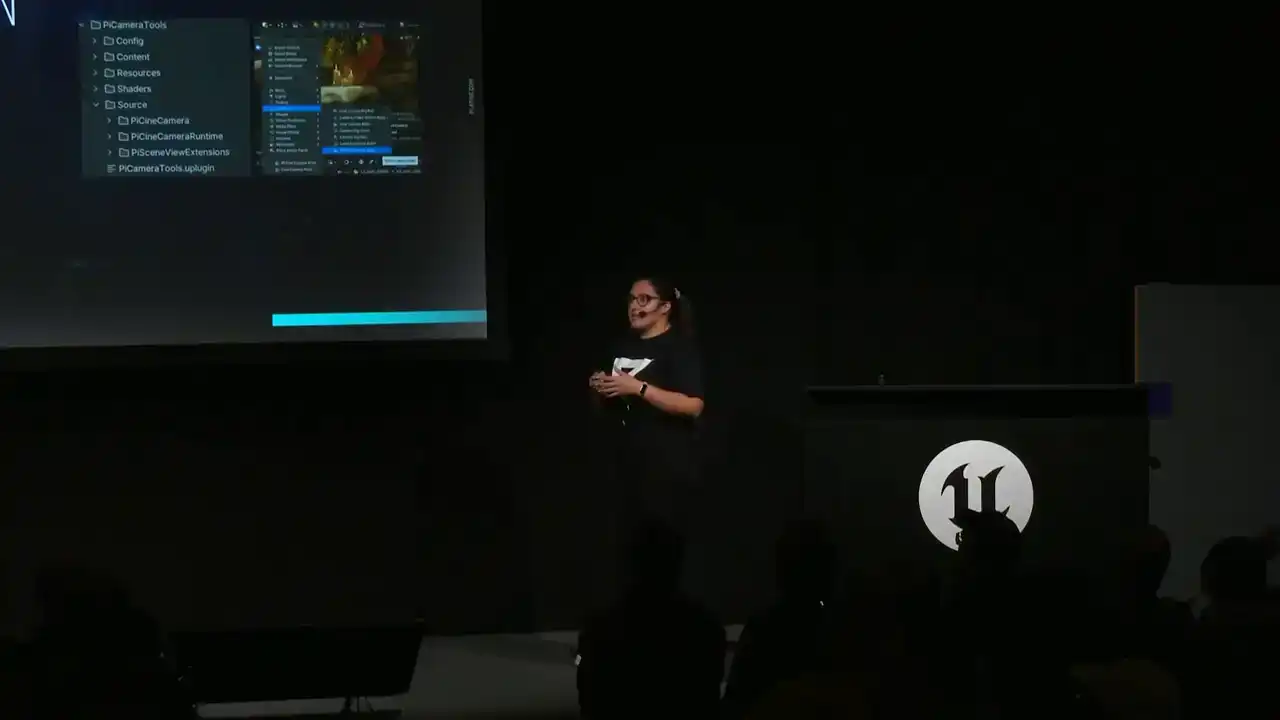
and they gave us a really good tip on using SceneView extensions. So that's what we did. the first thing we did here was extracting all the doff code into a separate plugin and the goal was let's decouple this system let's simplify it let's play with it you know let's just try to

isolate it the best we can so that we could start studying and building on top second thing was trying to start adding very simple parameters again same goal we want to simplify the system and we want to understand how it was built,
and implement things like squeeze factor, for example. And after having a better understanding of what we were working with, we could start implementing the actual camera, and the camera would have the ability to register the SVE with the parameters we exposed before.
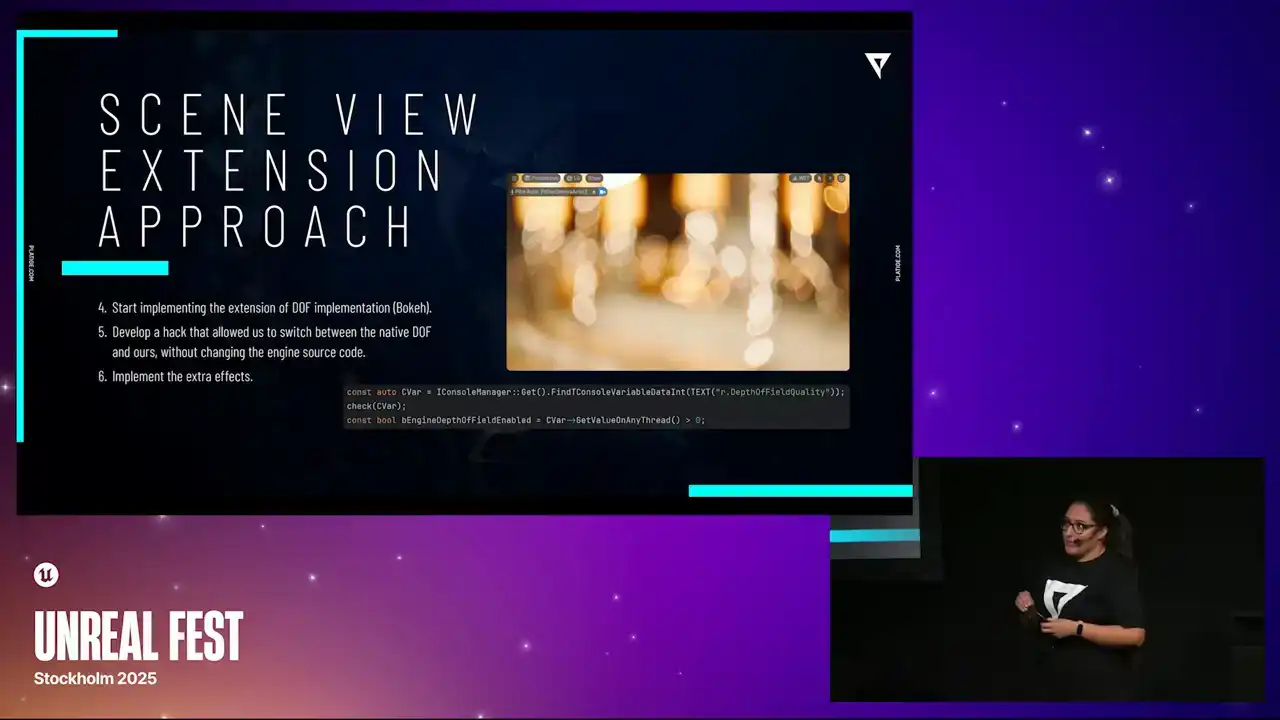
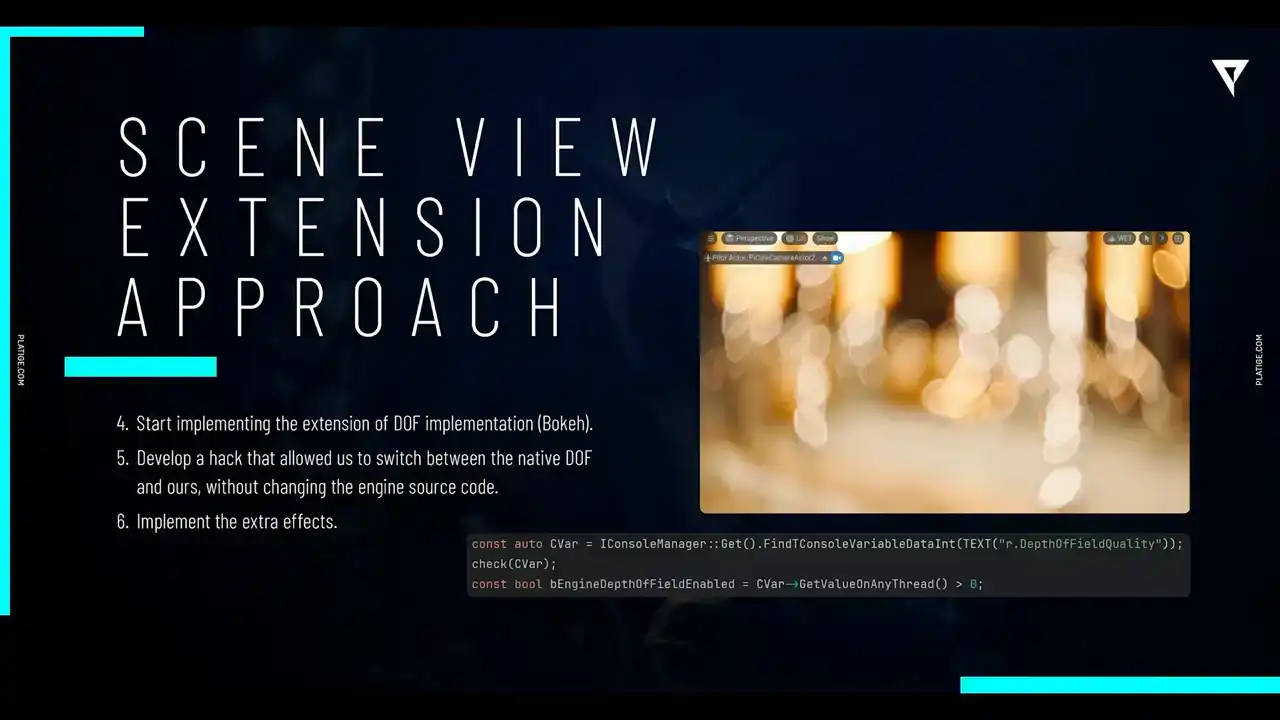
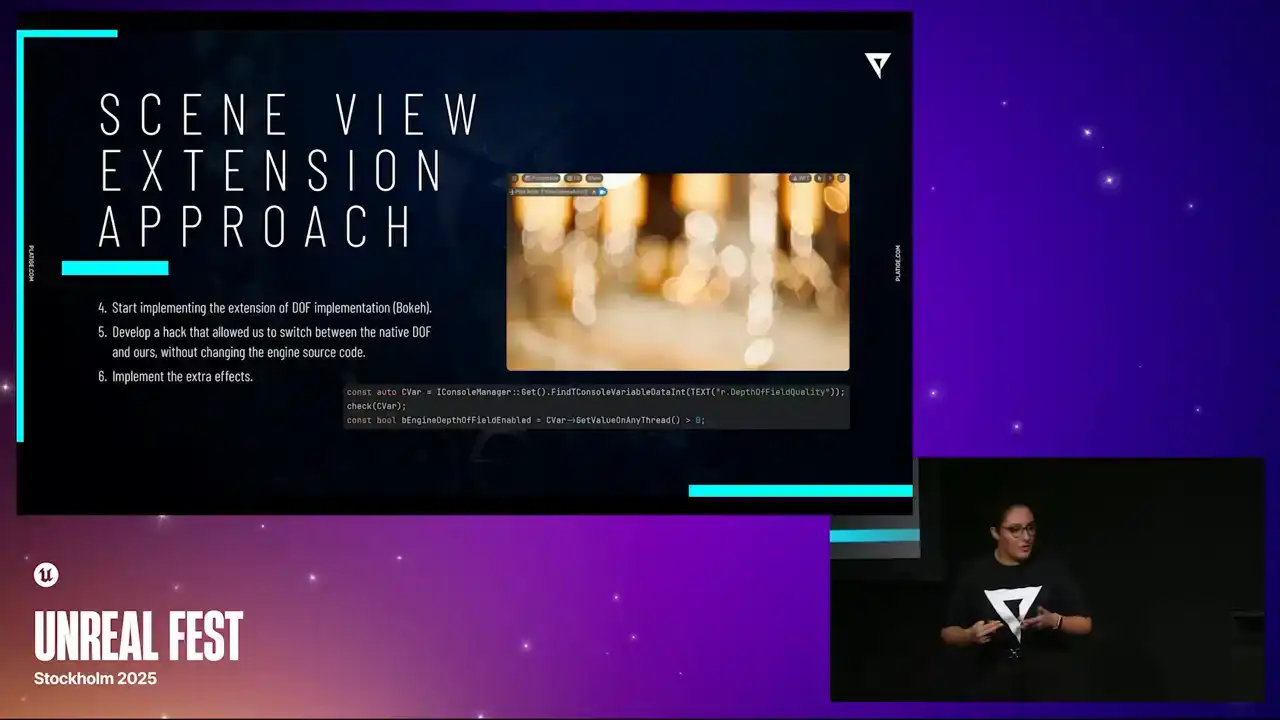
Next thing, we delve into the longest part of our implementation, which was the extension of the DOF.

So focusing on the bokeh features, having all of those details that I showed you before, we spent a long time here developing and making sure everything was accurately correct. And after, we were able to develop a very quick hack that allowed us to switch between the native implementation and our custom implementation.
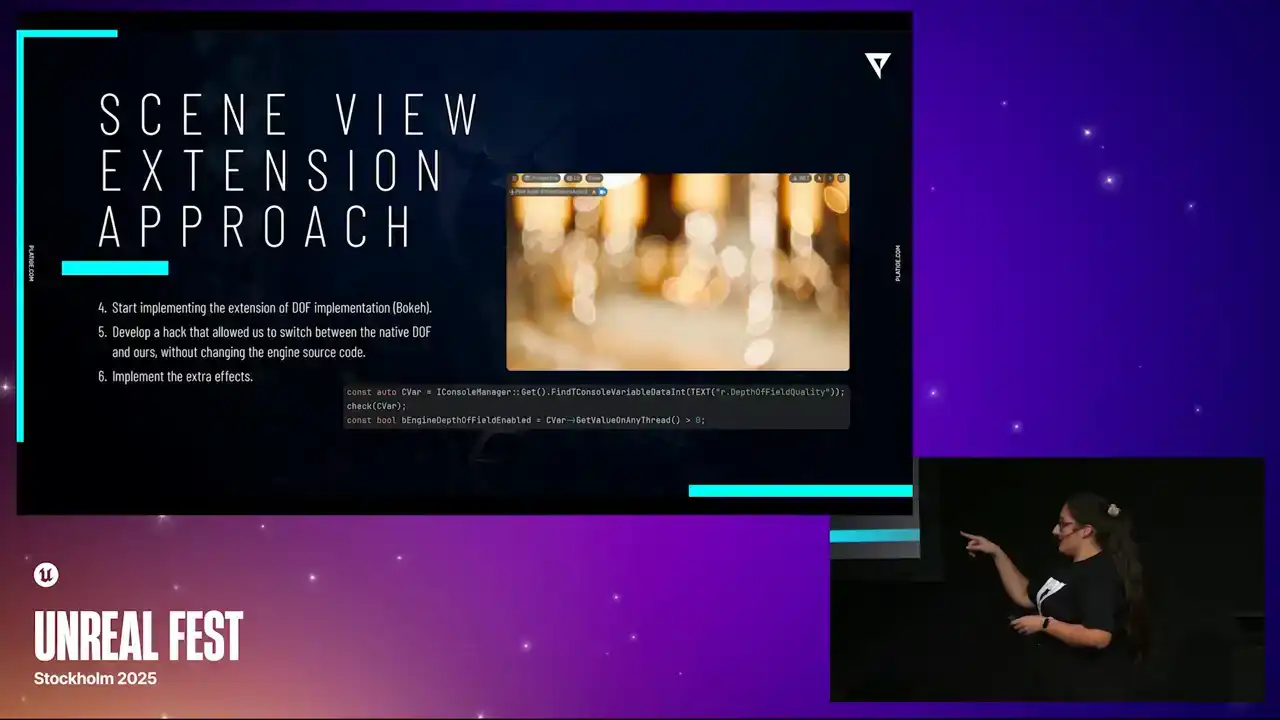
And we did it by simply using this console variable. It was like the depth of field quality. So when it was set to zero, we were using our custom implementation.
When it was set to one, we were using the native. And, you know, it was a very quick, very nice hack because we didn't have to change the source code just to switch between the two implementations.
So it was pretty nice. And after all of this, we had our main priorities done so we could start implementing the X-ray effects. And here I'm talking about things like the vignettes,
the softness, radial blur, chromatic aberration, that type of effects. and we did them as separate shader passes you know and they had to be in a
very specific order to make sure they were working so for example time echo had to be the very last effect to be rendered So yeah taking our base again now we have custom Dov enabled Let take a look at how the effects actually look, starting with the chromatic aberration. So you can see, especially in that bigger shape in the top, that we have the red, we have the blue shift, and you know, this is just the native Dov, sorry, our custom Dov with this specific effect on top. Going back to our base, We can now take a look at softness and this is a bit trickier to see. Let me just shift between one and the other so you can take a look, but you can especially see it in Sirius Hair. You have this soft, nice blur added to it. Going back to base, we can now add in the vignette. And this is, I think, the easiest one to see. We have this darker frame around the whole image. And we finish with the radial blur. So you can definitely see it. Again, Sirius Face is the main focus of the image, so everything else has this like radio nice blur to it.
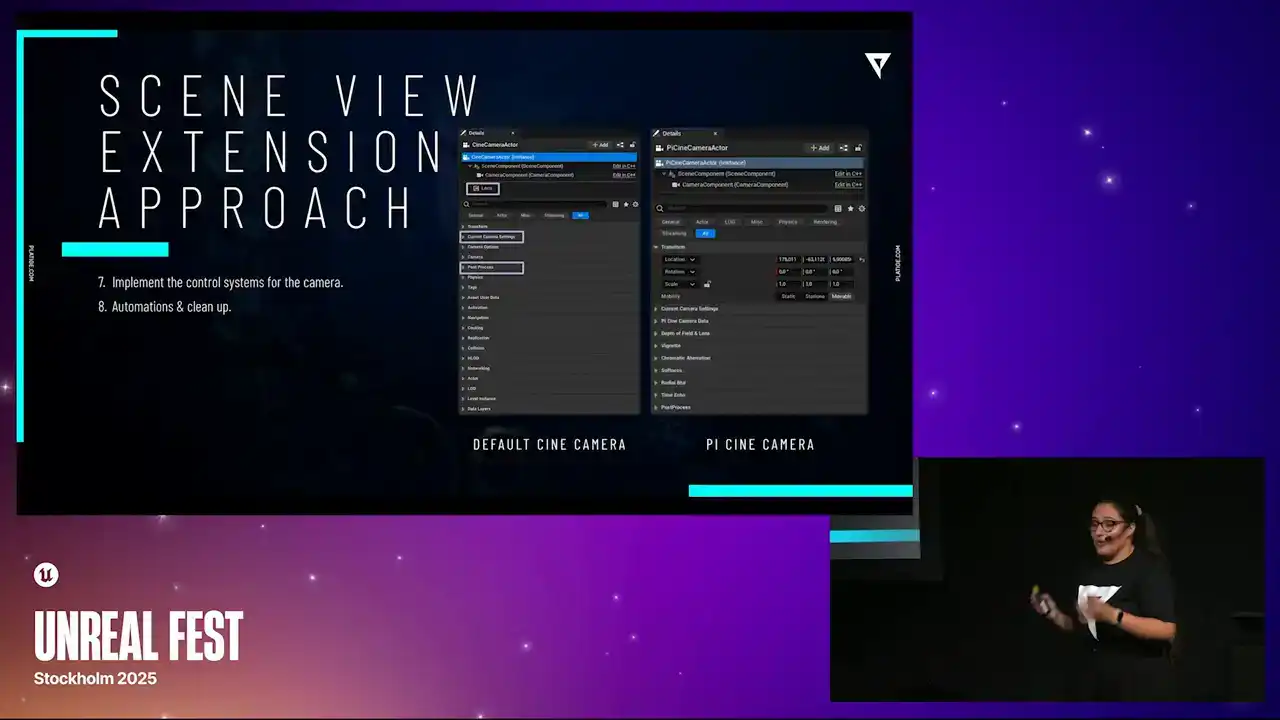
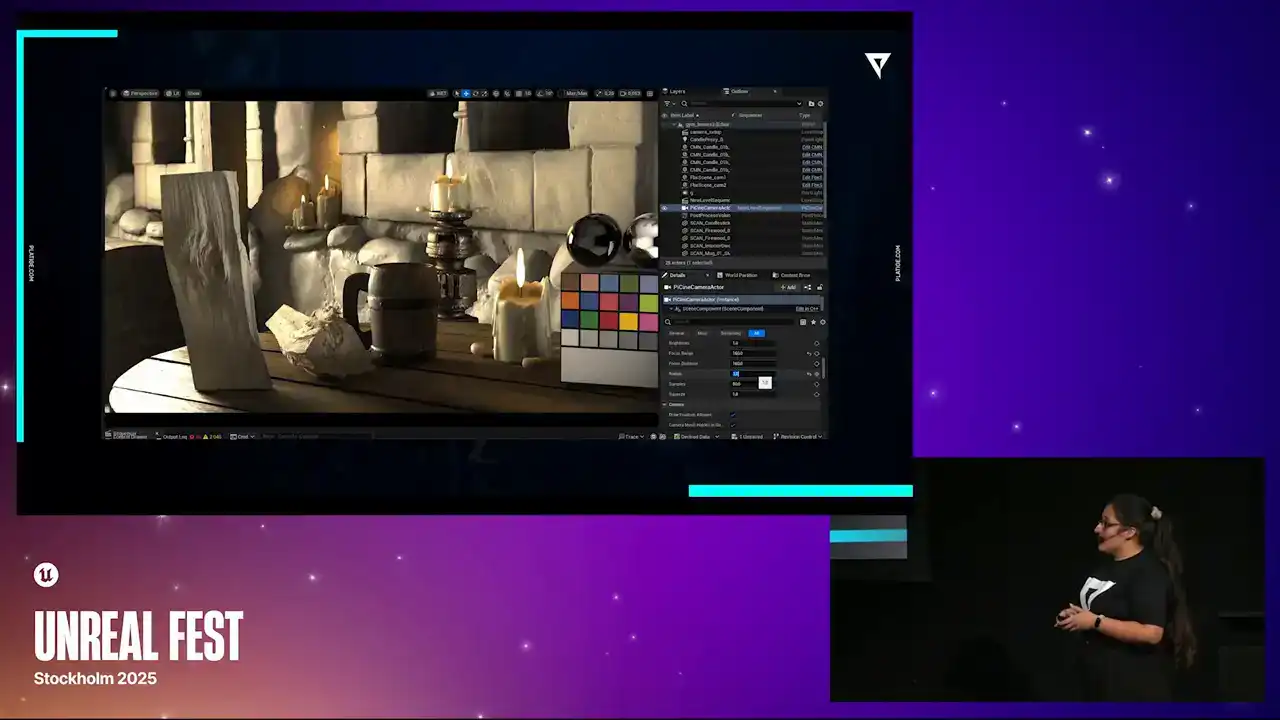
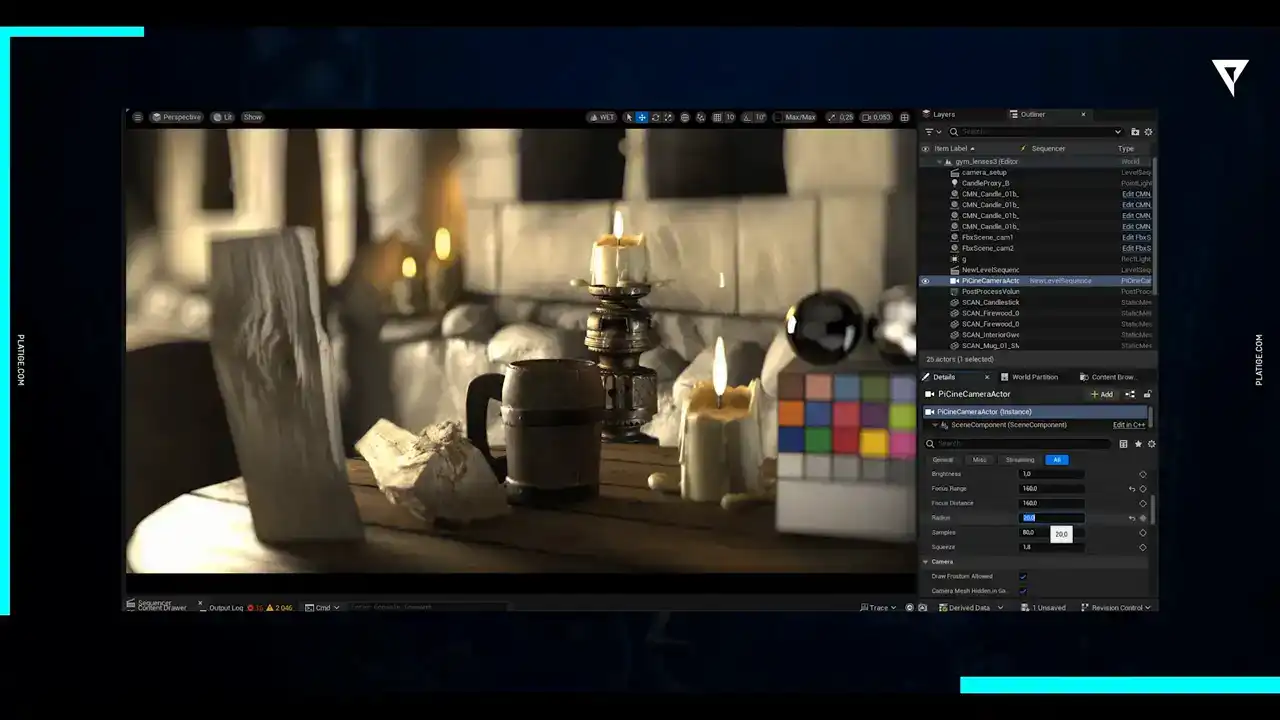
So with all the effects done, we can now actually finish off implementing the control systems for the camera and we paid close attention to some automations
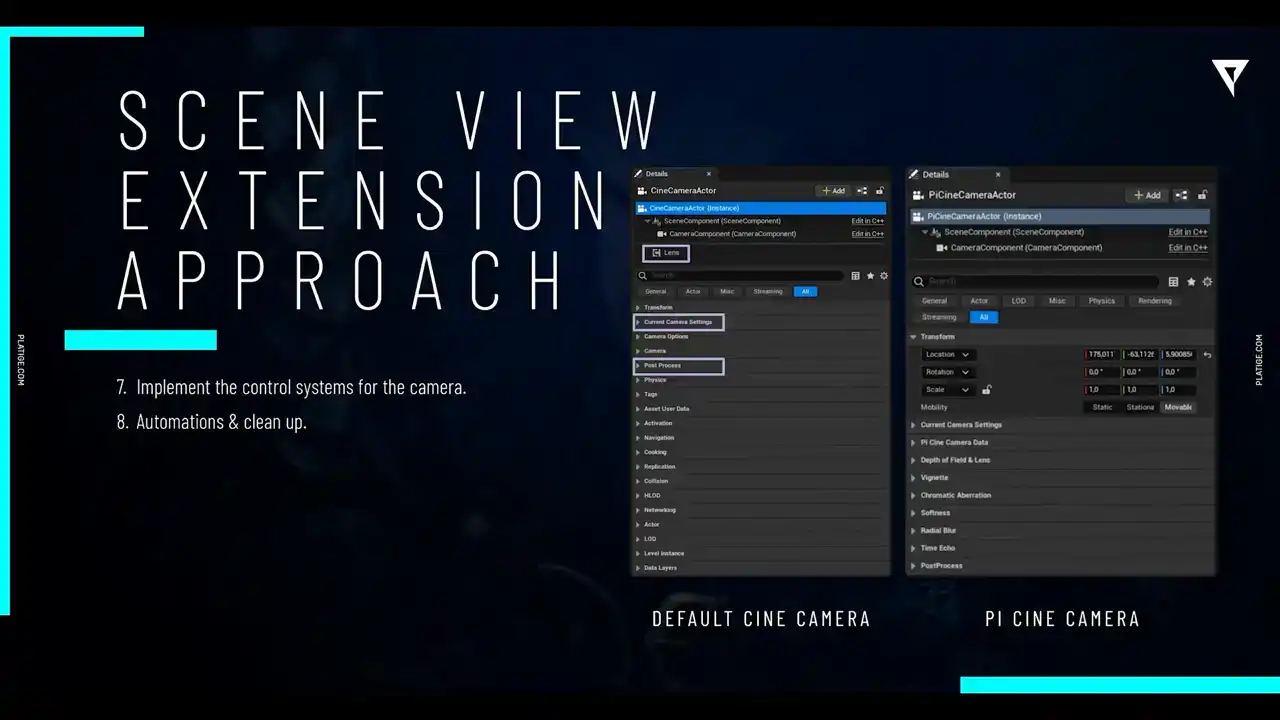
and some cleanups. You know, one of the bigger focuses of our team was to avoid clutter as much as possible. As you can see in this side-by-side comparison, we, you know, there's a lot of properties in the default Cine camera that we didn't really need. The ones we needed were actually just the lens component, the camera settings, and the post-process. So what we did, we just, you know, we hit everything else.
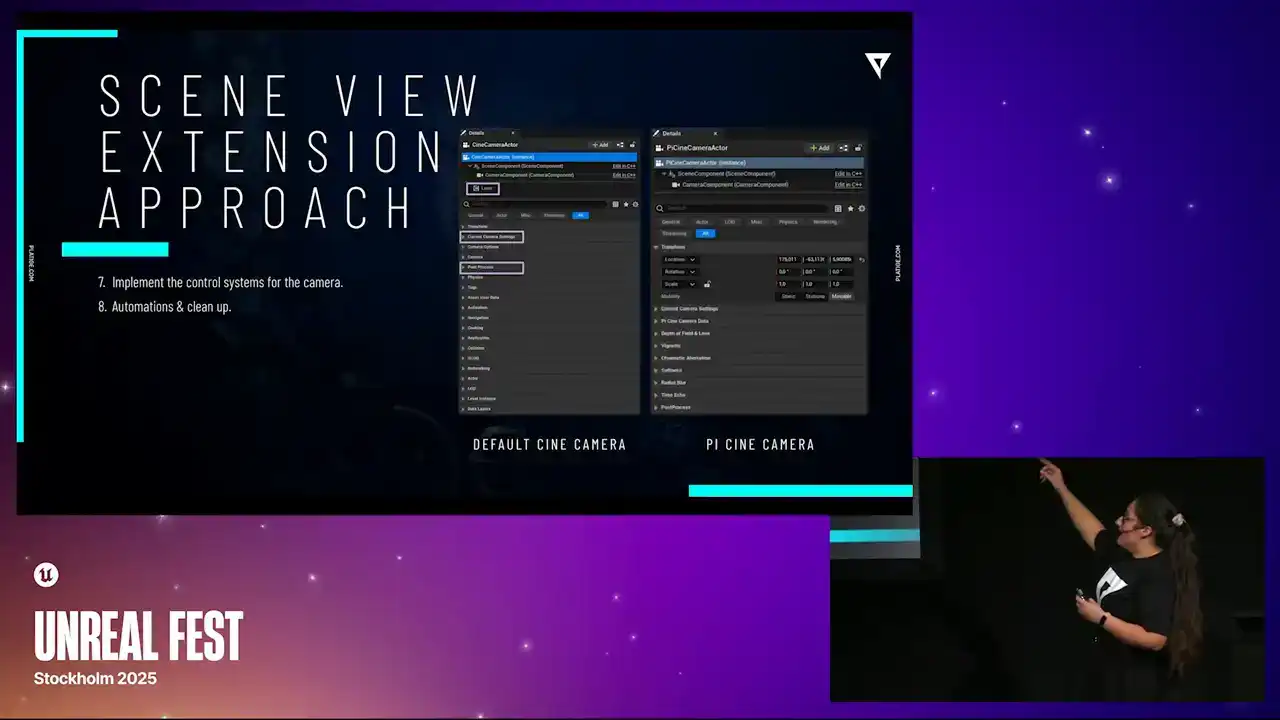
So what we have in our actual PI Cine camera is we are, you know, we hit the lens component. So we are just steering the parameters from the main camera actor. So, you know, it's a bit more cleaner solution. And we do have the post-process and the camera settings together with all our extra effects. But we don't need anything else.
So we were trying to make it a clean solution so it was easier for the artist to actually find what they needed to tweak. And with that in mind, let me just share a few quick tips. One thing we highly recommend is to customize the Details panel. And in case you don't know, you can use the Details customization interface to do it. Second thing is to define priorities for each category. And this means if you have more important features that should appear in the top,
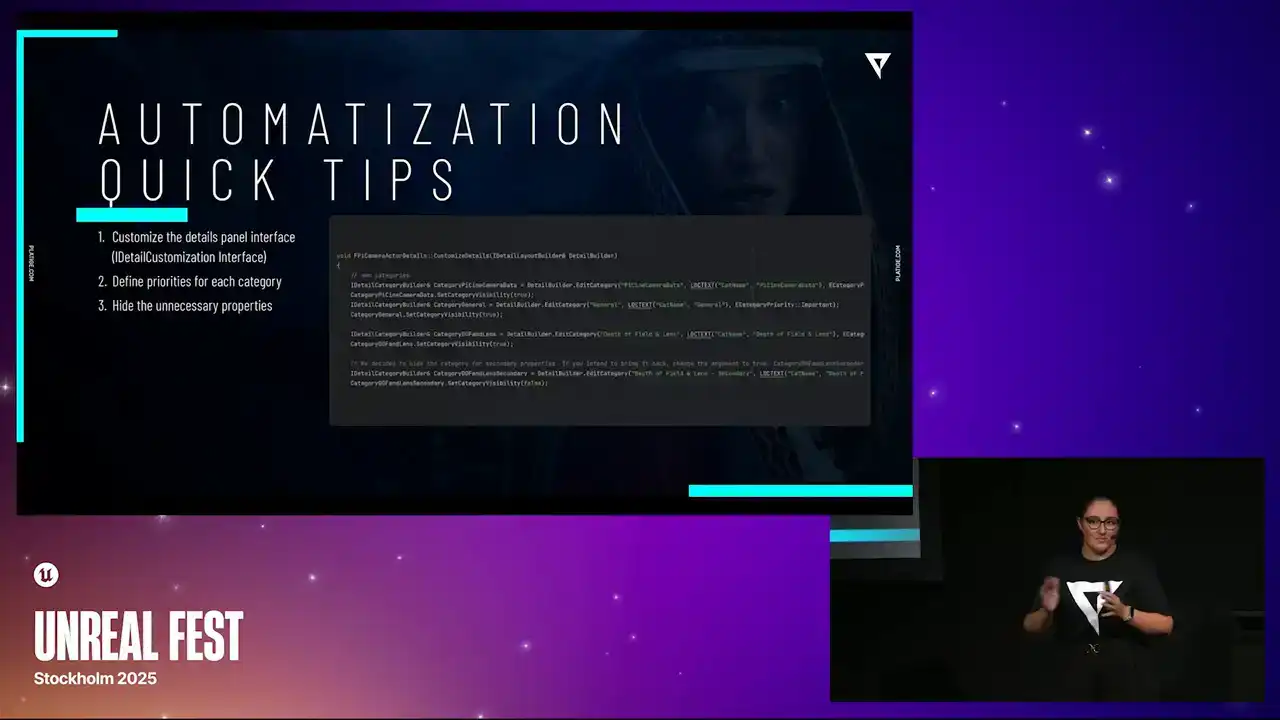
you can just mark them with an important flag and that should make it appear in the top. So you're avoiding scrolling too much, trying to find it. And again, you keep the clean design in mind.
And the third one is to hide any unnecessary properties. Again, we're trying to make sure that our artists know how to use the tool.
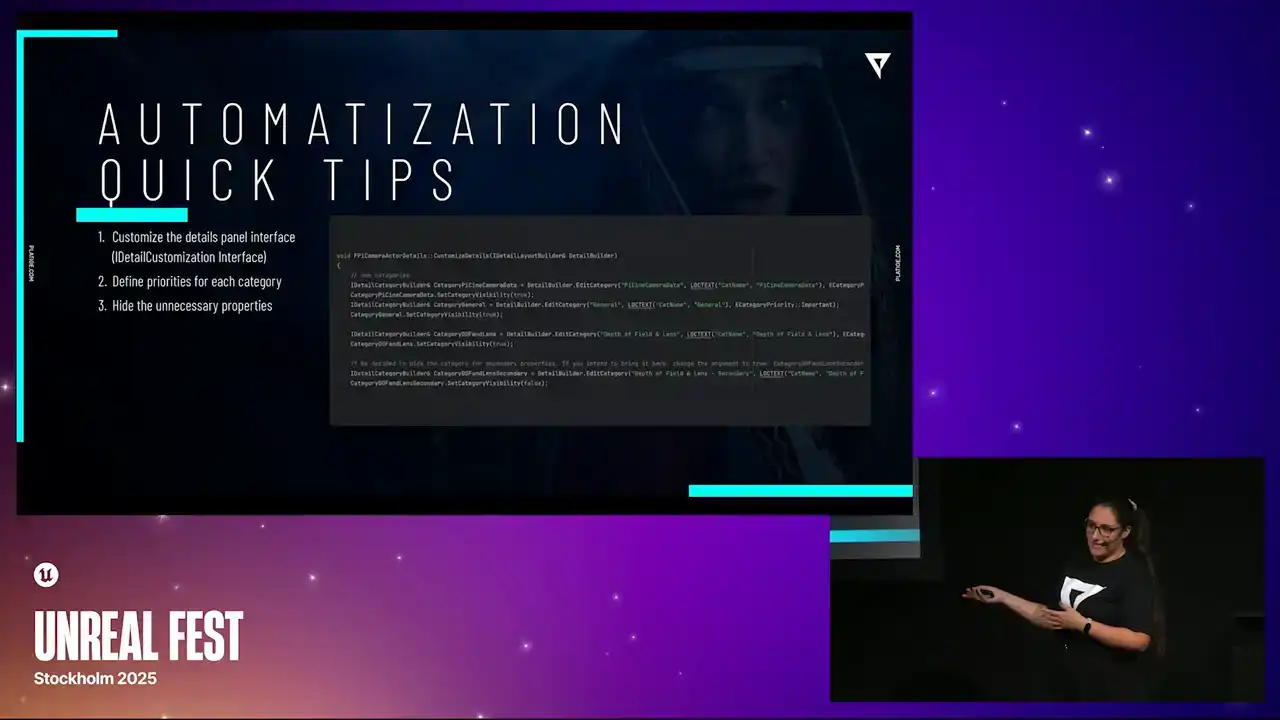
And for that, we just skip what's necessary and we hide everything else.
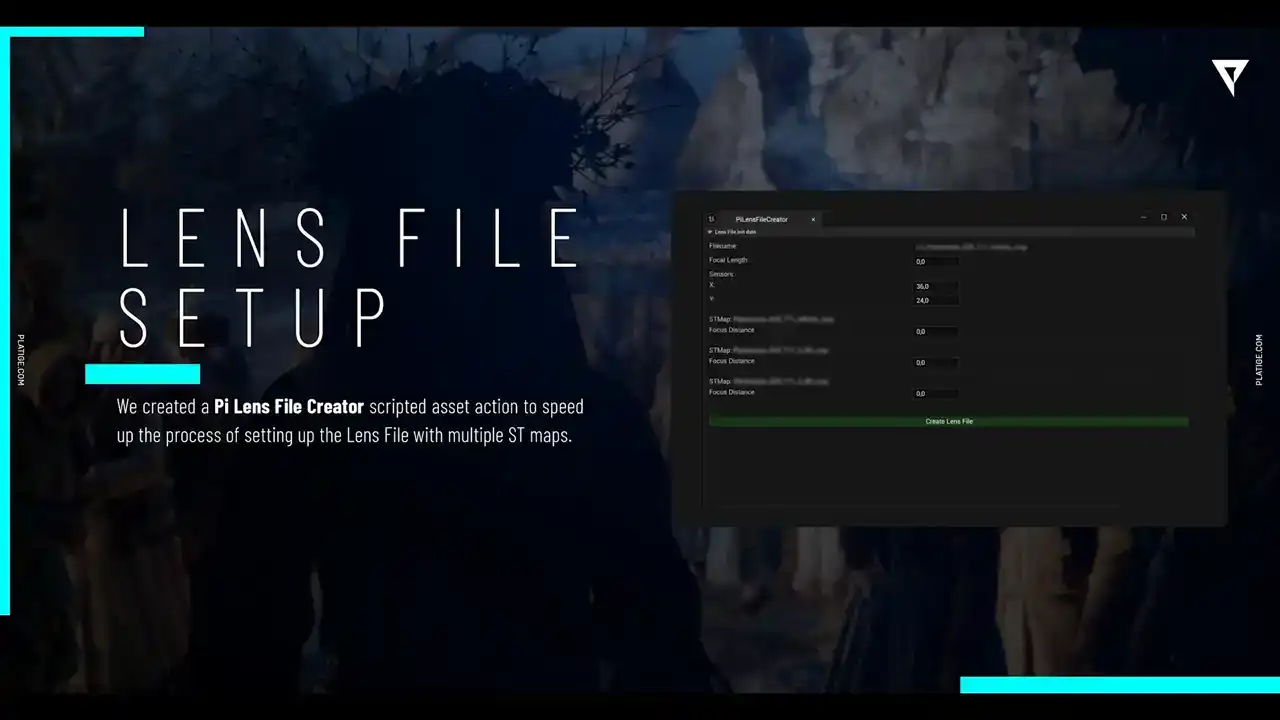
Still keeping a few automations in mind, let's talk a bit about the lenses. so we did create this nice widget so that the process of creating the lens files would be a bit easier so essentially the artist would just need to add in all the lens information
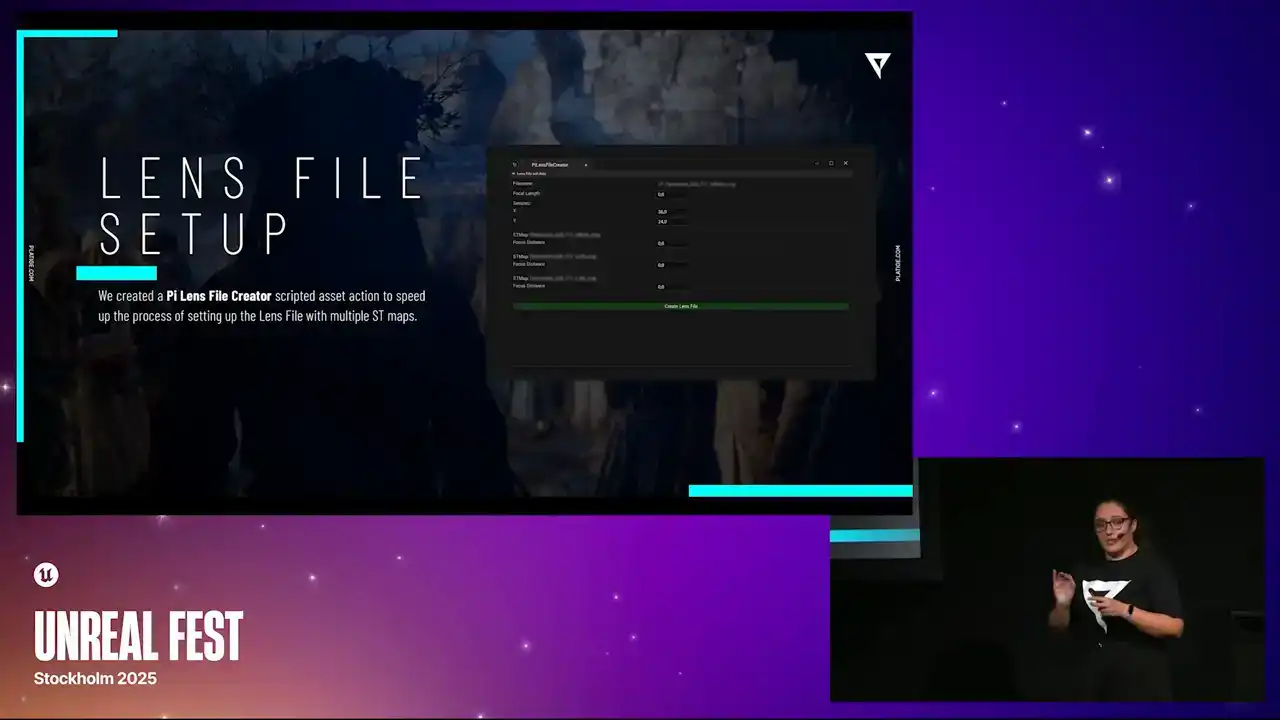
and then they could link it to different ST maps and the ST maps were actually created based on the shoots or the shots from CDPR and then the widget would just do all the work it would create the actual lens file based on everything that was uploaded
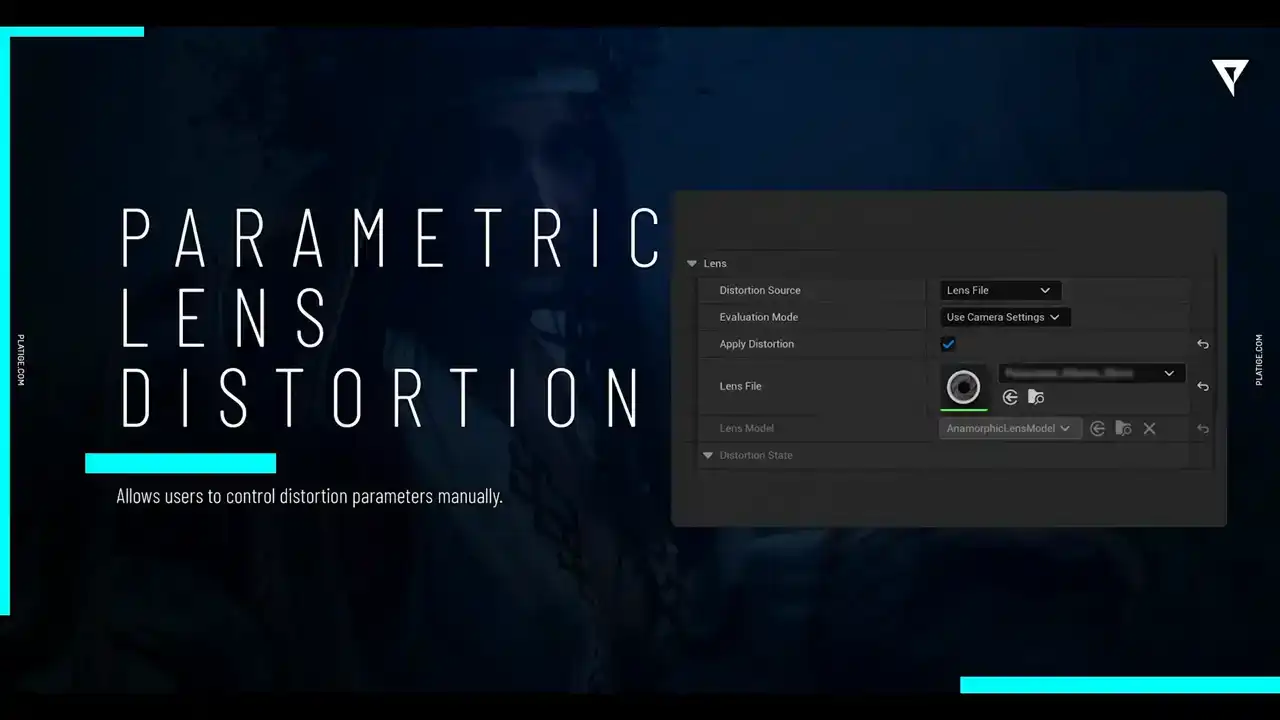
then for you know the lens distortion we still wanted to give the artists a way to customize it manually So what we did was we had the automatic approach so they could just choose between different lens files for this or they could still use the parametric distortion models to create some more creative control over.
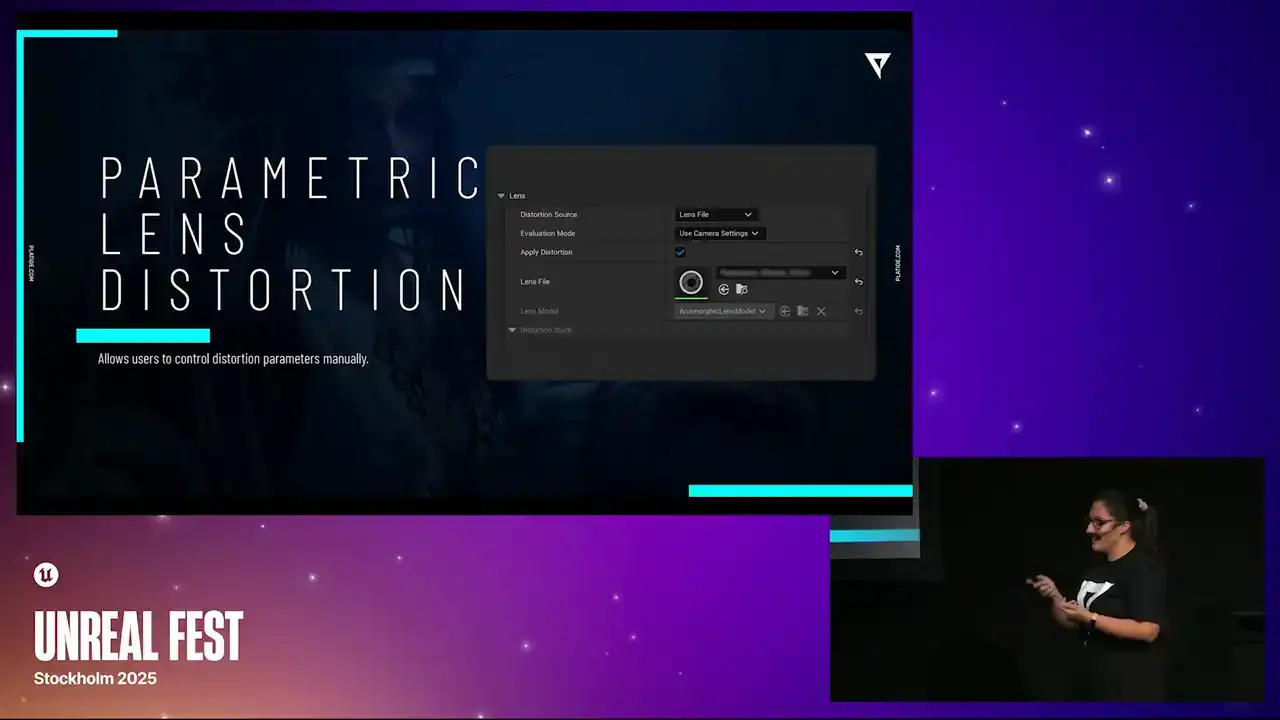
So we kept both ways for them to adjust the distortion. And for the lens breathing, we did implement it by simply blending between different ST maps,
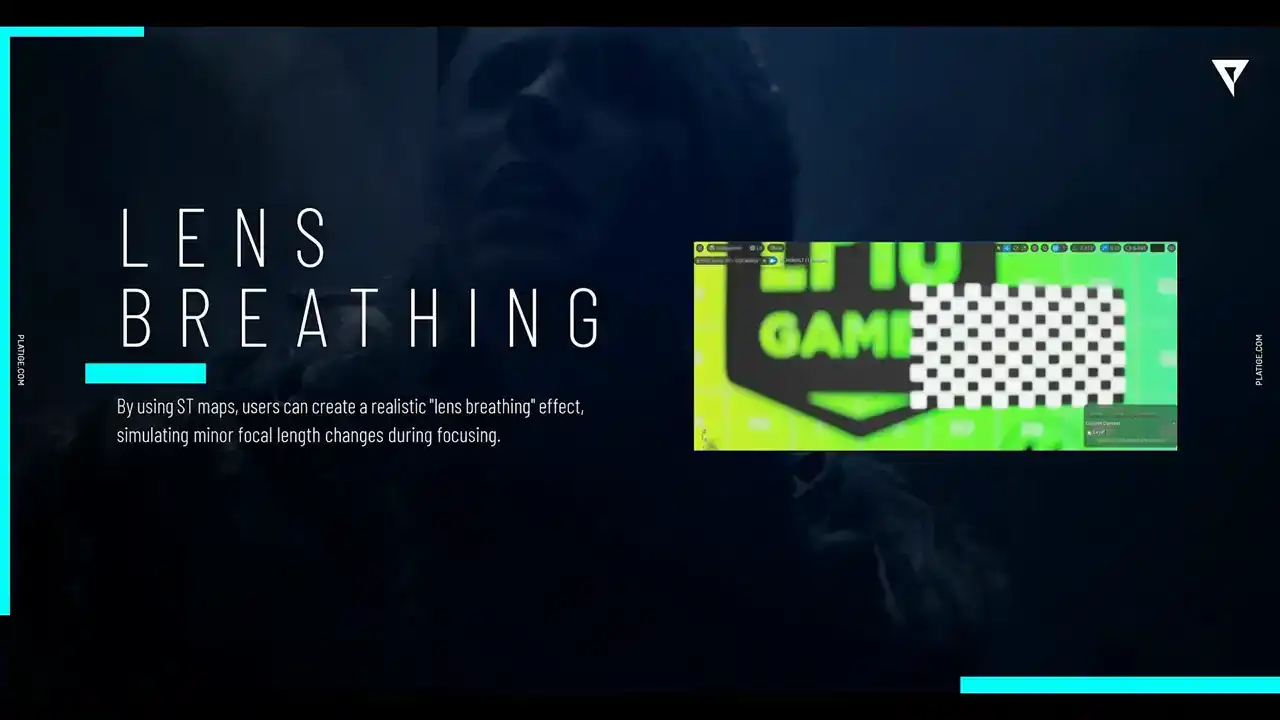
taking at different focus distances. And yeah, we could simulate it pretty accurately. So let's take a look at how it actually looks in the end. So again, we have our base image with the custom DAF enabled. And if we add in the distortion, this is what happens to the image, right?
So if you're wondering how everything looks combined after all of this time implementing
all of these little effects and the little details, let me show you.
So we have our base, no effects, we have the native doff enabled, and now we have our custom doff. So as you can see, we were able to improve the look of bokeh and have way more control over how everything looks, how each pixel in this image is affected.
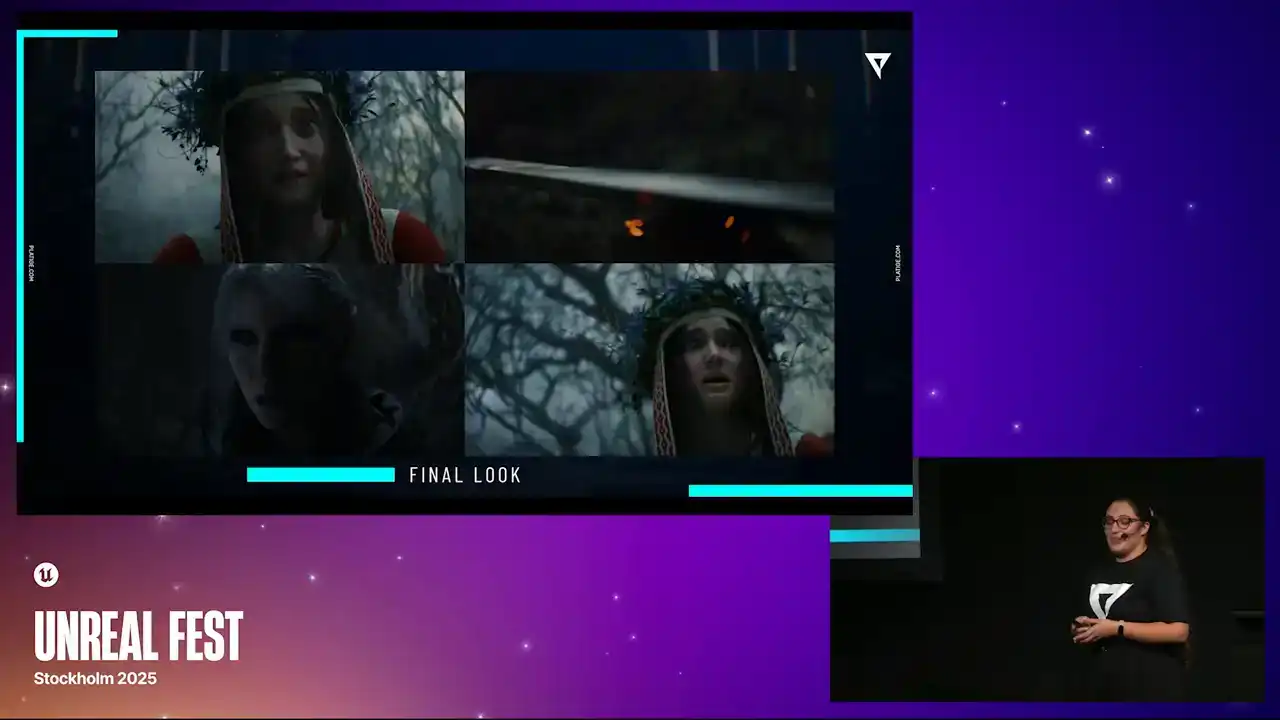
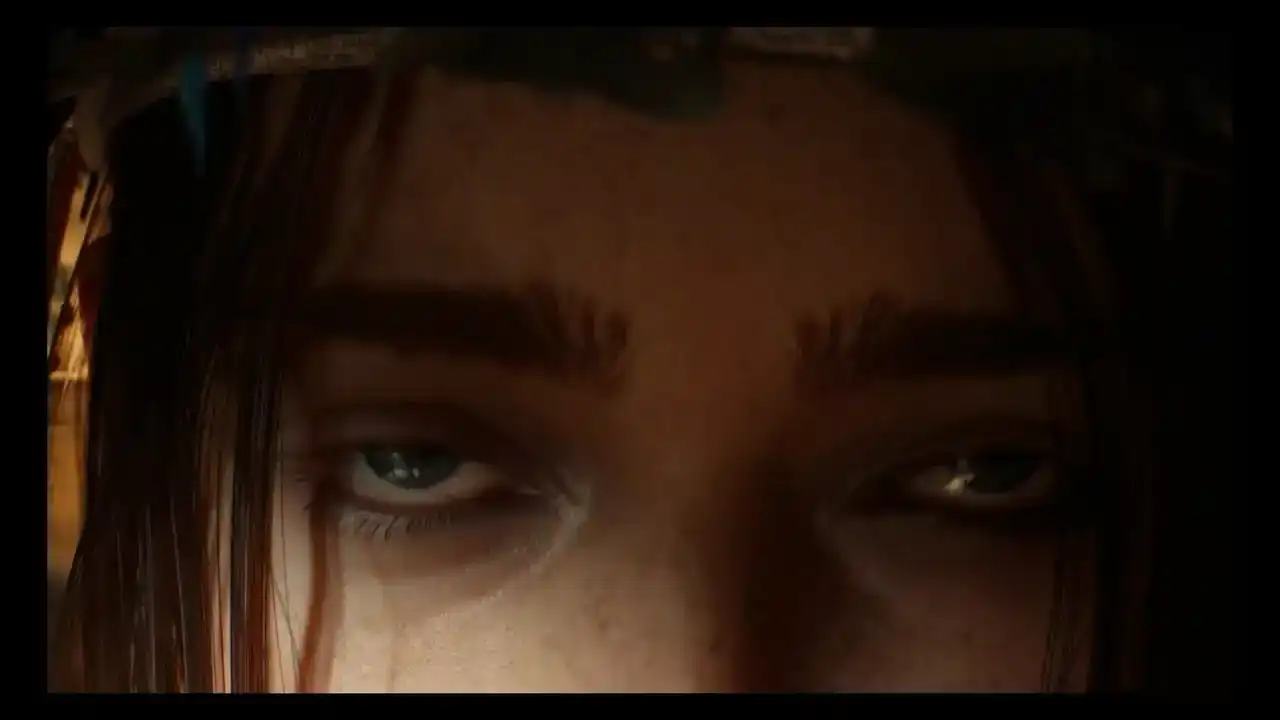
So here are a few snippets from the actual trailer.
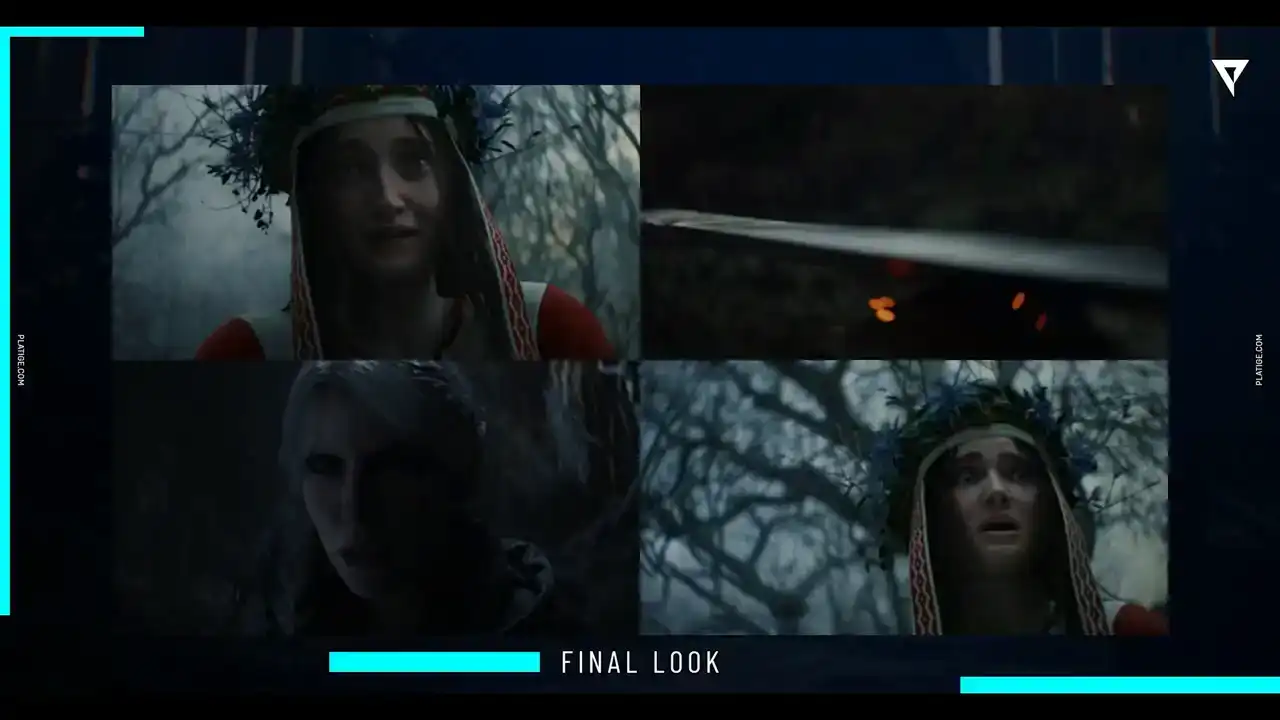
You can actually see some of the bokeh shapes when Ciri is sharpening her blade, or the background with the swirl effect behind Mione character. And we are really, really proud of how it looks in the end.
So a little shout out to Epic, because in Unreal 5.6,
there is now this new feature for the Petzval lens. And for sure, this would have been very helpful by the time. But nevertheless, it's a really amazing feature. So if you're curious to try it out, please do.
It's now available in 5.6. And we are almost in the end. So let me just share a few brief conclusions,
and then we can move on to Q&A if you have any questions.
So for sure, our biggest challenge in this project was trying to achieve this cinematic quality within a game engine without having the need to rewrite the whole rendering pipeline. We did try with our first approach using the post-process materials. We had good results, but as you saw, there were a lot of things we couldn't really fix. So we ditched that. We spoke with Epic. We had an amazing tip.
So huge shout out to Rod Bogarts. We had an amazing tip to use scene view extensions, and that really did the trick. Working with people, like incredible, talented people, like Kayatan Kapuscinski, the cinematic director from CD Projekt, and also Karol Stadnik, The cinematographer was really another huge part of the puzzle. You know, just again, I mentioned it in the beginning, but this collaboration between three different companies and different ways of working was truly amazing, and it made it possible to achieve this quality.
So it definitely was challenging, but very rewarding in the end. So thank you very much for attending our talk. Thank you.
Thank you.