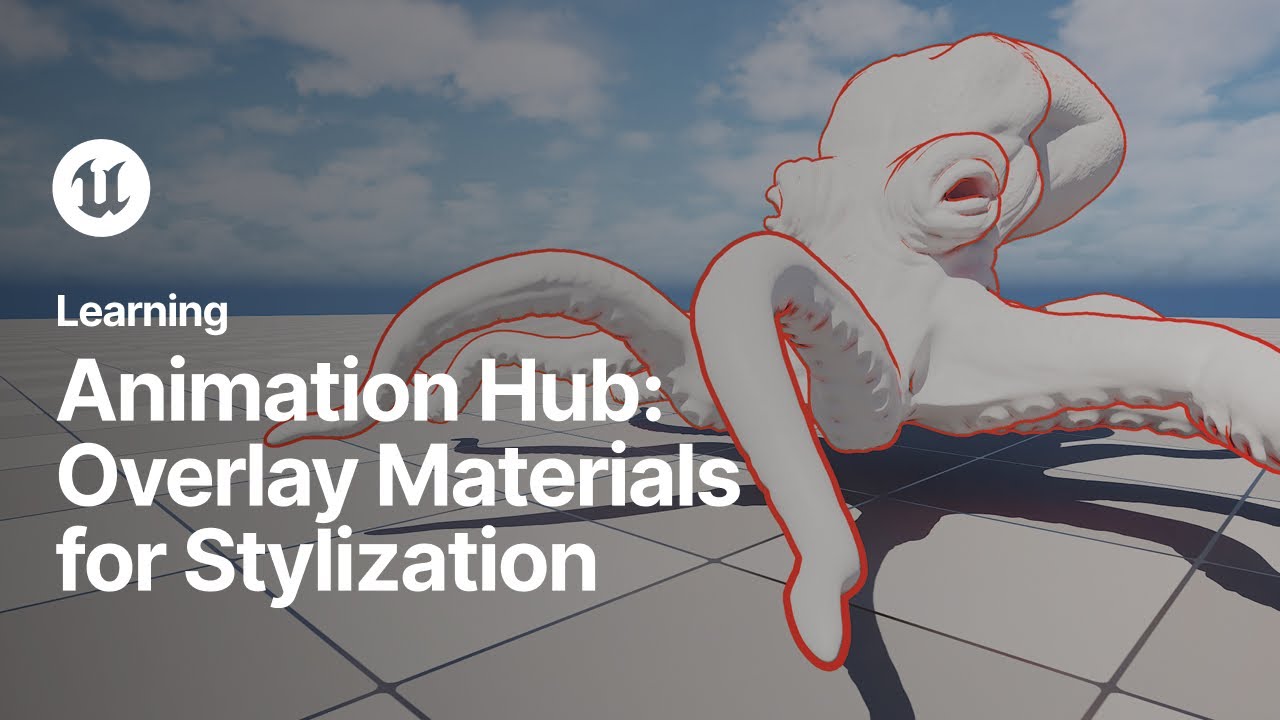
Welcome to Animation Hub. In this tutorial we're going to take a look at creating fine detail outlines using the overlay material slot. Let's get to it. In the content browser right-click and create a material and name it overlay outline. Double-click the material asset to open the material editor. Select the material in the Details panel and set the Blend Mode to Mask. Set the Shading Model to Unlit and check the box for Two-Sided. On the material, right-click on the Emissive Color setting and promote to parameter. Click the graph area and press the Tab key. Type Two-Sided Sign and hit the Enter key to create the Two-Sided Sign node. Drag the outpin from the two sine node and type 1 minus and hit the enter key to generate the 1 minus node This will produce the inverse of the two sine node From the 1 node connect to the Opacity Mass setting on the material Click in the graph area and press the Tab key. Type Vertex Normal World Space, or WS, and press Enter. Drag from the output pin and generate a Multiply node. Right-click from the Multiply B-Pin and choose Promote to Parameter and name it Lined Width. Drag from the Multiply node and connect to World Position Offset. Save and close the Material Editor. In the Content Browser, right-click on the Material and create a Material instance. Select your mesh and in the Details panel, filter the parameters by typing Overlay. This will show the Overlay Material slot. Drag your material instance into the slot to assign it to the mesh. Double-click your material instance to edit the parameters for the line width and the line color. And that's it. See you next time.