Movie-Render-Graph-Intro---Unreal-Engine
https://www.youtube.com/watch?v=0c8-8NSarDI
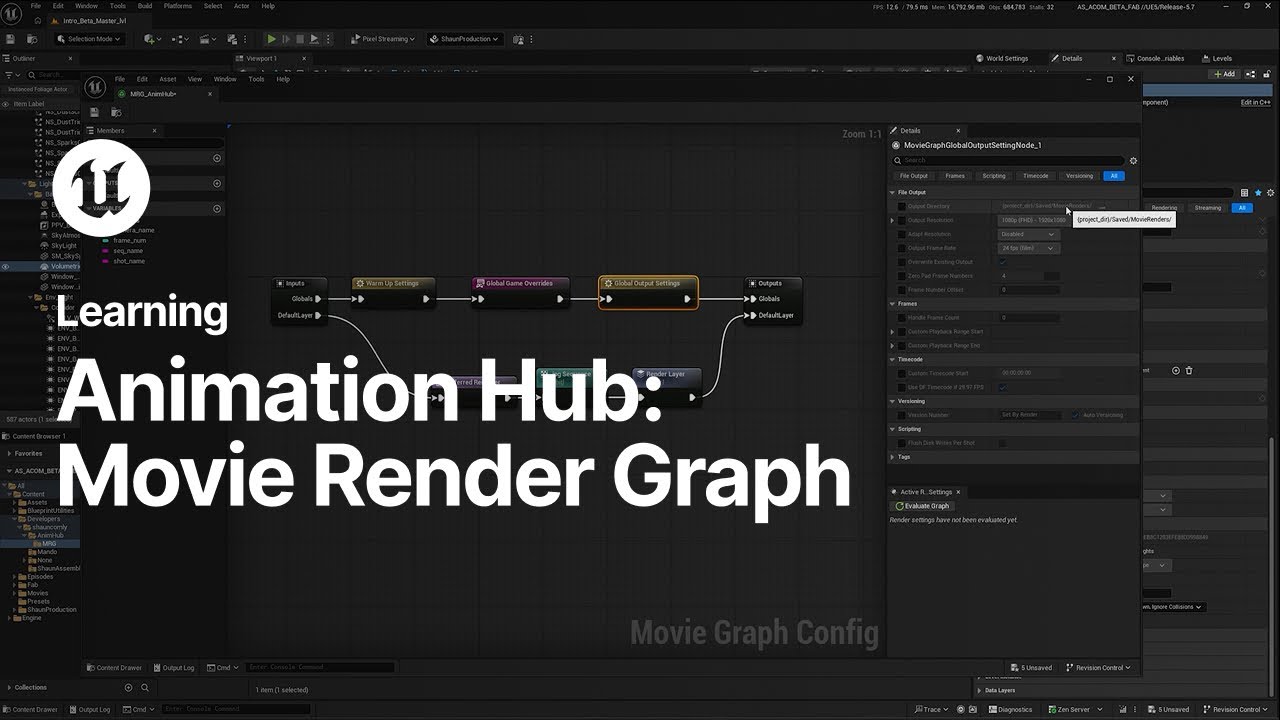
Hi, welcome to the Animation Hub. My name is Sean and today we're going to have a look at how to use MovieRenderGraph to render out shots and layers. So we got this cool Agora project here. We're going to grab a shot of this big guy kind of ripping the doors apart and then this cat looking that he comes jumping out of the way here. So let's go over here and if you right click and go to Cinematics, and MovieRenderGraph, you can name it whatever you want. here and let's double click and let's have a look real quick in a movie render graph here we go so a lot of these nodes and things should look pretty familiar if you're used to the movie render graph kind of legacy config a lot of this stuff is in here in movie render graph we just kind of exposed a lot of the more common settings that people are going to want to use like warm-up settings game overrides game output settings you know where you can change where where you render to, what sort of resolution. Just in the interest of time, we're not going to go over every single one. You can find a lot of videos and documentation out there on that. So movie render graph itself, you have your render globals, and then you have your actual layers here. So here is one example layer. The first thing that we're going to do is we're going to just drag this apart here and give ourselves something. We're going to delete this. We don't want to render JPEGs. Let's do EXRs here for now. And now in Movie Render Graph, there's this notion of collections and modifiers. Collections are just groupings of actors in your level, right? So if you pull here, start typing collection, you'll see this collection. And then you add a condition group. And there are multiple ways how you can grab actors in your level. You can grab it by layer, you can grab it by tag, you can grab it by type, you can grab it by sub-level. Here, we're going to do it by actor and name, we're just typing. So we're just going to hit a star here. And that's just going to grab every actor in our level. So we can control everything. Now the name is very important because everything in the graph concatenates from left to right, from input to output. So if you were to have multiple collections named no name, and they were all different, Whatever the last one is, it's just going to concatenate down and it's just going to take the last one and that's what's going to be no name when you go into output. So make sure to give your collections a name. We're just going to go see all here. Now let's have a look at what a modifier is. So if you go modifier, disconnect this for now. So what you do is you feed in a collection and then you mess with it per layer So you see is hidden cast shadows while hidden effect indirect holdout So it the same as if you were to just grab beta here and just set them to holdout. So holdout will be, it will render black in the primary rays but it will still be visible to shadows and it will be visible to reflections and refraction and GI. Effect indirect while hidden is if you have it hidden like this, do you want that to still be in your Lumen scene with reflections and GI. And the same thing with hidden shadows. You want it to catch that. So for this scene, we're gonna render our set and our background in one layer. We'll render beta here, the big guy in another. We'll render gamma, which is the cat thing in another. And then maybe these full 2D effects that they're doing in a fourth layer. So we need to make collections for all of these. So let's copy paste here. We're going to name this D, beta, and let's get beta here, beta. And if you ever wonder if you got the right thing in your layers, pick something else, if you select this little arrow thing or hit this little arrow thing, it'll select whatever this is. And now let's get gamma. And now we're going to want to get all of our effects here. Let's see the effects. And the effects are called, so we see dust, we see sparks, and then the 2D effects is just this project effect. So here, let's do star dust, star sparks, and then star. Great. So we have all of our collections. Now we're going to use these collections to hide things, unhide things, make things visible and make things not visible. The one thing we want to do is go back into this all. We probably don't want to be turning on and off our lighting layer by layer because we want it all to be lit and shadowed and everything the same way. So what you can do is you can add another condition group. And instead of putting this to add, you can subtract, meaning whatever you put in here is going to subtract from this collection. So we going to flip this over here to actor type And then here let type light And we want to grab all of our lights So point light skylight, backlight, so we're going to leave all of our lighting alone, basically. So now we're going to start making our layers. This is what your render frames are going to be called. So let's just name this BG It's a little over here. Drag this. And again, you need to name these uniquely. So let's go m bg holdout here. So this is going to be everything that we want held out in the bg layer. So we're going to grab beta and we're going to grab gamma and we're going to set those holdout and then now let's go grab our effects and since these are additive effects we're just going to turn these off so we're going to set holdout to off and is hidden to on so we want to hide them we want to cast shadows while they're hidden and we want to affect indirect while they're hidden so we want them to be in the lumency and go ahead and plug that in and that that layer is done. So now what we wanna do is we wanna make a beta layer, we wanna make a gamma layer, and now we also an effect layer. So what you can do is you can just pull off and drag up here, then it'll automatically make the output for you. Very handy. And then here, Oh, remember we didn't name this. All right, so biz. And now let's just copy and paste some of this stuff for the sake of time. So now this would be beta holdout. So we want gamma and everything else held out in the beta layer and we want the effects turned off but still influencing lighting on him, mainly GI. Since we're turning all off here, now remember beta is a part of that all group. For beta, beta. Let's do this. I'm in here and then beta is on. And we gonna turn it all now off We gonna say is it select So just walking through this we turned everything to hold out we made sure that beta was not held out and it's turned on, and now we have the effects turned off so that it can still influence lighting but not be part of the actual rendered scene. And we just want to do the same thing now for gamma. We'll pull down here, pull this off. We're going to switch this to gamma. Switch gamma over to beta for the holdout. Same thing here. Gamma. There's our gamma layer and now we want to do our effects. Pull this down, the effects pulled out. That's going to be everything. And then we just want to make sure that our effects are on. So let's take isHidden off, is stuff you can find, it doesn't need to be overridden. There we go. So now we have our four layers. If you hit save, and let's bring our movie render queue back over here. Pull this down, switch this over to movie render graph, and now let's load our graph. There we go. And if we hit render, we should see four layers rendering. So now we see beta knocking out the background. We see gamma here, see beta on his own layer. We see our effects layer here. Now if we open Nuke, and we bring everything in, let's switch this over to plus. And we can have a look. Now we see beta here. We see gamma jumping out. We have a look at the individual layers. You see that everything's holding out, but it's still shadowing and it's still reflecting. Let's have a look at our effects here. You see the effects here. They'll have emission. And we've split everything out into layers that we can mess with individually in comp. So hopefully that was informative and helpful. Please check out the details of this video for more information.