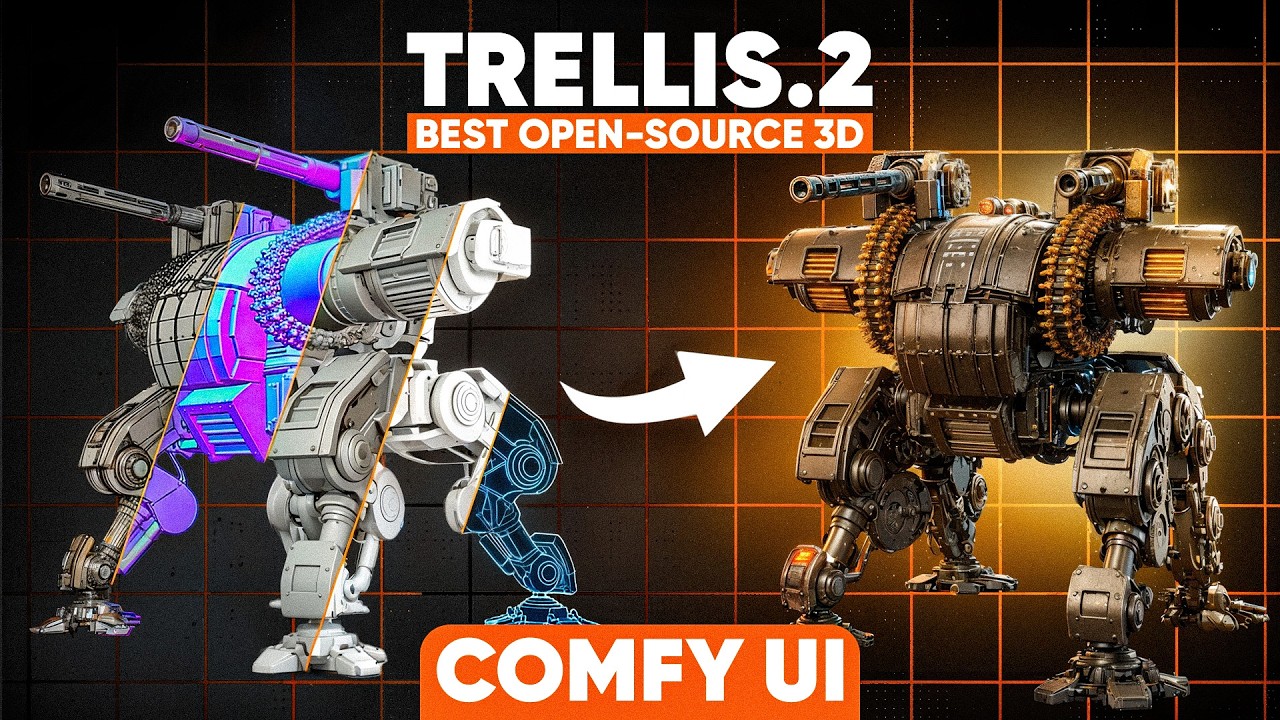
Trellis 2.0 was just released and marks a huge leap forward in open source 3D AI generation. In today's video I am going to show you step by step how to set up Trellis 2 in ConfUI to generate unlimited 3D models with the best open source 3D AI generator out there. In addition to that I will also show you how to improve your ConfUI settings to generate the best 3D models and AI textures possible and how Trellis 2 actually compares to other AI models. Having said that, let's dive right into it. And just to show you quickly, this is the page kind of Trellis 2 and we have then here some examples. For example, you see we have PBR texturing on it. We have 4K texturing as well in case we would like that and we have really high detail in our models as you can see here for example we also have transparent objects that we can have with opacity maps and so on as well as hard surface objects with a lot of details and this is really huge because it runs under an MIT license which basically means that we can use it also commercially there's just one thing that it's using NVDivRest so when I spell it correctly like this one and this one has a different license so you just need to check for this one as well if it's allowed to use commercially but otherwise apart from that everything else is definitely open source and you can use it for your commercial projects which is simply amazing and to show you now actually the real good stuff is that we have now a confio iwrapper for trellis 2 and here really really huge shout out as always to visual bruno who did here an amazing job to create this repo in like no time and to set it up for windows so that we can use it and it's working really well and the installation is also quite straightforward and I will show you this now in detail how to set it up. So first things first we need to talk about the requirements for this installation and as you can see already he stated here already that we need to have access to Facebook Dino version 3 models in order to use Trellis 2 and when we go to this website here you can see that I have been granted access already you just need to fill out your information over here and then usually it just takes a few minutes until you get approved and once you get approved you can then download this file over here the model.savetensor so we can also quickly download this and now we can put it in the folder of our choice and for this one we need to put it then in our confui folder and i will quickly navigate there and once we are here in the confui folder i'm using here the portable version but you can also use the desktop version for it is that we need to go to models and like this and then we need to create a new folder actually which is called Facebook like this and then we need to dive into here and then we need to create another folder but I will quickly save this here first go to save then I will opening this folder because as you can see here the folder needs to be named Facebook and then slash dino version 3 and so on with exactly this naming so the script can find it later on so I will just quickly open this folder where I save the file so under models and then Facebook and here we'll then actually create a new folder called it dino version 3 and then the rest of it that it's exactly this name and once it's then downloaded you see it's then called model.savetensors and you can just drag and drop it in here and this is basically already the first step just make sure that the naming is correct here and I will link you down below a detailed pdf guide that you can download for free with all steps that we're discussing here for the installation with all the comments as well so you don't get confused and can just follow along step by step with the tutorial and with the PDF guide. And once we have done that, the next requirement is actually that we have a working Python version that works with this ConfUI wrapper as well as a PyTorch version and CUDA version. And as you can see, he tested this here on Windows 11 with Python 3.11 and Torch 2.7.0 and CUDA 12.8. I also tested it. It's also working with Python 3.12 and I will show you this exactly how to install it with Python 3.12 but otherwise you can also use Python 3.11 and it's tested on Windows 11 so far but it could potentially also work on Windows 10 but I didn't test this so far and didn't have the chance to. Anyways what What we can do is I will also provide you this ConfUI Windows Portable folder here in the video description because there are a few things we have to be certain about. For once it's the PyTorch version that we have this one here set up, the Torch 2.7.0 and CUDA 12.8. This will be pre-installed in the folder that I'm providing you. Otherwise, I will also give you the comments in the PDF guide how to set this up for your existing ConfUI and it will run under Python 3.12. more thing that is very important to make it run is actually that in the python embedded folder that we have here a folder called include and libs because both of them are not provided by default so it just important that you copy them over from your Python directory or download it directly through the drive folder that I provide you with And just as a very important note, I tested the installation so far and the workflow and it runs with around 13 gigabytes of VRAM for default settings. I'm running this workflow with an RTX 5080. Just for you to know, this is also the new architecture for it, But this should also work with your RTX 30 series or RTX 40 series. Anyway, so now finally the first step we need to do is actually to git clone this ConfUI trellis directory that we have over here. So I will just quickly download this link. Just make sure that you have everything included in here. Then we're going back to our ConfUI Windows Portable folder to ConfUI and then to Custom Nodes. And here we can then open a command terminal like this with CMD. And then I will just type in git clone and then the link of the installation. And then you can just hit enter and then it should copy this over. In case there's an issue or something, make sure to download git. It's a free package. You can just download for free. And this is then making it possible to copy folders around. Okay, great. And once we have copied that over, we can now already install the wheels for it. And as you can see, they are already provided for us, which is really great. Here it's for 3.11. But when we look at the folder over here in the wheels folder, we will also see under windows that it will have here torch 2.7, but also torch 2.8. You could also use pytorch 2.8 here. But for the 2.7, we can see over here that we also have it for Python 3.12 actually. And you can always check which Python version you have in your folder just by going to Python embedded and then run the Python.x file. And as you can see here, it's 3.12.10. and this is telling us then that we need to use the wheels that actually have the 3.12 Python installed. So to do that is also very easy because it's also provided here as comments. So we will go back to the directory over here and here's the installation guide and as you can see we are using here the Confierre Portable version. Make sure in case you're using the desktop version to use this one here. Otherwise for the Torch version 2.7.0 that we are using we can use this one here. So what I will make sure is that I copy them over for example in a notepad file and since we are using python 3.12 we just need to change the name over here from 11 to 12 so we do that quickly but I will also link you those paths in the pdf guide so you don't need to do that yourself and once we have that I will just copy them over here then I will go to the confioi windows portable folder make sure that you're really in this directory here that you see like the kind of start page of the confiar folder and that you have here as a next step the python embedded but we will go in here type in cmd and then i will just paste them in and then paste anyway and then as you can see it will successfully install each wheel that we need for it which is amazing and will save us a lot of time just make sure to hit enter when it's asking for something and then you should see that it's set on every step that it's successfully installed all the wheels that we need by the way in case you like this video so far, please make sure to subscribe to the channel. This would be a huge support so I can keep doing what I'm doing and feel free to join our free discord and newsletter which I will also link you down below. Having said that, let's directly continue with the video. Next step is now that we also install the requirements.txt file and this is also very easy. So I will go to cmd and then I will paste in this command that I prepared. This one you will also find in the video description as well and then we can hit enter and then it will successfully install the mesh lip for us and the requirements that we need for it and now there's just one last thing to do because we also need flash attention and xformers installed so i will also quickly do that by just going in the cmd tab again over here by the way here in the main folder as you can see where i run those comments from and what i can say then is for the xformers is that i'm pasting this one in here and then hitting enter and as you can see now the xformers installed for our pytorch version all right and after we installed the xformers and there's just one more thing to do and that is that we also install flash attention and for this one there's a website here with provided windows wheels and here you will find for your torch version and your cuda version the correct wheel and we are in this case having this wheel over here because we have this torch and the CUDA version as well which is matching and we have Python 3.12 so we will need to install this wheel over here in case you're using a different version like a different Python version then you of course need to download a different wheel and once we have that you can just click on here and then save it to your folder I did this here in the custom nodes Confiorei Trellis 2, Wheels, Windows and then Torch 2.7.0 and I just did it as a test right now and as you can see I saved it here already Just make sure to save it here and that the naming is then correct And then we can save it And then to install it is also very straightforward So we just need to in our confi folder to create a new command window over here And once we have that what we need to do is then pasting in this command over here. So again, python.x minus mpip install and then the path to your wheel. In case you're using a different one, you would need to change the path over here obviously but otherwise it should work like this and then you can hit enter and then it will install it for you. By the way there's also a small install manager for portable version.bet file in the conf.ui folder I'm providing for you and with this one you can then also install the conf.ui manager in case you don't have that yet because we will need this one so I will just wait quickly and once we have that we can now finally launch conf.ui by just double clicking on here and then see what we get here you can also always check once we launch it in case we encounter some issues and if it imports correctly or not sometimes there's still a dependency we still need to install so let's check quickly if we have that or if we are fine all right and as you can see there's just one more thing to do and this is that it's not recognizing cv2 over here so this is also a very easy and quick fix we can do is that we go over here again in our command line and then we go in here and to do that is then to type in this command over here python embedded python x minus mpip install opencv python and just as a general rule of thumb you can always when you check your log and you see that the module is missing just paste that into chat gtp or gemini and most of the time it will just spit you out directly the correct command for you to paste it in just mention here in case you're using the portable version that it should then adjust the path for it but otherwise you can then directly use this. I am doing this all the time you know to fix issues and as you can see this should be the correct one now and now it's installing the OpenCV package that we need. All right and once we are in ConfUI we can now finally open our first workflow and I will do that quickly. You will always find the workflow by going to ConfUI UI then to the custom nodes folder ConfUI Trellis 2 and then you will see example workflows over here and then you can simply just drag and drop them but I will also make them available to download for you directly otherwise you can also get them from here and you will see that we have a simple and an advanced workflow and over here we will start with the simple one so I will just quickly drag this in here and then we can start to directly upload our first image and I will quickly do that and i have here this angel kind of woman fantasy woman so yeah this is what we are going to use as our first model for testing and once i have that i can then just hit run and then it will start with the generation for the first time where you will launch this workflow it will then fetch some files here and will download them for you definitely make sure then to not close the window at any circumstances the download can take quite a while like 30 minutes maybe 60 minutes even just don't close the window because it will then directly download all trellis models that we will need for the workflow so definitely make sure to yeah not close the window by the way the error loading model over here alert you can ignore this is just popping up for some reason but it shouldn't play a big role so you can just close this and then just wait until the generation finished all right and once the generation finished as you can see we have it over here and the whole generation took in total 140 seconds on the default settings that we have here and i will show you now in a second how to also improve it and with step size and so on this is the first result we actually get we can definitely improve this now but just for you to know this is the basic setting that we get with the texture as well which is really cool and we can now start to refine it because over here you actually see we have trellis 2 the voxel generator And here, for example, we can also choose what kind of resolution we would like to have. And we can go even higher here, for example, that we're choosing the 1536 cascade model. And this one is then even more precise from the model generation. And we can also go up here with the steps, for example. So I tested this with 50, for example. This, of course, always depends on your GPU as well and how far you can go here. but something like this might work already and should then already improve your mesh by a lot. Apart from that you will always have a seat here that is set to randomize so it will generate with each go a different seat and trellis is also very dependent on that. So sometimes like hands for example or facial details are better in a different seat so definitely make sure to generate multiple versions of the same model and see what works best for you. We're just then here targeting the face number that we have and then over here you can also adjust the face size because here it going down a bit with the face number that we then have around 1 million faces in the end So this is really cool and you can also decide here if it should remesh what texture size you would like to have You can also upgrade this to 4k for example if your GPU is strong enough and with this adjusted settings we can now as well run our workflow again. Alright and then once generated as you can see we get even more detail in her shape and overall. Of course we can not only generate characters with Trellis 2 we can also for example go in here and upload for For example, this building over here, which is also great. And because Trellis is also really good at hard surface models, so it's not only characters, which is great. Just make sure that your resolution of your image is always one by one. Because when you upload an image like this one here, for example, there you see in a different resolution and then the image will be quite stretched. And for best results, make sure to either use a remove background node and BG node from ConfiUI which I will also link you down below or make sure to directly remove the background in Photoshop for example that we have a solid alpha over here and just to make this quicker again I will go to 1024 again and then make sure to adjust the step size a bit and then we can run the workflow again and then this will be also our result and as you can see already the texture is also kind of delit which is great so it tries to remove the lighting on it and we then get you know a solid albedo texture, which is more or less not affected by the lighting of the input image as well. And I think this is also very powerful and exactly the correct step in the right direction that 3D AI power generation needs to go, that we have solid albedo textures and so on. In the folder, you will also have an advanced workflow, as you can see here, but there is at the moment still a bug. So with the texturing, as you can see here, so I would recommend for now to use a simple workflow, but I'm sure this will be fixed in the next few days. And as you can see here, you will then have way more plenty of options. I will go in detail in another video in case you are interested about that. Please let me know. Basically, this is all regarding ConfUI. I also generated a bunch of images I can show you now in Blender so you get a sense of the quality of Trellis and a bunch of more comparisons. I also wanted to show you quickly some comparisons. So for example here with the angel model we have, we see the difference over here. This was generated with Han Yuan 3D 3.0 and this is with Tredis 2 locally in ComfyUI. And I think you can really clearly see here like the details we have in the shape that are kind of missing here in the model at least. So for a base white mesh for 3D printing for example, this is really cool. When it comes to a cloth, it's a bit more messy than what we have over here for example in the Han Yuan 3D version. but I think for an AI generator that is open source and completely free to use this is a huge huge step and really cool obviously when we look at the wireframes you see that we have a lot of polis here so we would need to retopologize the mesh in case we would like to animate it and stuff but there are plenty of options now out there for example that we loaded into Honeyon 3D Studio and then going to retopologize it I will also link you a video right here where you then can check it out But I still wanted to show you this because this is obviously more for a base mesh or for further refinement than really good. I generated here as well a bunch of other models just to show you some different variations. For example, we have here this assassin style model. One issue that still stuck out to me at the moment the most is that we still have in Trellis 2.0 these kind of holes in here. So I will definitely also make a video about how you can fix the holes in the mesh because they are still quite apparent. Unfortunately, it depends on your seed and how many models you generate. So it's a bit of luck as well, but you can see that you have them at some point in your mesh. So definitely something to consider. We also have here this example. This I think was also in the repository from the Trellis developers for hard surface models. But I think we can really greatly see the shape of it as well. We have here as well. And here you also see detailed turntables about different models we tested with different settings and so on side by side. So that is great, I think. And when we look at the textures, we see that we also get a really high detail in here. This is, for example, a 2K texture. But we see that we have definitely an improvement in the albedo texture. And also overall, it will come with PBR textures, which is great. This one here as well, we can see that we have a lot of like wear and tear and dust breakup and stuff like this, which is really amazing for a texture. And over here as well, we have then, you know, the metallic parts standing out and stuff like this. This was from the original image as well, just a brown texture. So this is something else. And the house texture was generated with the broken workflow. So I really hope you have enjoyed this quick overview and how you can set up ConfUI. Please let me know down below in case you have any issues or questions as always. And in case you have liked this video, please make sure to subscribe to the channel. having said that see you on the next one