Between-Tech-and-Art--The-Vegetation-of-
https://m.youtube.com/watch?v=wavnKZNSYqU&pp=ugUEEgJlbg%3D%3D

It is said God created our beautiful world in seven days and even took Sunday off.
It took Guerrilla Games seven years to create the world of Horizon, and we often had to work on Sundays.
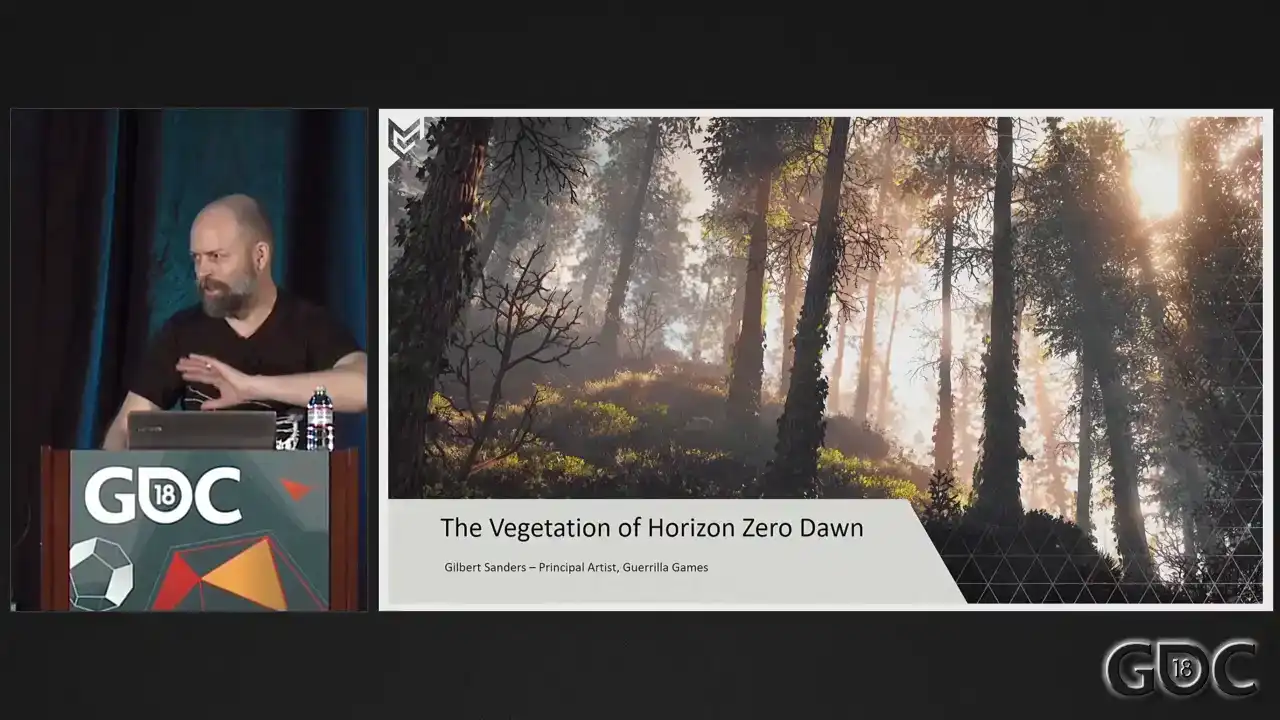
This is the only joke that's in here. The rest is just tech talk. Welcome, everybody. It's good to see the house is full. I was asked to remind everybody to turn off their cell phones. So if you could do that, if you haven't done already, it's appreciated. Welcome, everybody. Good to see you all here. Allow me to introduce myself. My name is Gilbert Saunders, and I'm a principal artist at Guerrilla Games. And together with two other artists, we are responsible for the creation of the vegetation of Horizon Zero Dawn. I've been working at Guerrilla Games since 2006.
I worked on Killzone 2 as an environment artist and on Killzone 3 as a shaded texture artist. And after these two games, at the beginning of 2011, I was asked to join a small team of people within the studio that started testing and prototyping what later would become Horizon Zero Dawn. did a little bit of work on Shadowfall, but you'll see that also later on. And from 2014 onwards, full-on production on Horizon Zero Dawn. Now, please, by show of hands, how many of you have played Horizon Zero Dawn? Nice. That's good. That's good to see. Well, playing the game, you might not have focused on vegetation as much because you were focused on the dangers of the world. So we're here to talk about vegetation. So let me start off with a little
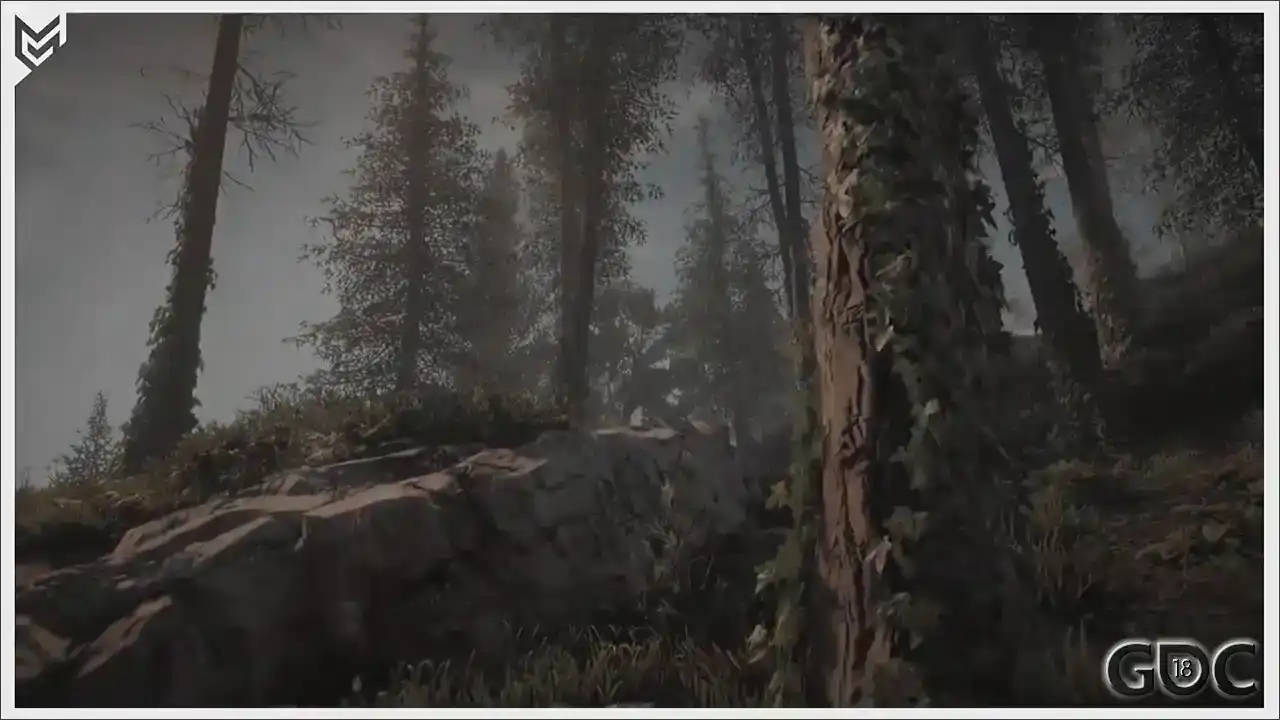
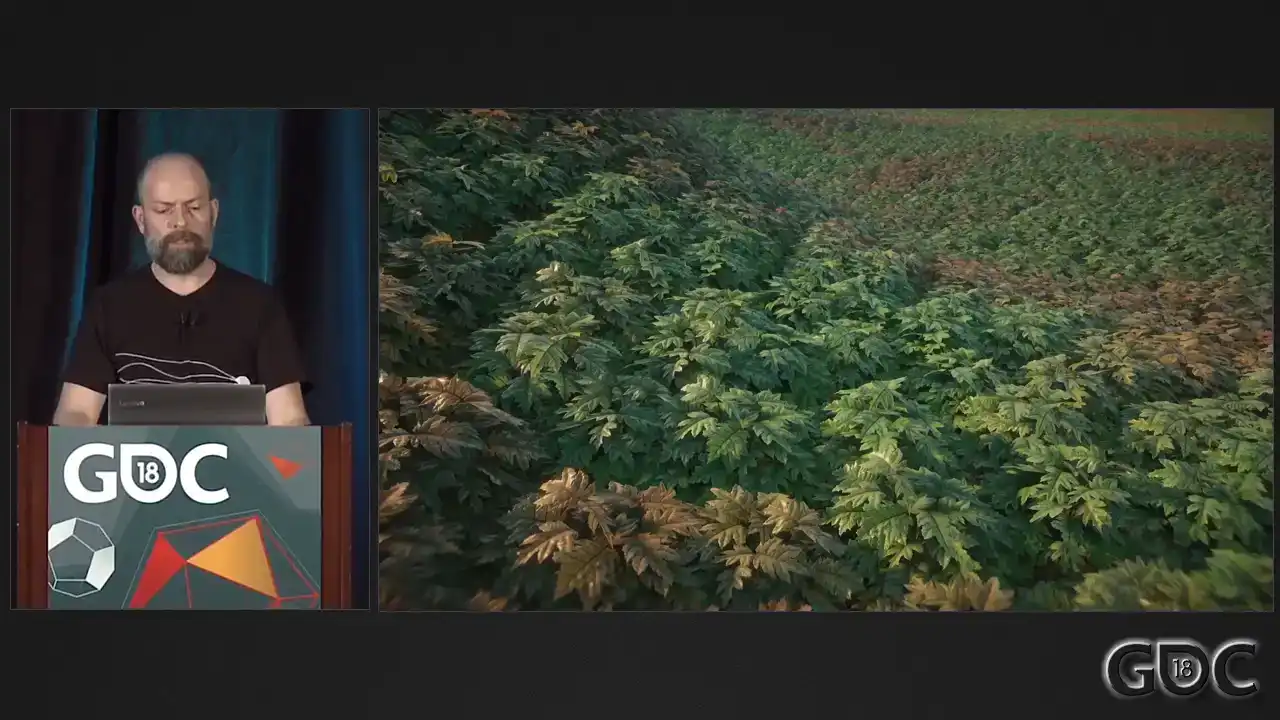
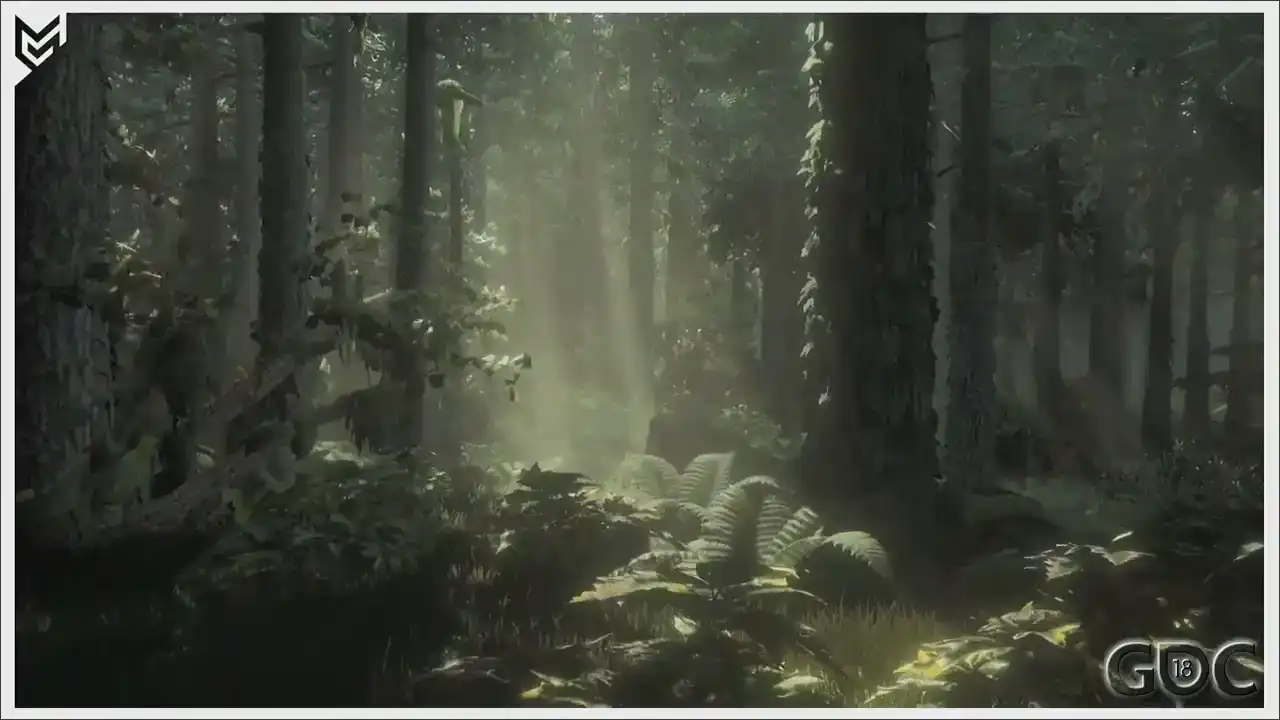
clip to show you what we ended up creating. I don't have any sound, so usually you get
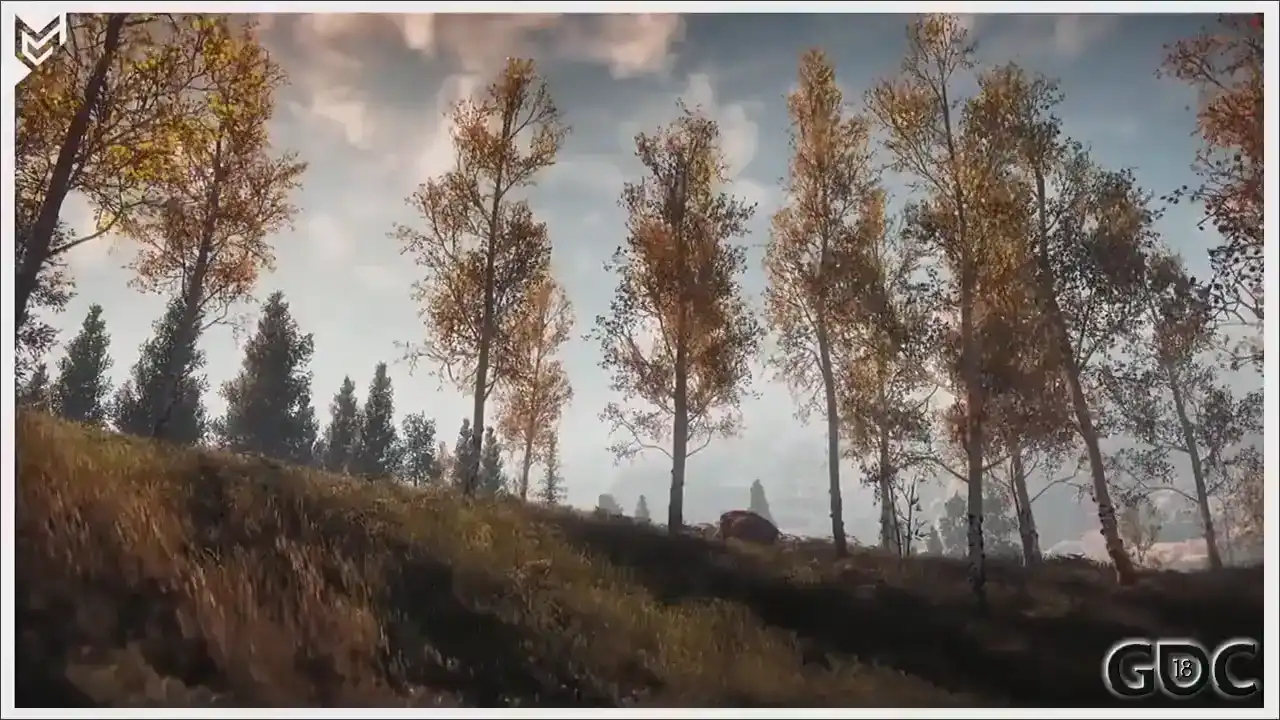
something like. But yeah, I won't bother you with that.
So just a little bit more.
All righty.
Okay, you are all gathered here today to hear me talk about the vegetation we created for our game. Most of you have dealt with same or similar challenges when it comes to creating, simulating and rendering nature assets.

Nature assets are still, even on this generation of hardware,
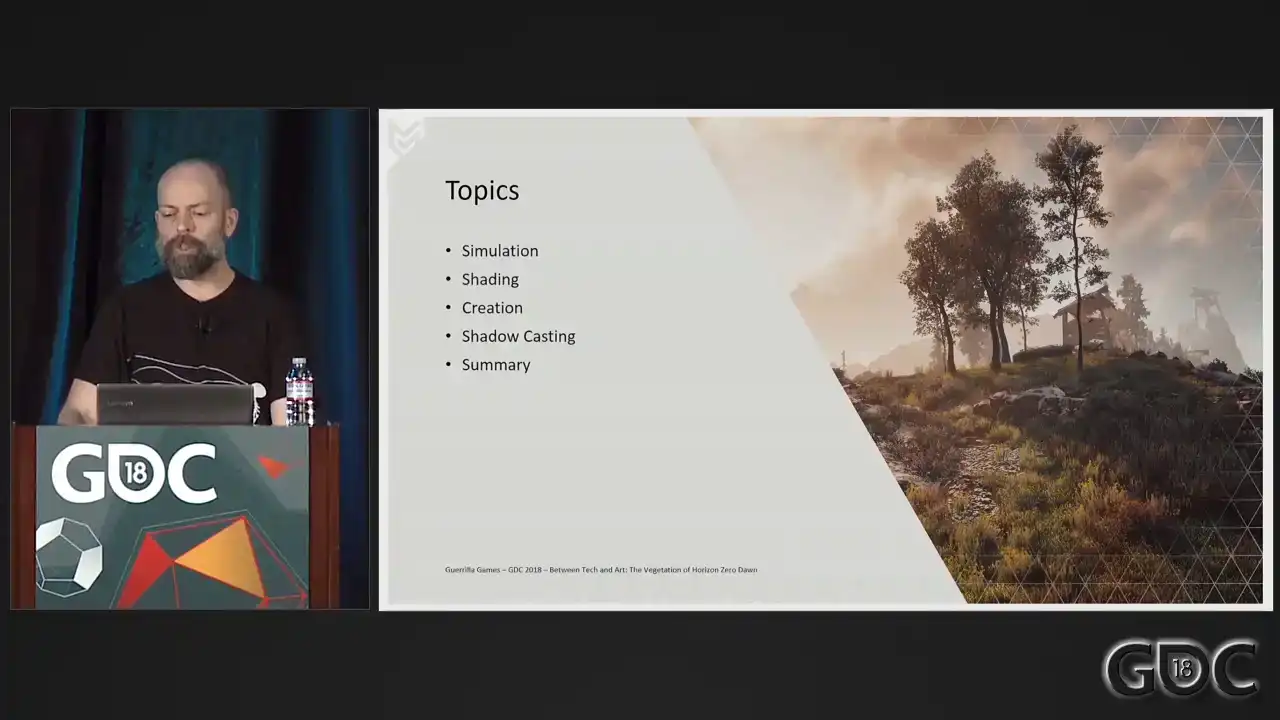
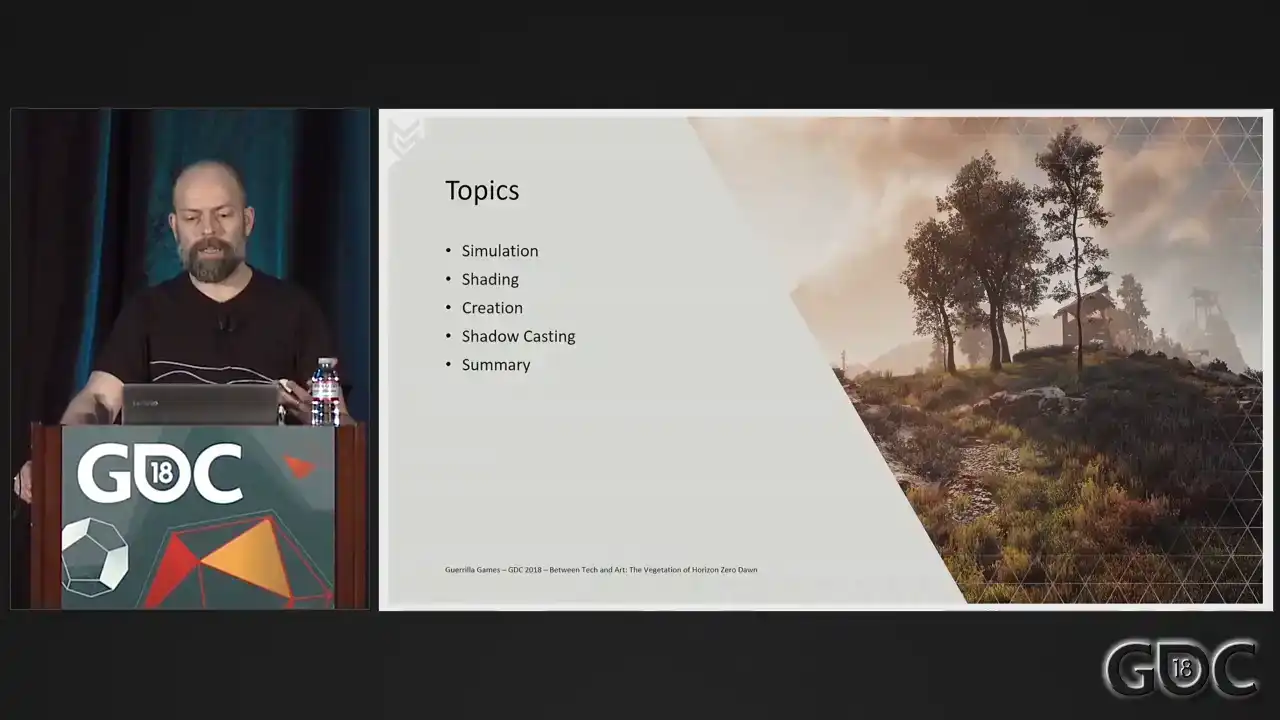
at best, annoyingly oversimplifications of the real world. Which is, besides annoying, also what makes the subject so interesting. The philosophy of make more with less certainly applies here. On the screen right now are the topics that I will touch upon today. Together, they represent the artistic and technical challenges of creating and rendering large amounts of vegetation in our Decima engine. But first, let me start off with some overall information, history, after which I will quickly start addressing these subjects. First, some information on our Decima engine and renderer.
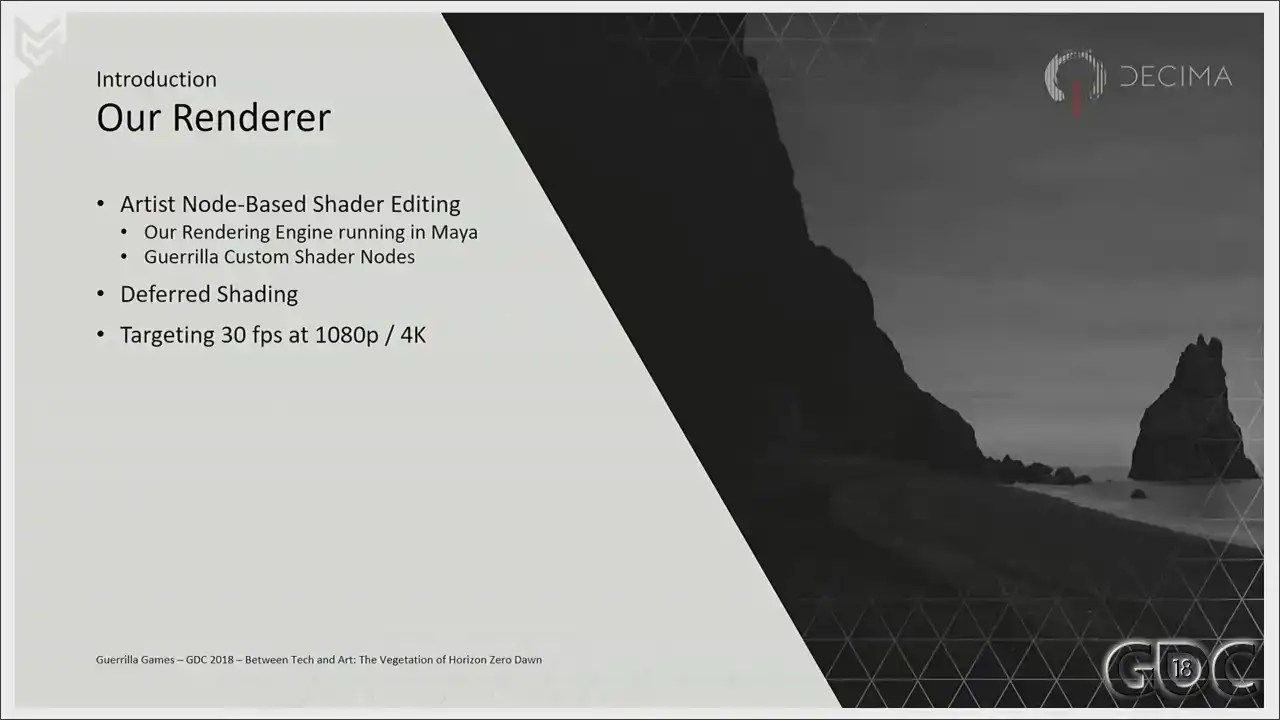
We are probably not completely unique at this, but within Decima, as an artist, I'm able
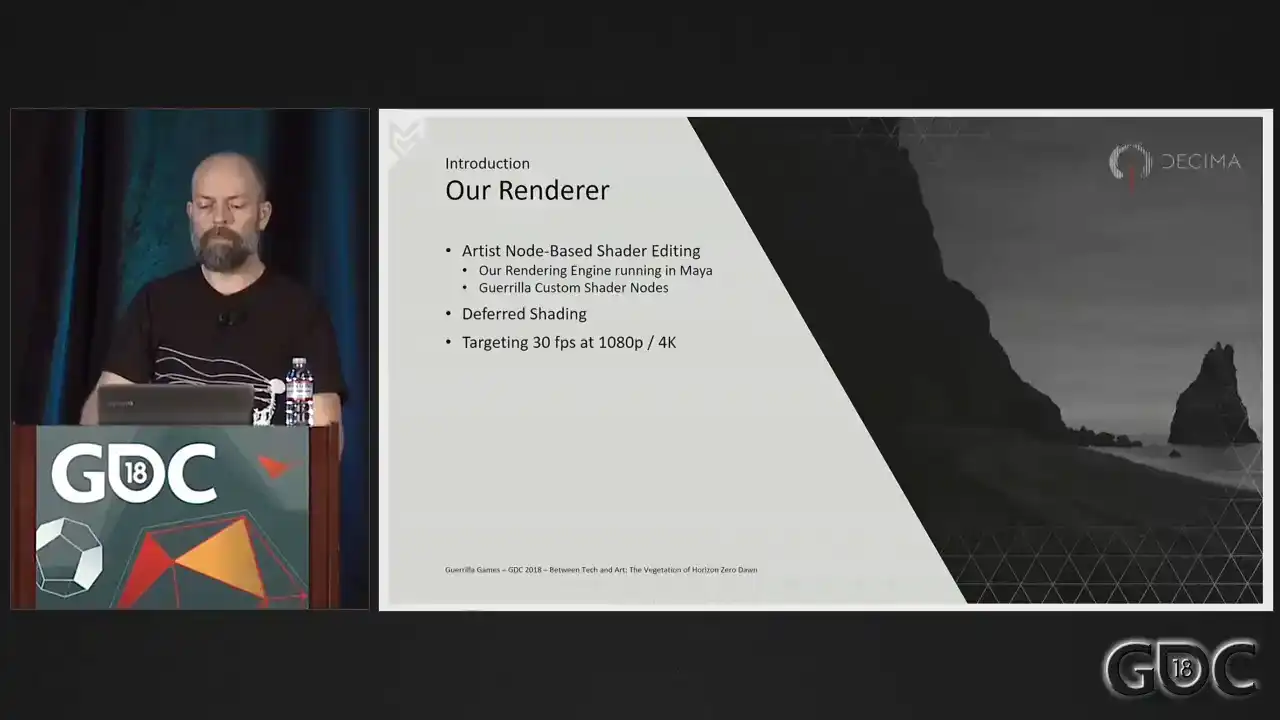
to create and maintain my own shaders. Of course, this is only possible under the ever watchful eyes of our tech team. Shader creation happens in Maya through Maya's own shader nodes, together with a large amount of custom shader nodes provided by our graphic programmers. Profiling the performance of these shaders lies with the artists themselves, again, under the guidance of our tech team. But as such, there's a real feeling of ownership when it comes to the quality of the shaders, the assets, as well as the performance of my work. Our Decima engine uses the third shading, and we targeted Horizon Zero Dawn to run 30 frames a second at 1080p on a PS4 and 4K on a Pro.
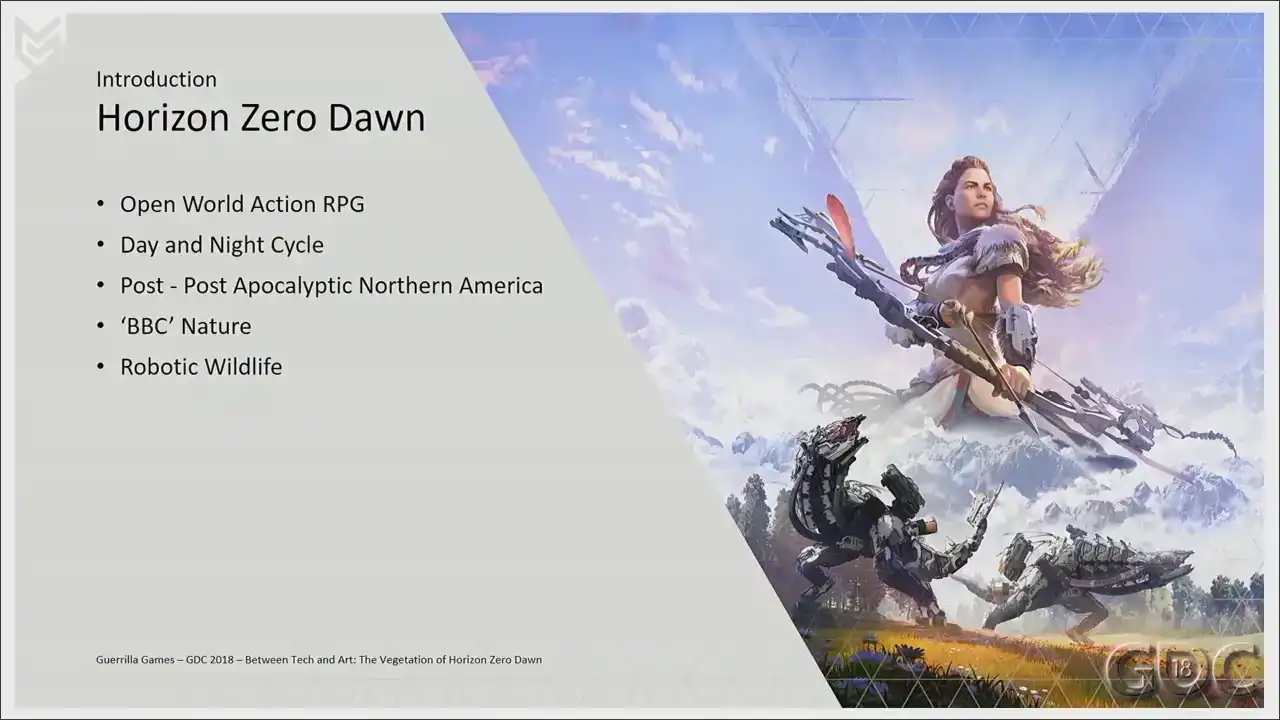
When we started to develop what much later would be named Horizon Zero Dawn this new IP we were shaping was going to contain all of the things you see on screen right now
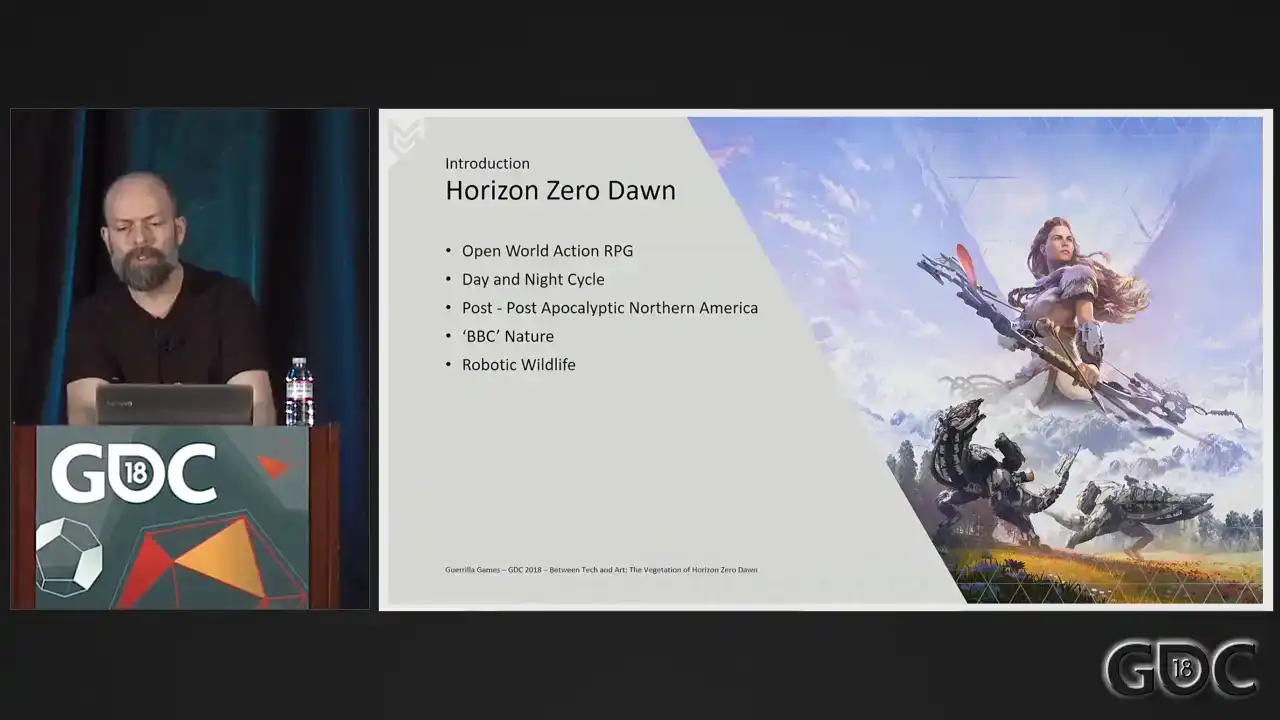
And from the moment most of us heard the pitch for this new IP, we were sold. Especially me and especially when it comes to the BBC nature up there. And seven years later, I'm standing here in front of you to talk about it, and to talk about what has become one of the pillars of Horizon. While we were slowly formulating and creating the world of Horizon, the rest of the studio was busy building Killzone Shadowfall, a large title on the new PS4. In this game, behind enemy lines, the one nature level in Kalezone Shadowfall can be
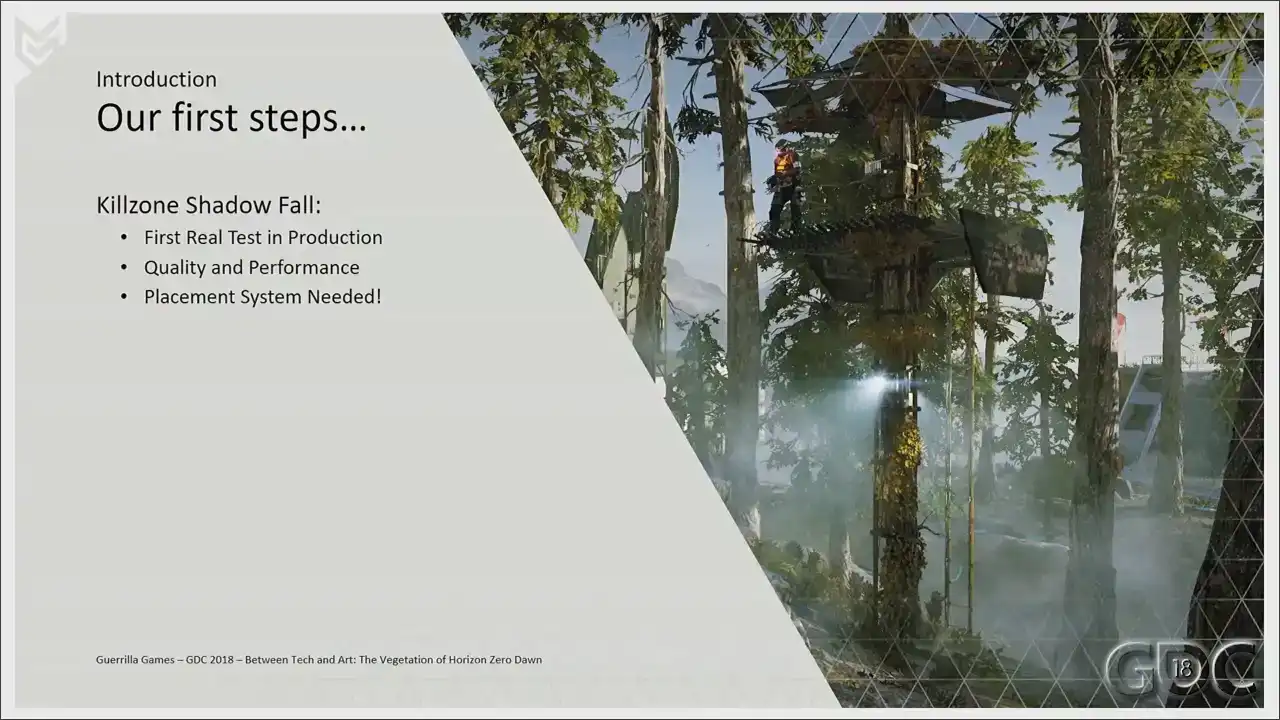
seen as Horizon's testbed. It was a first real test in dealing with the production, the look, and the movement of
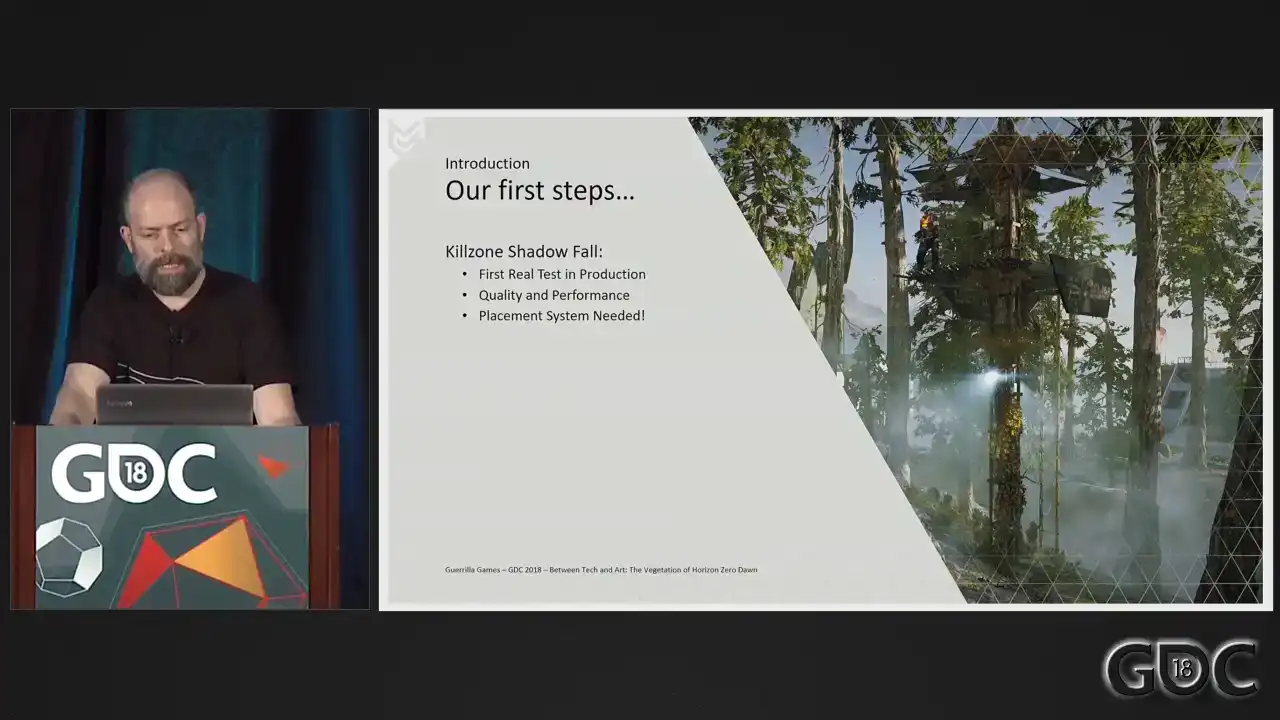
vegetation. We soon discovered that since vegetation assets are not static assets, but assets with a layer of simulation on top, outsourcing and maintaining them proved to be slightly difficult. We also got a good look at the performance of this nature level and that learned us that creating foliage the Killzone way would not work in the open world of Horizon. We really needed to rethink polygon, shader, and texture budgets. This level also marked the first humble beginnings of the placement system. We had an up and running in behind enemy line in the simplest form, but it told us that without the placement system, we would not be able to create the world of Horizon, not the world that we truly envisioned. To emphasize this, I would like to point to a talk that my colleague Jaap, who is here today as well, gave last year at GDC. And
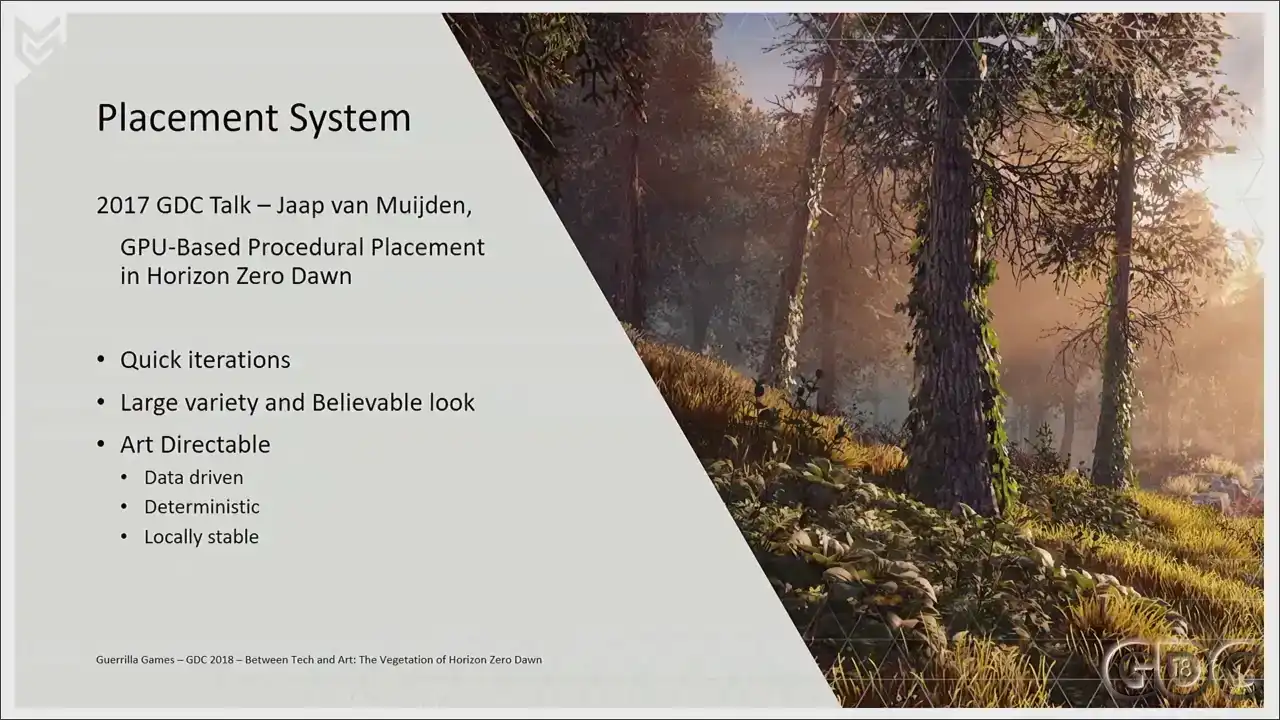
you can find the paper on Gorilla's website. And of course, you can watch it in the GDC
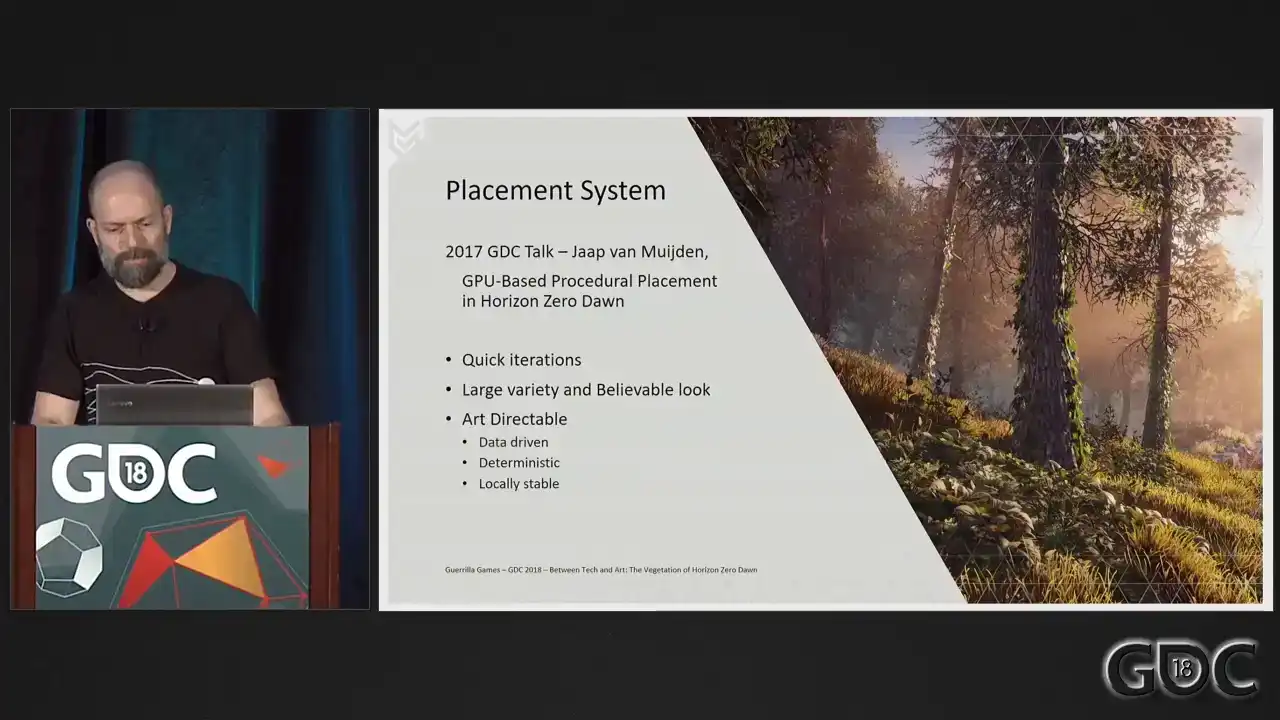
But the short version is we created a system in which an artist can describe a large variety of interesting and believable environments which can be applied anywhere in the world. We wanted the system to be highly art-directable and seamlessly integrate with manual placed art. It needed to be fully data-driven, deterministic, locally stable. It helps us not only filling the world quickly, but also in testing phases and testing the scale and performance of new assets, for instance. So I truly recommend checking out Jaap's talk. I'll supply a link at the end of this presentation in the last slide.
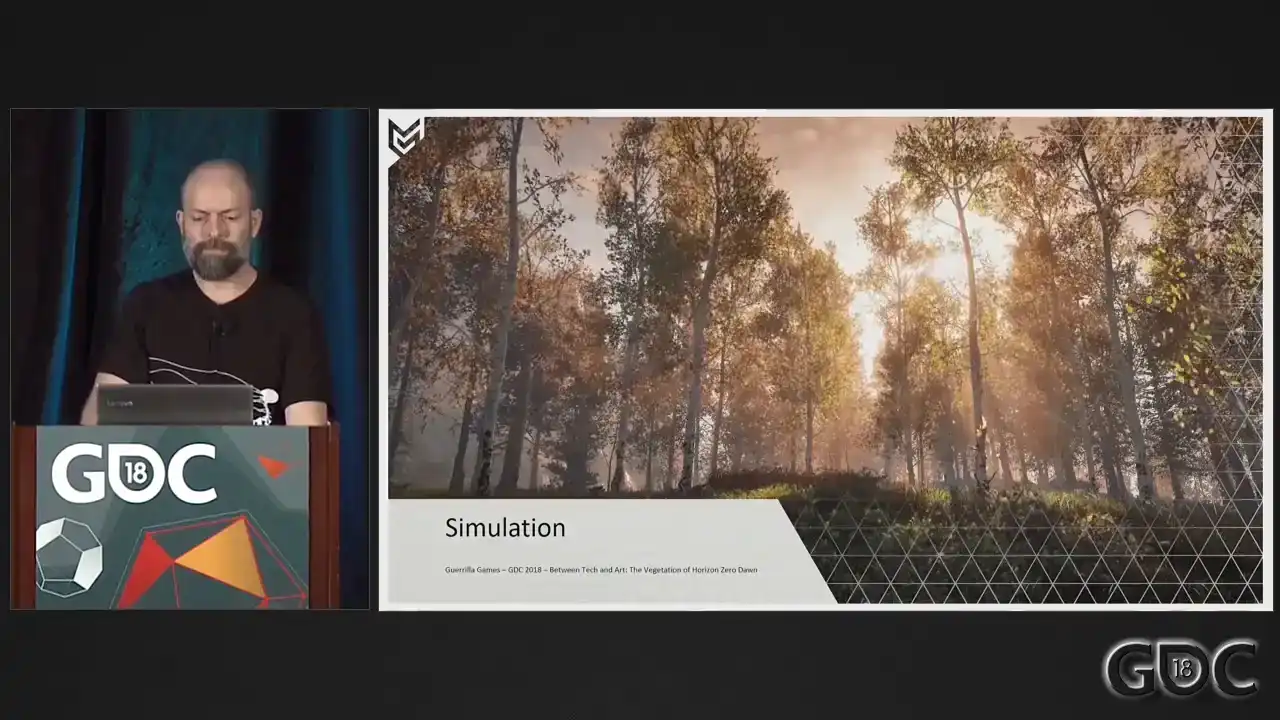
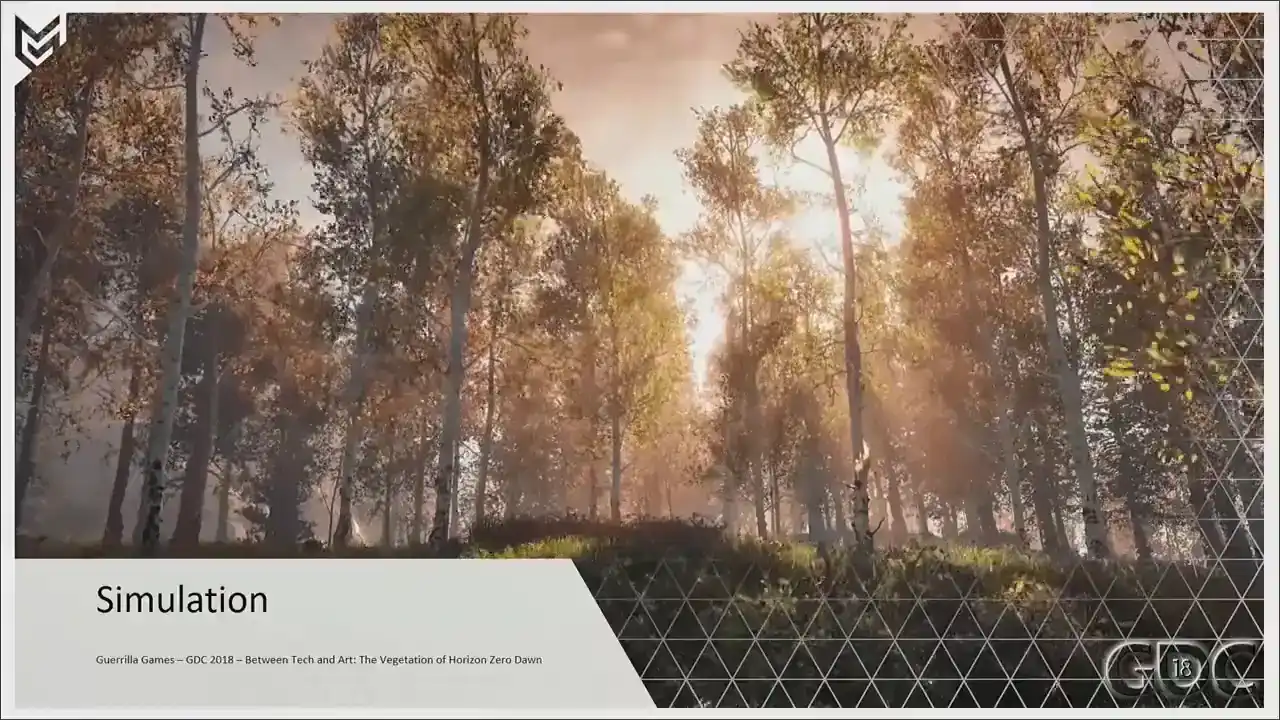
Okay. Let's start with the movement of our foliage. From the start, we knew that simulation of nature needed to be tied in with the weather system we were designing for our game.
It needed to be arding gameplay driven and controllable. It needed to drive the vertex program of our vegetation shaders.
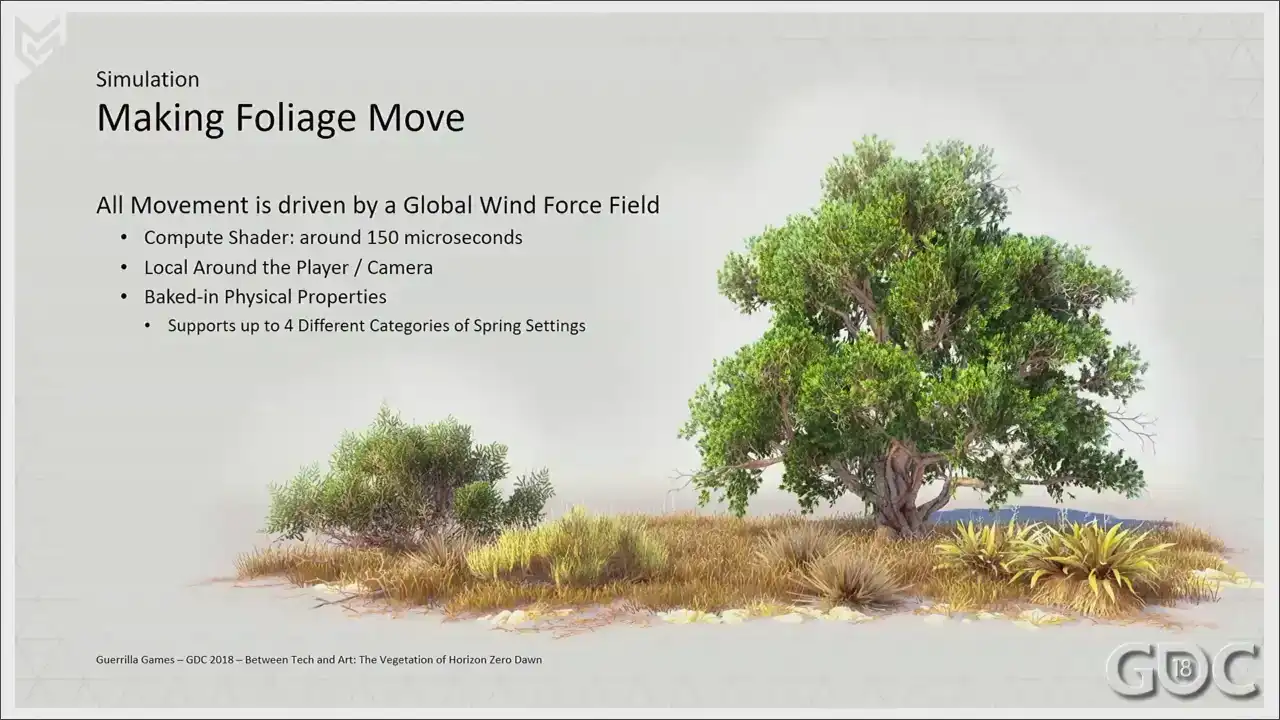
So at the base of our simulation lies the global wind force field.
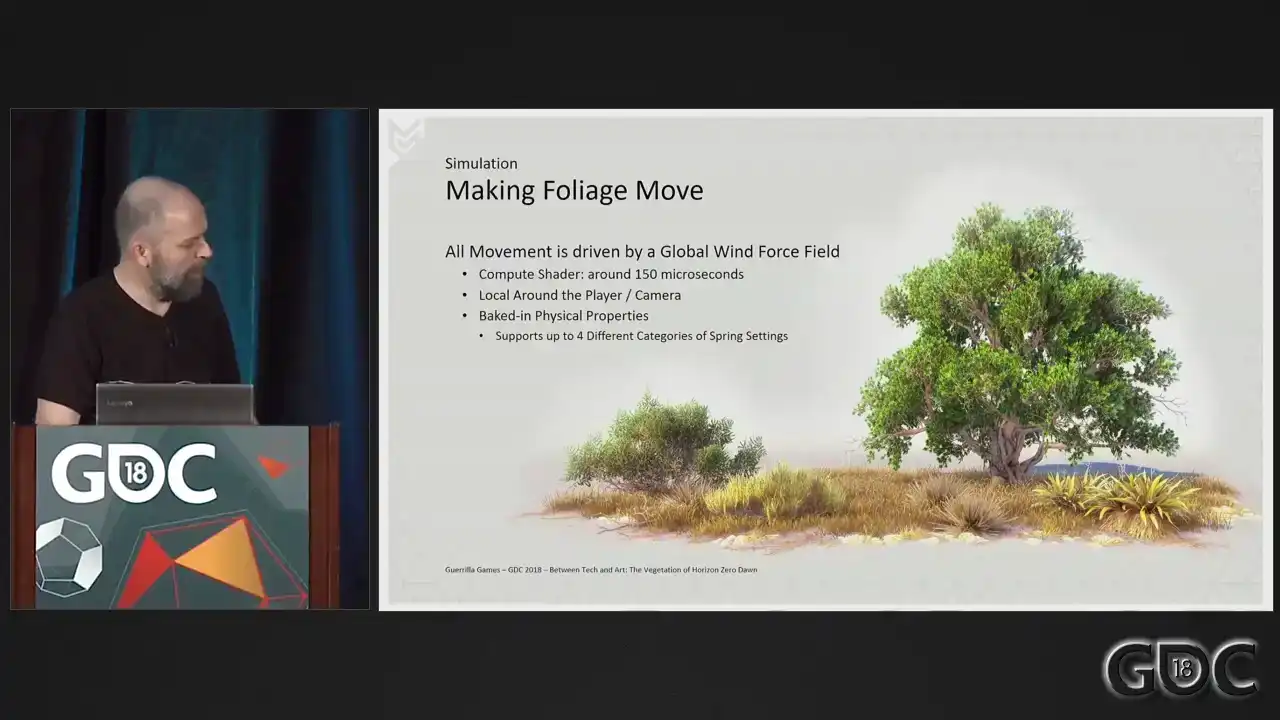
Sorry. Our horizon force fields, or wind boxes as we called them, were mainly used to drive the movement of particles. They were used locally, they were placed by hand, and at a way smaller scale than the wind we were going to need for the world of horizon. The global wind force field, as we called it, is an extension of these wind boxes, but with a couple of changes. Our global wind force field is a compute shader running at the beginning of every frame that which simulates the influence of a force onto four categories of spring settings and updates 3D textures that our shaders can sample. That was a long sentence. Sorry. Okay. First, the wind is attached to the player or the camera, if you will. This allows the simulation to always be at its highest resolution closest to the player. Over distance, we gradually sample a 3D texture at a larger scale and at a lower resolution. So let's have a quick small visualization of our global wind force field in game.
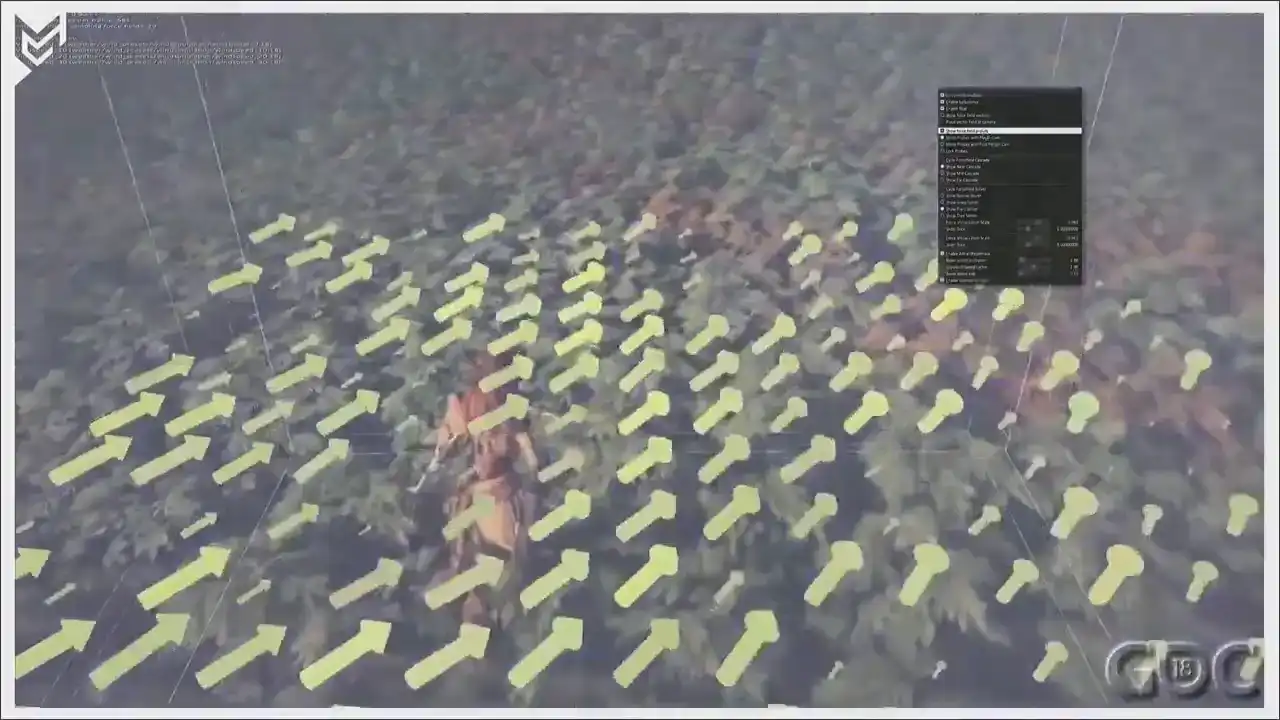
So local around the player. And as soon as Aloy stops, I'll zoom out a bit. And you see that this is the second cascade We have another one for yeah the scaling is a little bit off of this one but I guess

this sort of shows you what we do.
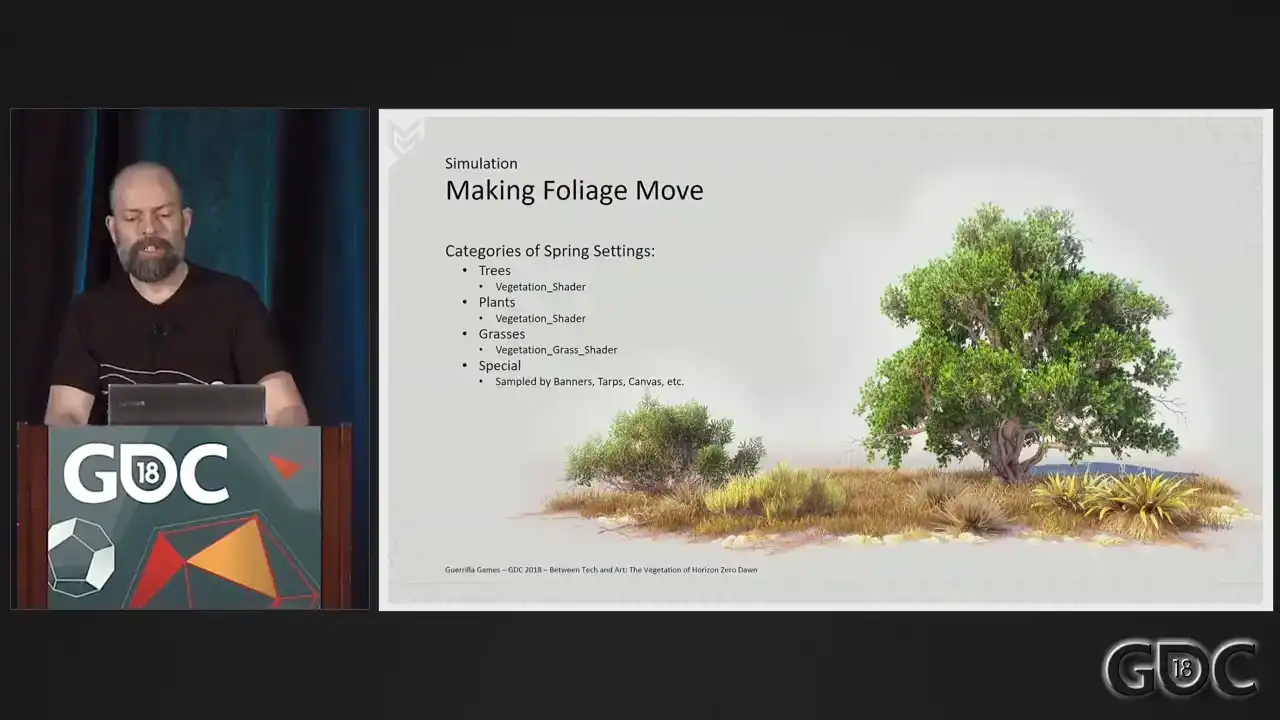
The setup you just saw gives us the ability to simulate four different categories of spring settings. Without any additional shader logic, this allows us to set up distinctive different movement for three types of assets. We've divided these assets, as you can see, into three categories. I told you we could simulate up to four, so we, in the end, we call it
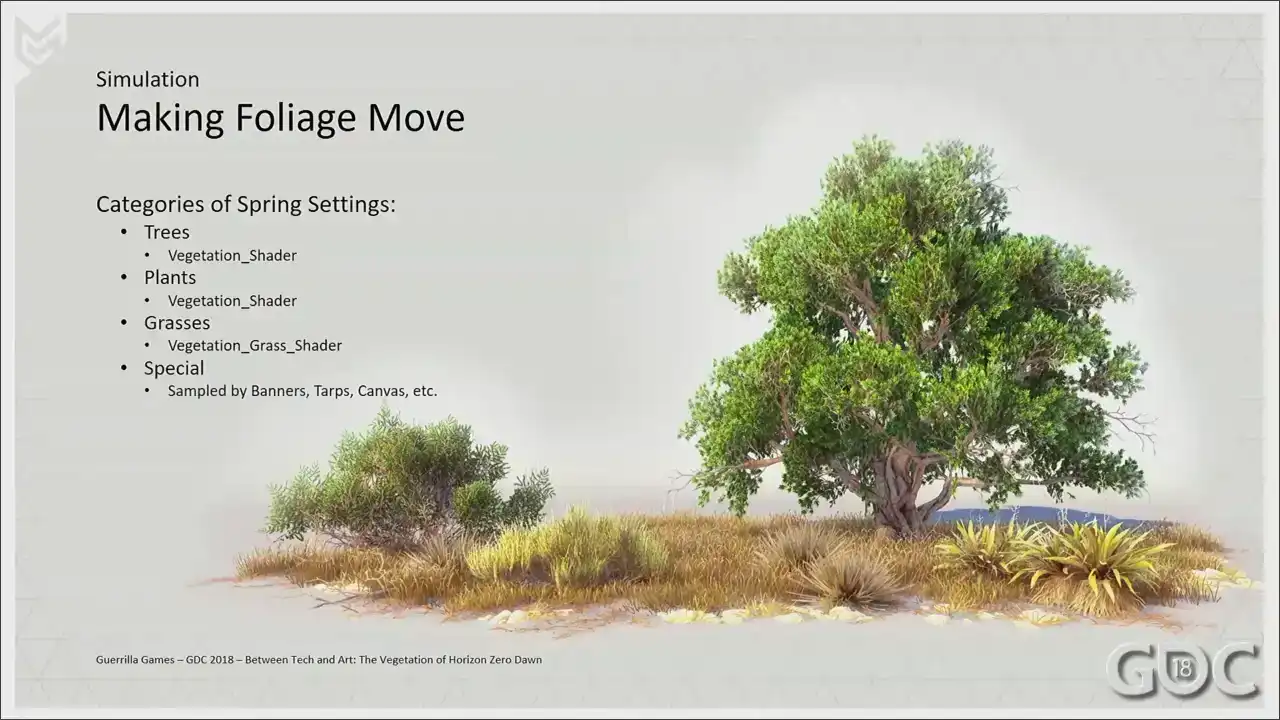
special, but in the end, we used the last sample to drive our banners and tarps, but
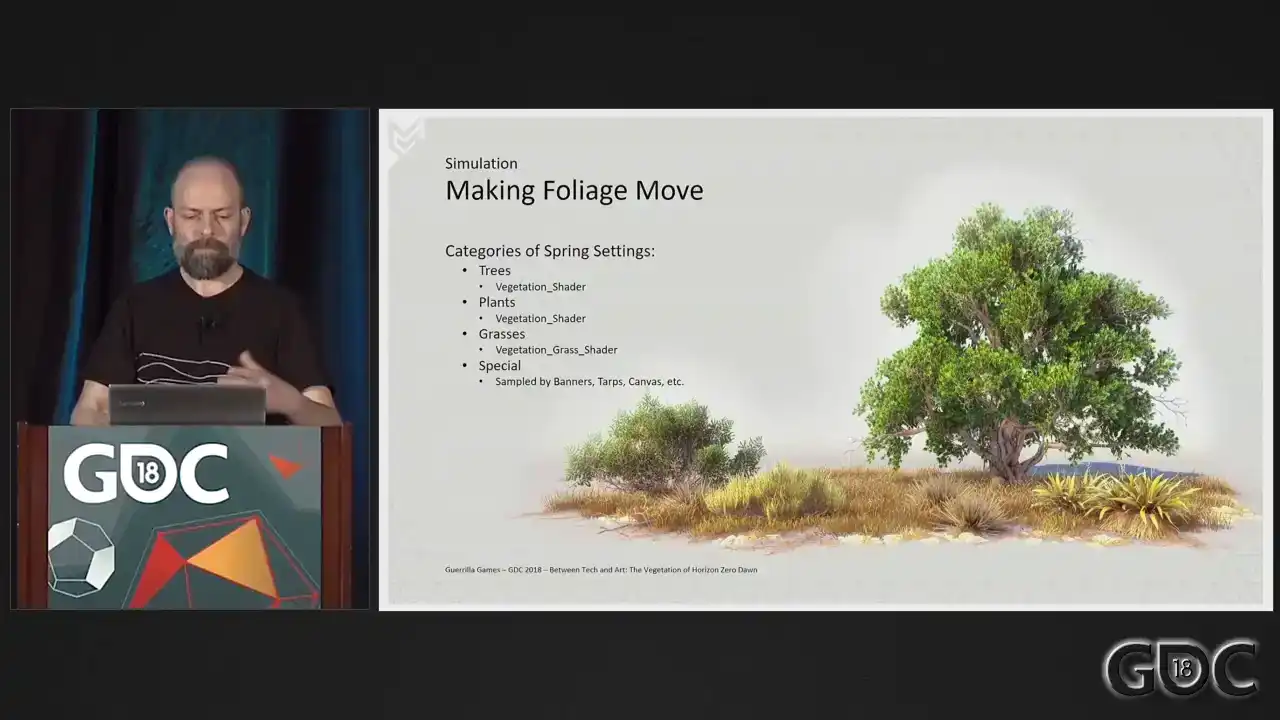
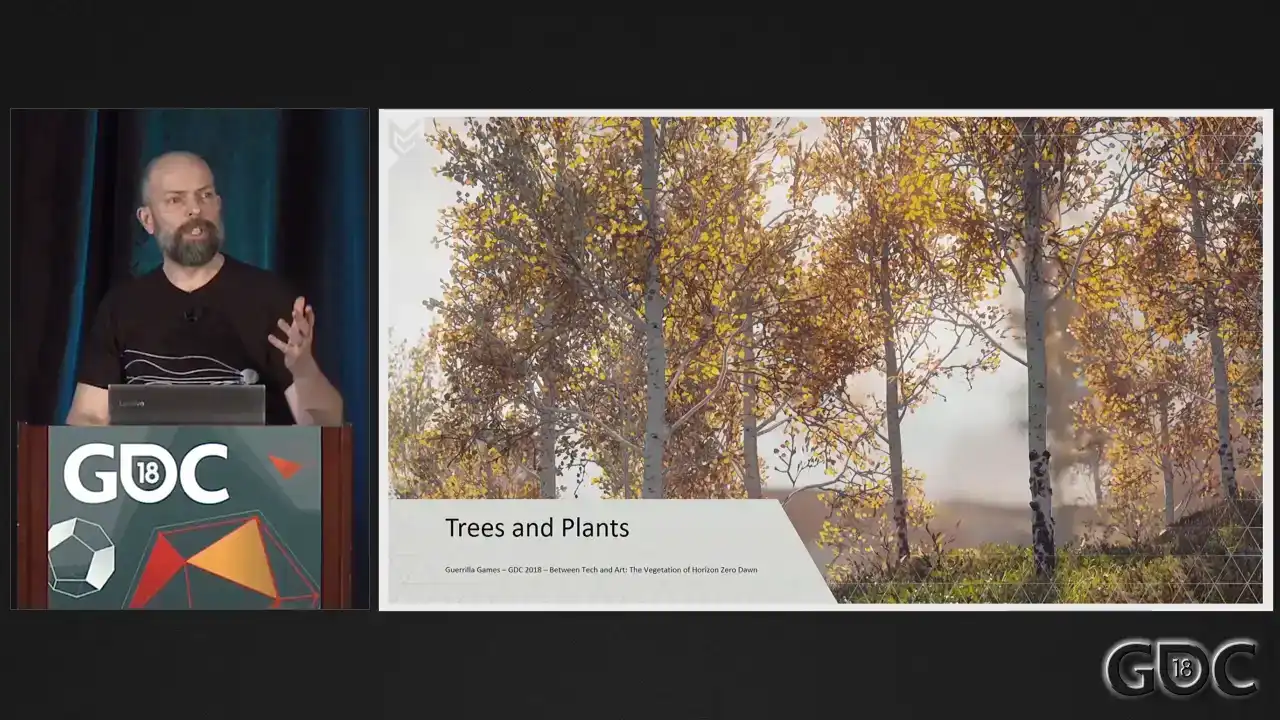
But that's a completely different story. For rendering and shading, for all intents and purposes, we only use two shaders, though. We actually started off, I really wanted this, but I couldn't make it work. We actually started off with only one shader to handle everything. But over time, we found that grass needed a bit more specialized approach, so we built a more dedicated shader for it. I will talk about grass a little bit later, but I wanted to start off with a look at the vertex program of the shader that drives our trees and plants.
So we have a way to simulate wind, but that still needs to translate into the movement of assets on our screens. To do this, we took a similar approach as described in GPU GEMS 3 where a skinning approximation was stored in the vertex colors of our mesh. Back in 2011, this was one of the first articles I researched when I was starting to tinker with vegetation. And to this day, this way of storing skinned data is one of the few things that did not change during production. We changed a lot of things over time, but this setup proved to work on all assets, large and small. Let me show you what we did. Experimenting with
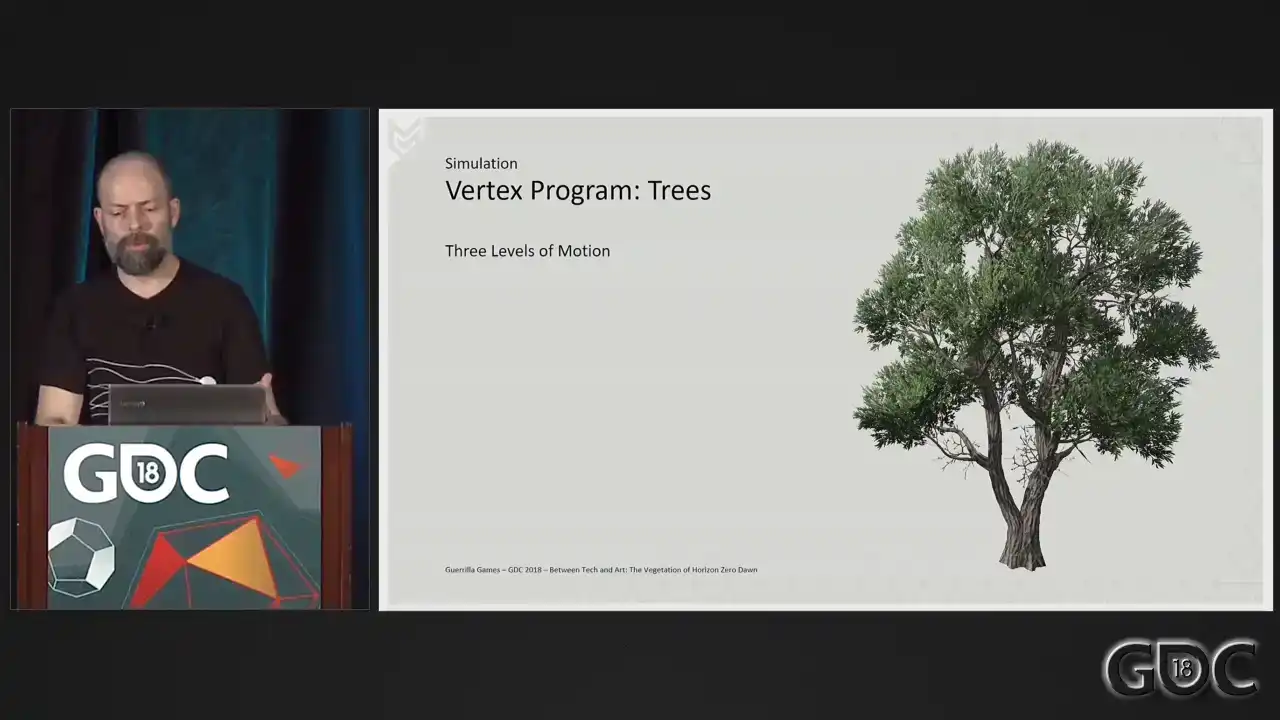
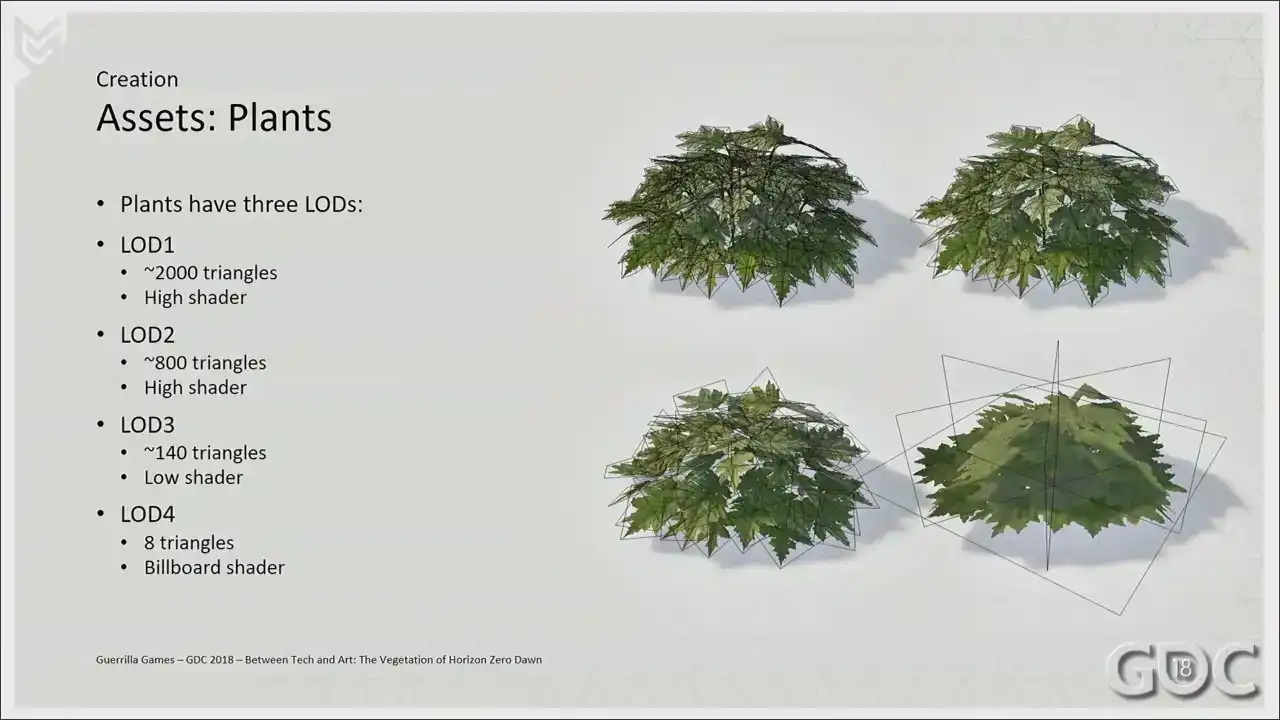
our wind and looking at foliage in motion in real life, we found that to convincingly mimic, because we're still mimicking, we needed three levels of detail. Large scale motion or complete bend of entire asset. Medium scale motion, which will deal with the branches, and small motion, which will deal with parts of branches or leaves. So first, we want to have the whole asset react to the wind.

We want it to bend because these assets are way less rigid at the top as opposed to the
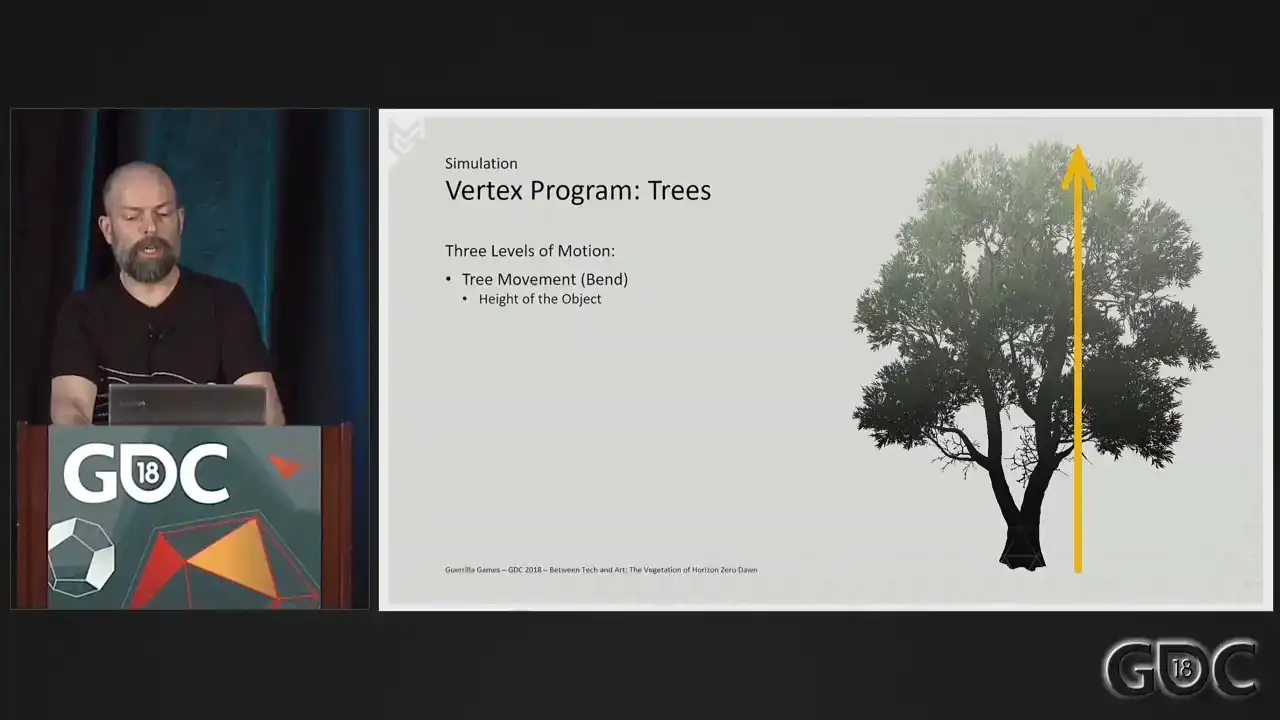
bottom. So we use the height of the acid as a gradient for this large scale motion. The next level of movement is that of the branches and everything attached to it. Starting at the trunk, we give the acid a gradient for us, the gradient is in blue, to approximate rigidity these branches have. Simply put, we store distance to trunk. Now we're getting to the last level, the leaves, or anything that's small and thin enough to act like leaves. What we do here in our red channel is store
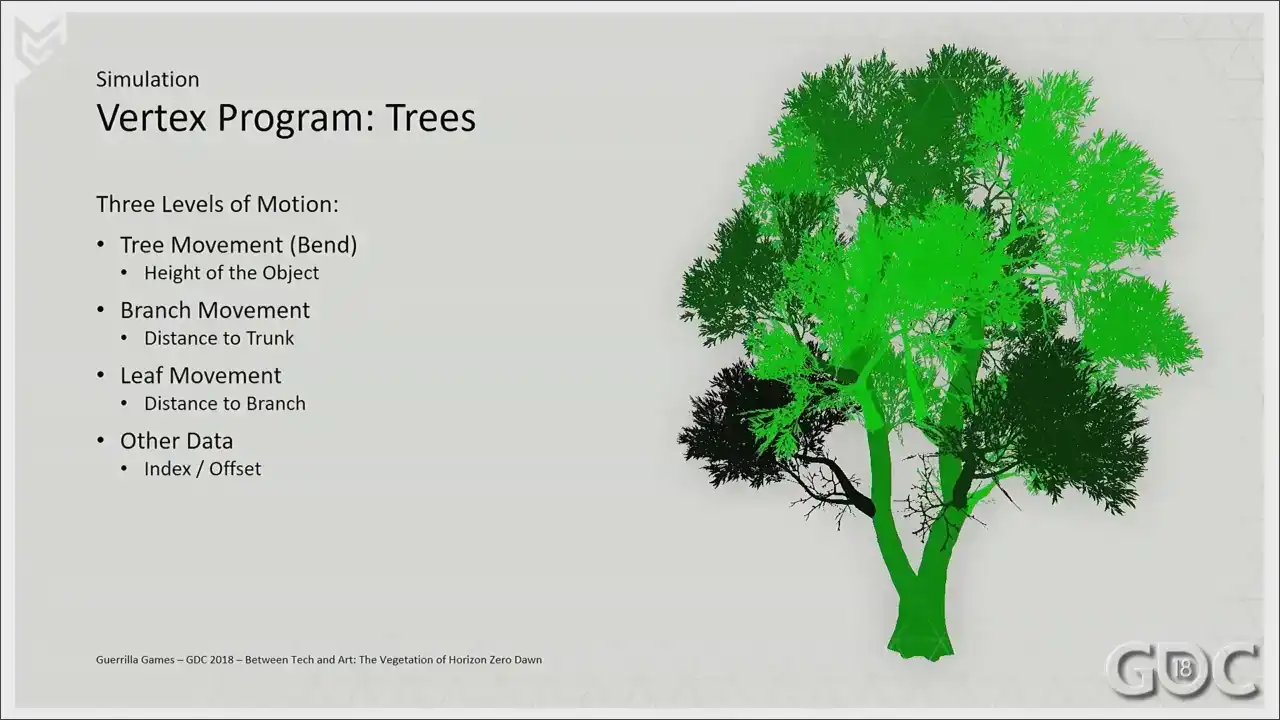
distance to branch. We also use the green channel, and we use
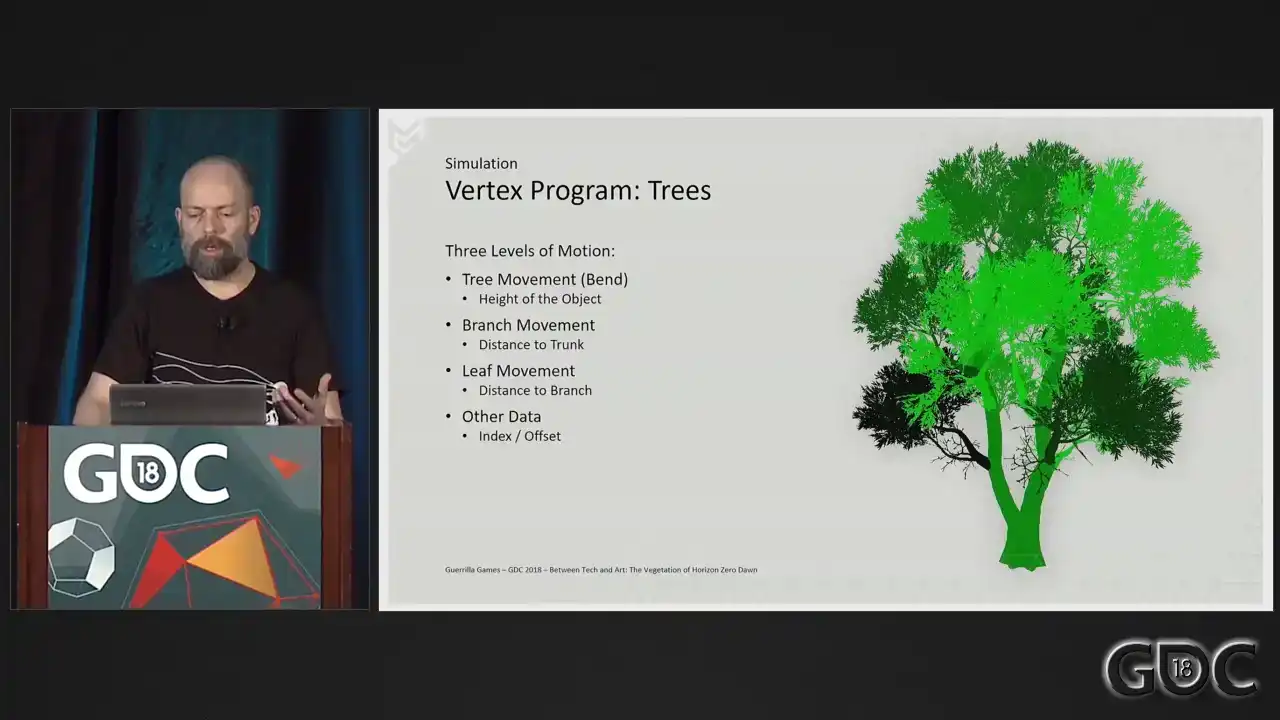
it as an index. We do this way. Sorry. This way we can offset our animation of our branches in our shader. Think of it as a time offset. We also store pre-computed ambient occlusion in the alpha channel, which we use for a couple of different adjustments in the shaders later
on. Ah, sorry. With the vertex colors in place, our vegetation shader can go to work. All of our assets need to be driven through
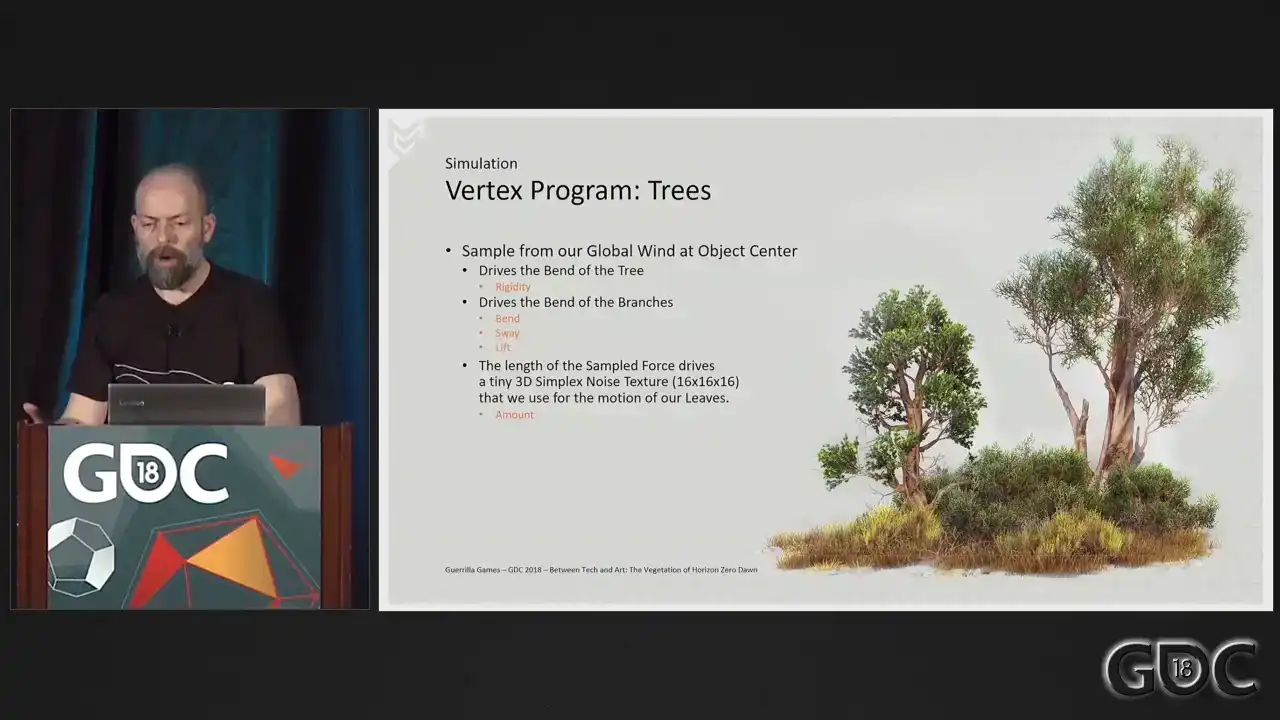
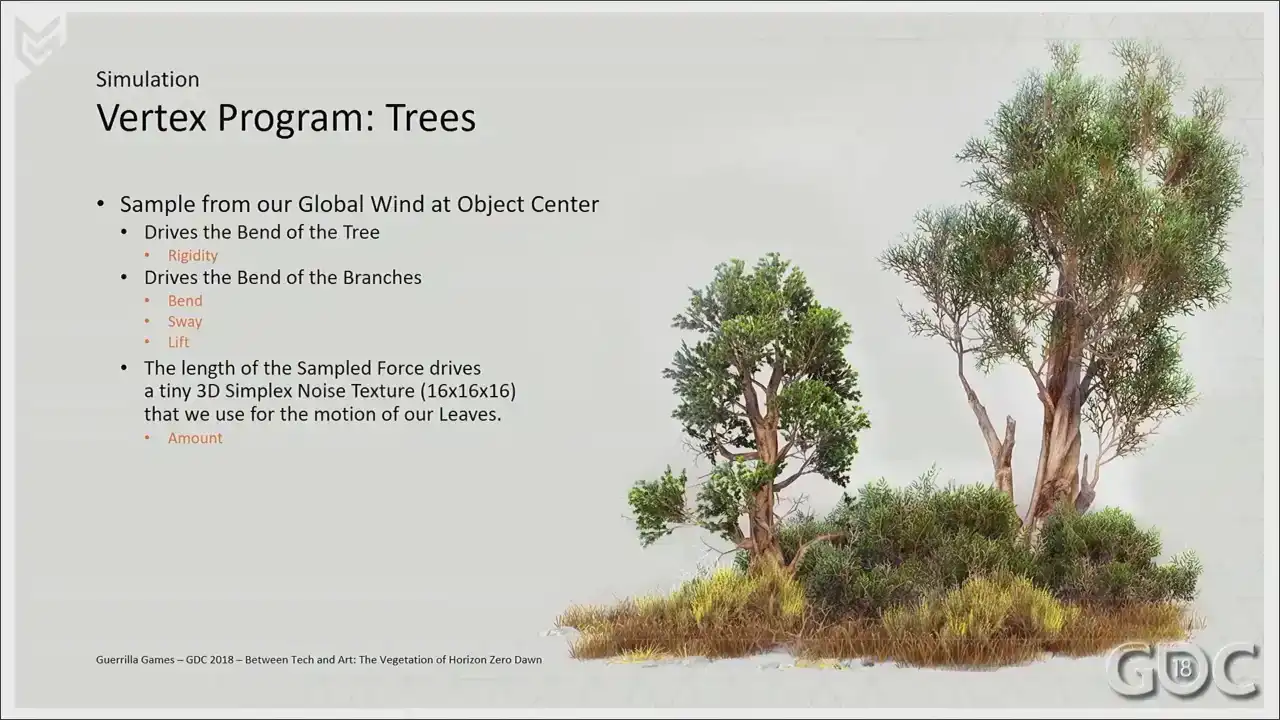
this vertex shader, so we ended up opening a couple of variables that allowed us to tweak the animation on an asset-per-asset basis. These variables are marked in orange, and these five were enough to handle the complete amount of variation that we have in-game. Rigidity is an easy one. Not all trees sway as much, so certain trees need to be dialed down or pumped up. For branches, we have two controls. Sorry, three controls. We have bend, which is the motion along the vector of the wind. We have sway, where we can scale the amount of motion perpendicular to the vector of the wind And we have lift which is literally a scalar for our up and down motion that we can bump up or dial down So we literally allow scalar of motion on three axis for our branches The last one is our micro motion, our leaf motion. Based on the strength of the wind, I move a tiny 3D noise texture through object space, And I use this to move what I've designated to be my leaves, so what you just saw in the red channel. All right. Since plants in our game have exactly the same shader as trees but are usually smaller, we have the ability to curl the overall bend completely from the shader, reducing cost and potentially also unwanted bending into the terrain. Also, another big help within our shader is this little formula of a ramp function.
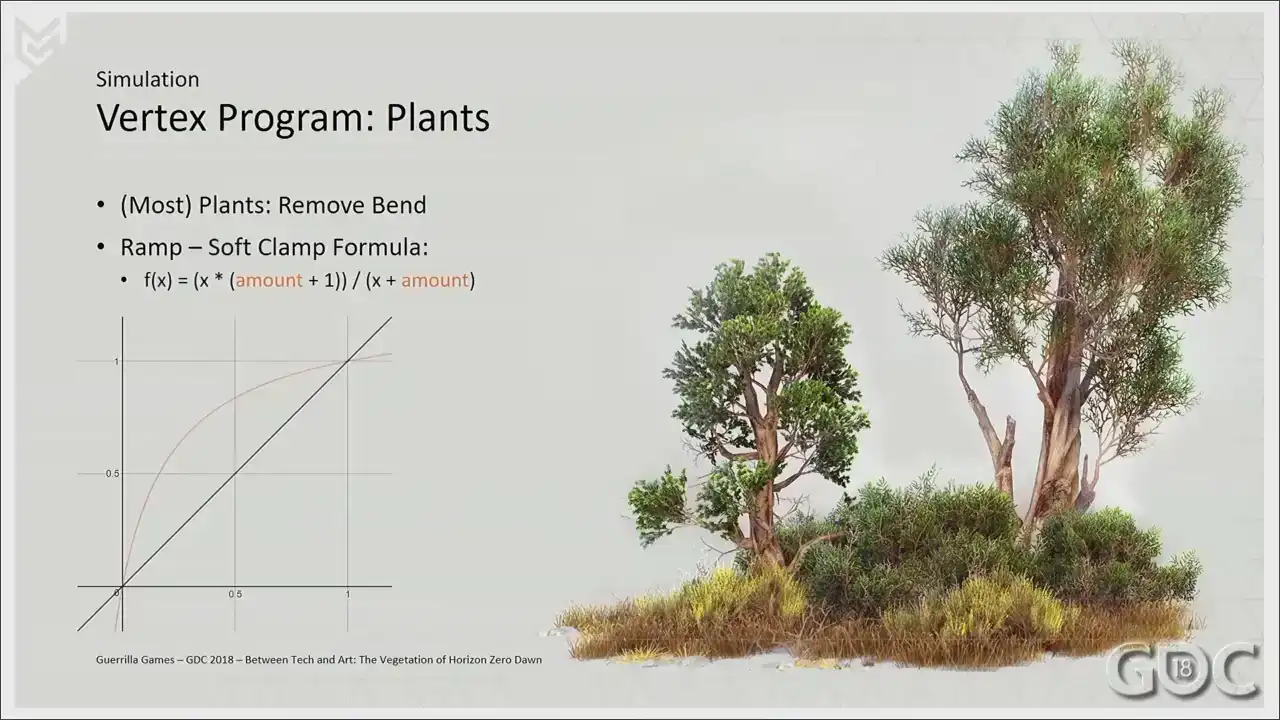
We multiply this by the maximum of the wind in game,
and we have the ability to ramp up the influence of the wind for different assets. For instance, I can recall art directional feedback about the leaves of our aspen trees needing to move earlier at lower wind speeds. So this formula was a quick way to really differentiate that asset from the other ones.
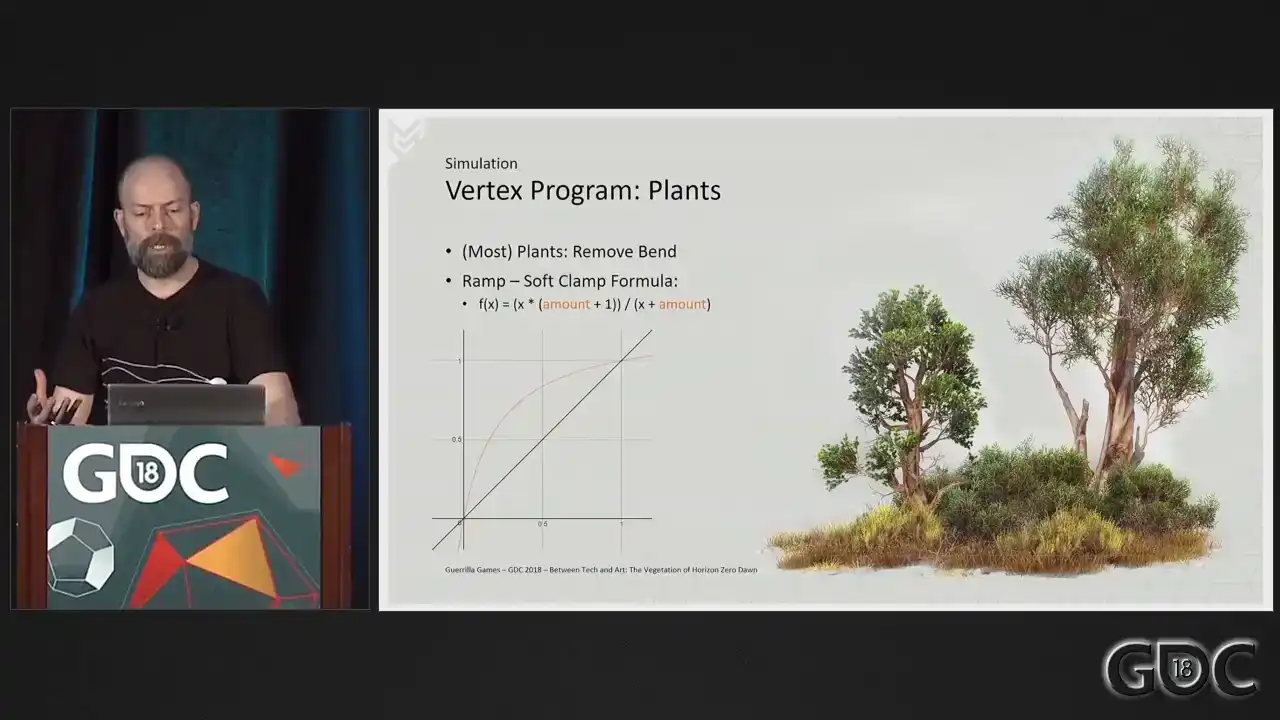
Grasses. We had such ambitious plans for the grass when we started Horizon. First off, and we did not really waver from this, the grass needed to be everywhere. But we wanted our grass to be geometry, no alpha planes. We wanted Aloy to squash it with her feet and move it with her hands and all those things you envision when you do not know precisely what the PS4 is going to bring. And we had it up and running. It was part of our earliest prototypes. And the rendering of that grass took up the entire frame. So we started a journey, simplifying our grass bit by bit, finding out what needed to be done to make more with less.
And this is what we ended up with.
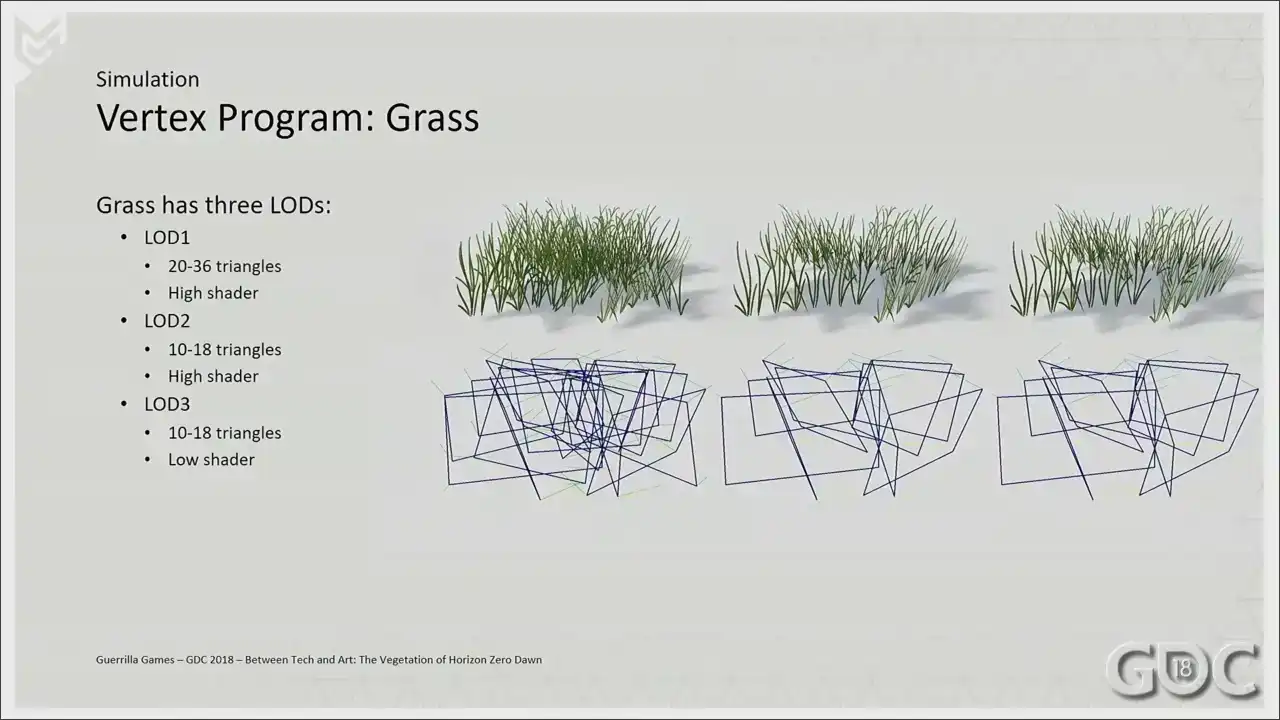
As little or as few triangles as we could, a dedicated grass shader and some clever artistic
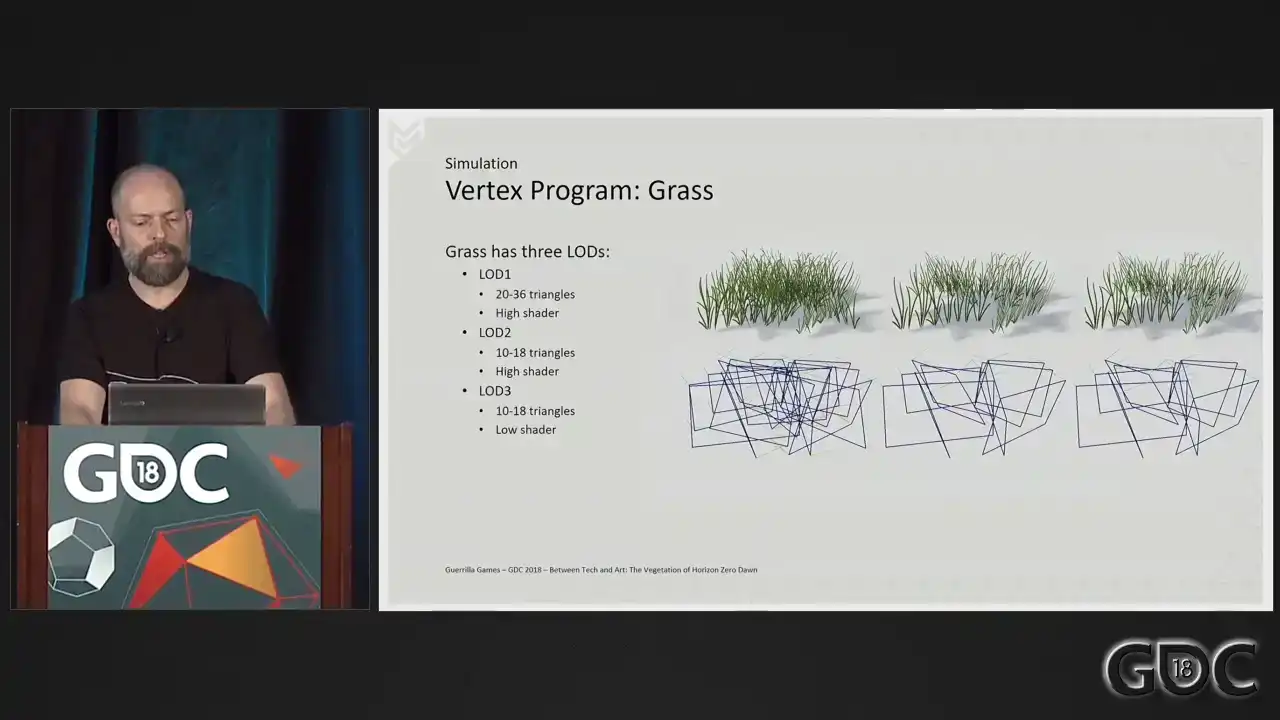
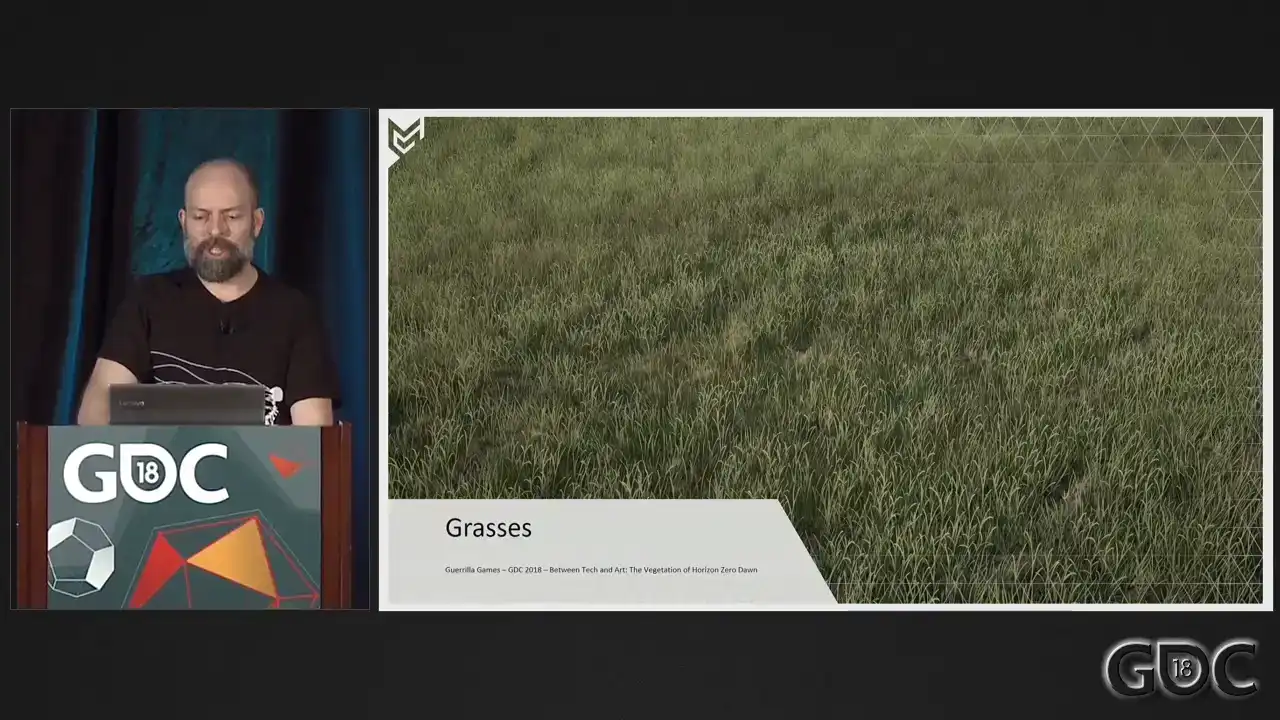
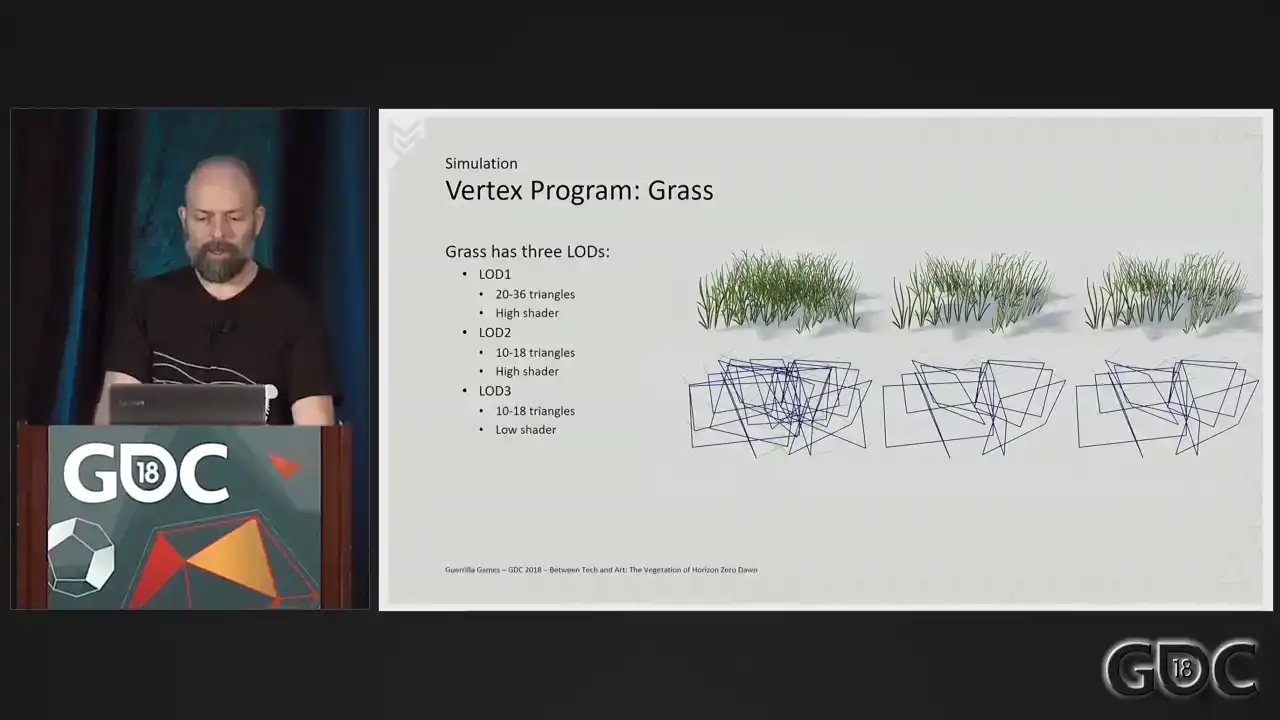
choices when it comes to the texture. Let me also point out in the list on screen right now, sometimes I talk about high and low shaders from now on. And what that means is we have the ability to lot out certain functionalities in our shaders on a per mesh or per lot basis. For grass, that would mean that lot three here would not have an animated vertex program at that distance. And also, For that instance, I do not sample a normal texture anymore. But I'm drifting off a bit.
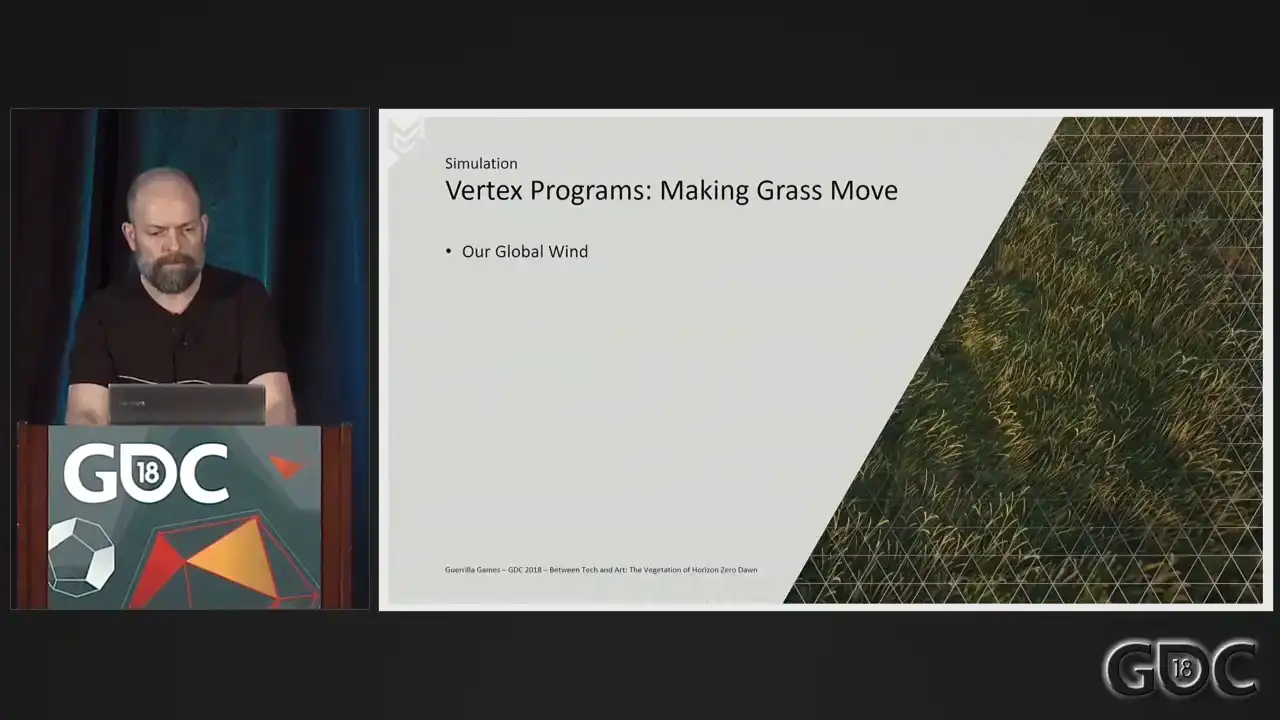
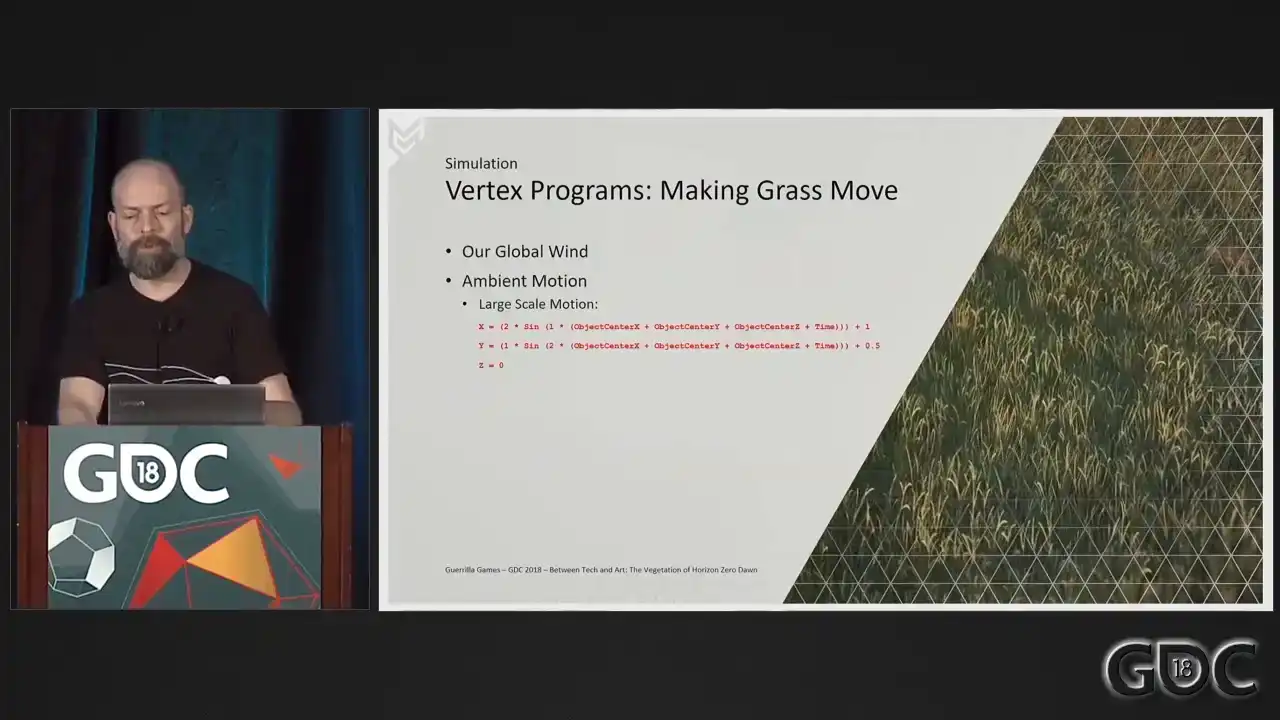
Let's go to the vertex program. We sample our wind from our force field at object center, and we use the height of the grass as a gradient to mimic rigidity of the mesh. We start displacing the vertices of the grass, and this will be our base motion. But as you can see, this alone will not always give us something spectacular. And we need more than this alone. What I also wanted to avoid is having the grass tilt over to one particular direction or standing still in one position for a long period of time. This gave us unwanted artifacts. So we layer some additional motion on top. Driven by the length of the force field, I
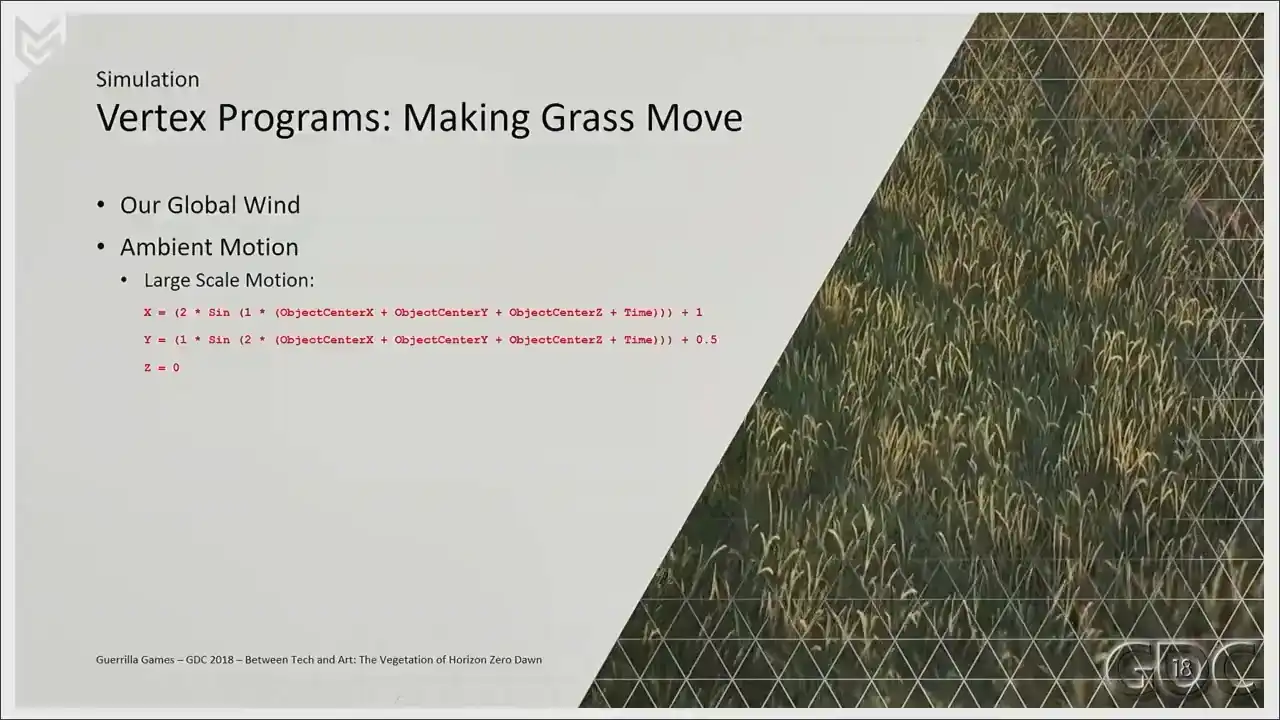
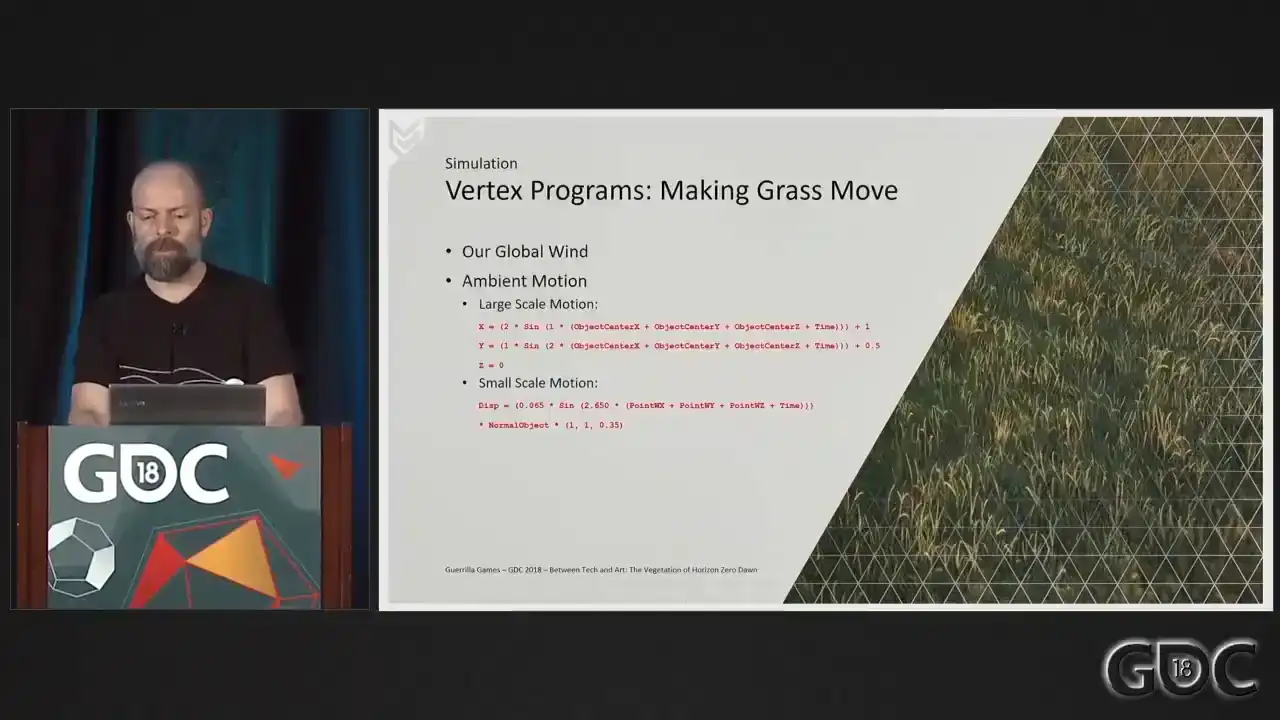
added some large-scale motion, two periodic functions combined to make little figure eights. And it's quite the soothing animation, I think.
The motion is sampled for the whole mesh, so per asset, the vertices will move in unison. On top of that, we add some small-scale motion, one periodic function displacing the vertices

along their normals. The ambient animation, large and small together,
accounts for about 80% of the total animation. The rest comes from the wind sample two slides ago. On top of our simulation, our grass also has to do a little more. I really wanted to avoid the wind the player looking down on planes and having the feeling that the geometry disappears when looking down on our mesh.
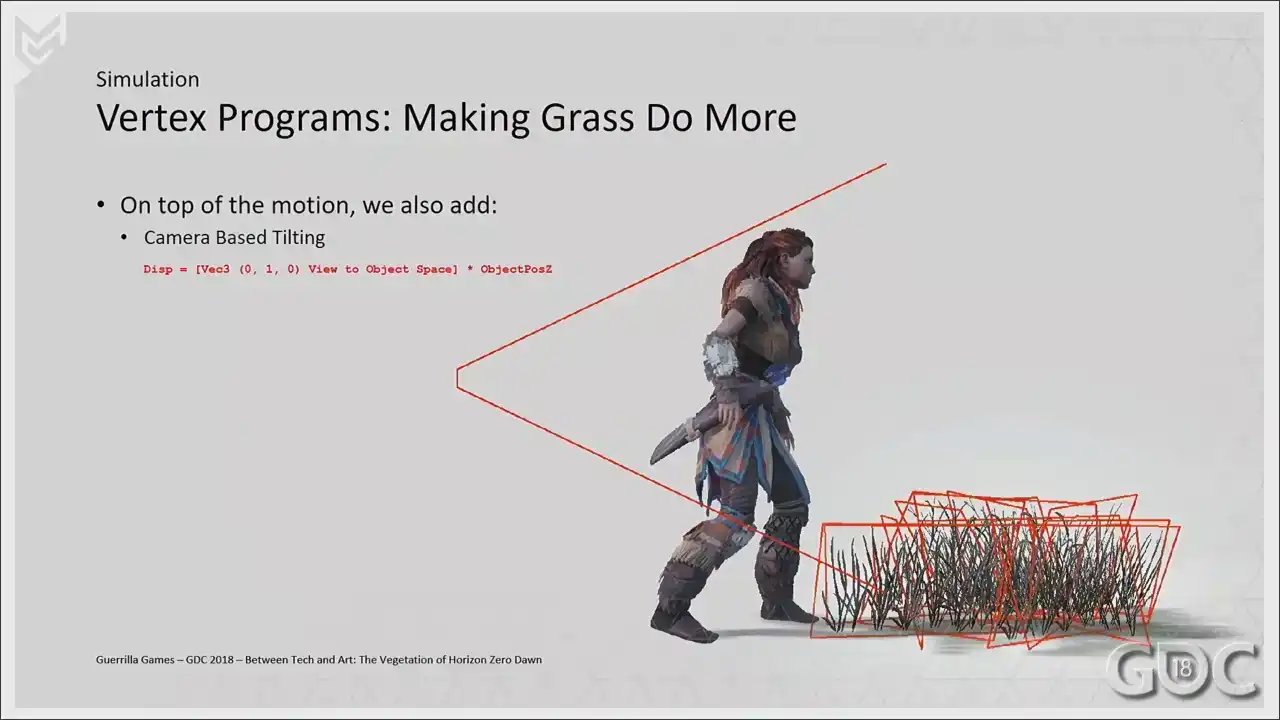
So we tilt our mesh planes away from the camera like so. So when the camera moves up, we push the verts
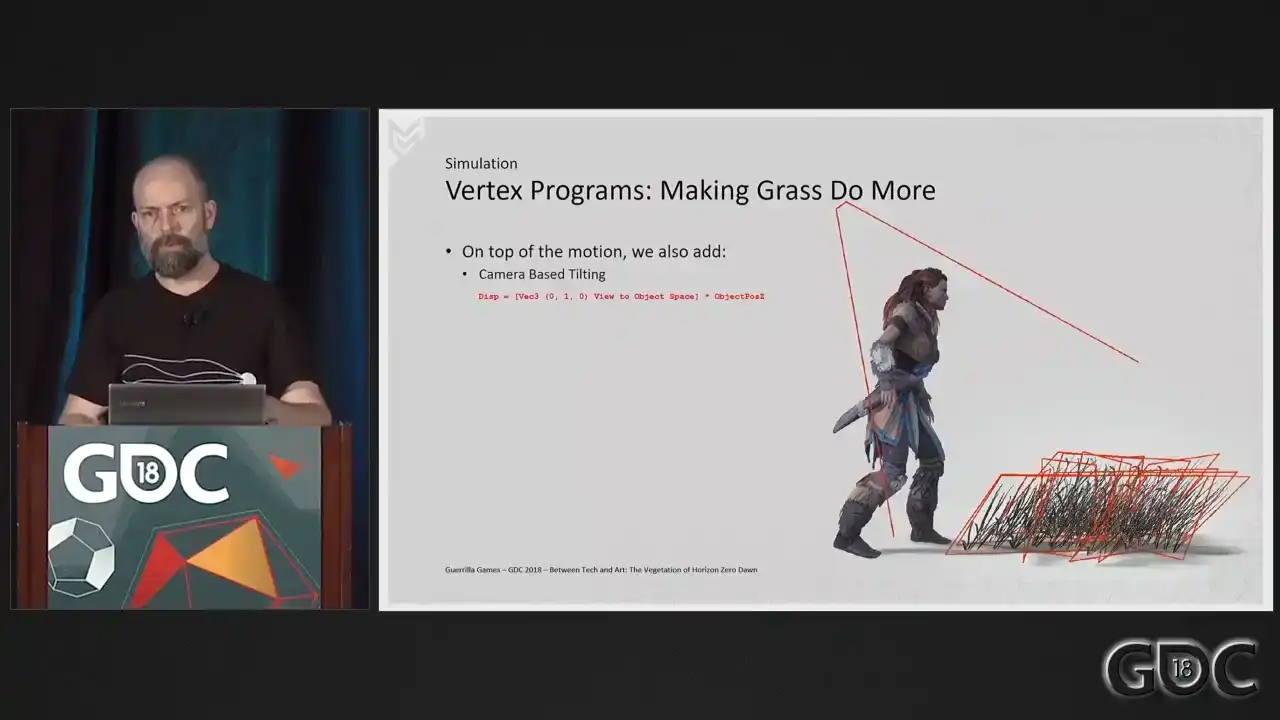
a little bit further away to try to avoid having the grass look like cards. because they are cards, I mean. Our grass meshes have a footprint of one and a half meters approximately, and placing them in the world without looking at the terrain resulted in some unwanted clipping or floating issues. Having all vertices follow the terrain solved all this. So based on the height map of our terrain, we displace the vertices of our grass in object space.

Finally, we also do two little things to help with loading. We scale the animation down over distance
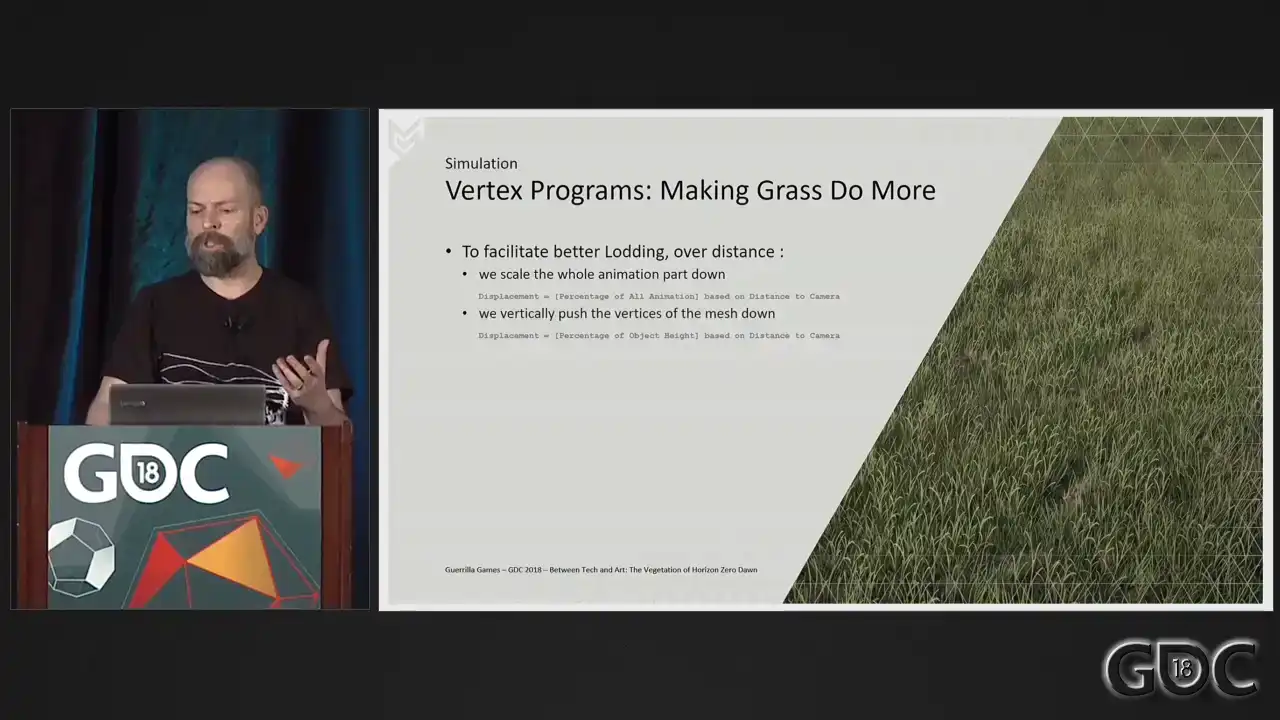
so that we can remove that animation completely from our last lot. And scaling the whole mesh down makes blending the assets with the terrain easier, and it gives a little performance boost. All these little programs together make up the complete vertex program of our grass.
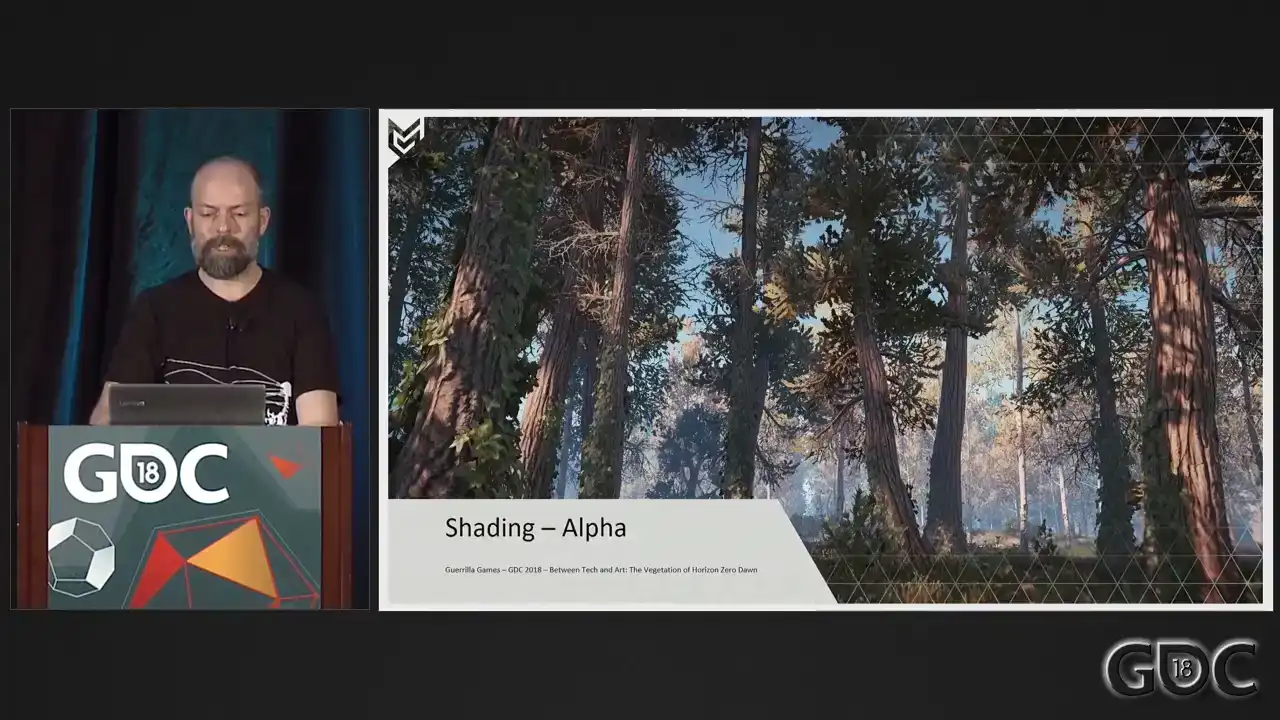
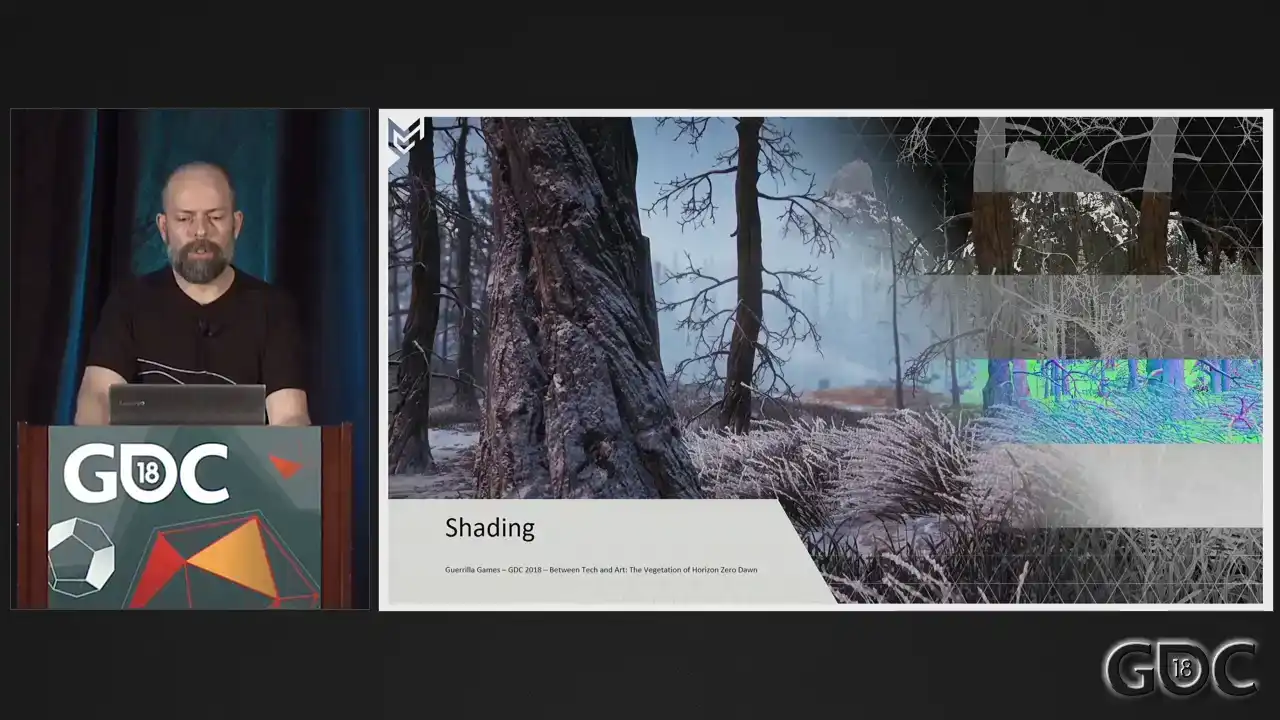
So let's move on to shading. So we have our meshes sorted. Now let's move on to our shading setup. Transparency in games, even alpha tested transparencies, are expensive. And we did not have a lot of experience with rendering alpha tested assets during our Killzone years. And vegetation, oversimplified as it is, is relying a lot on alpha testing. So the question was, how do we handle the amount of vegetation that we know the world of Horizon was going to need.

Well, we went about it like this. What we do is we render all our alpha-tested meshes
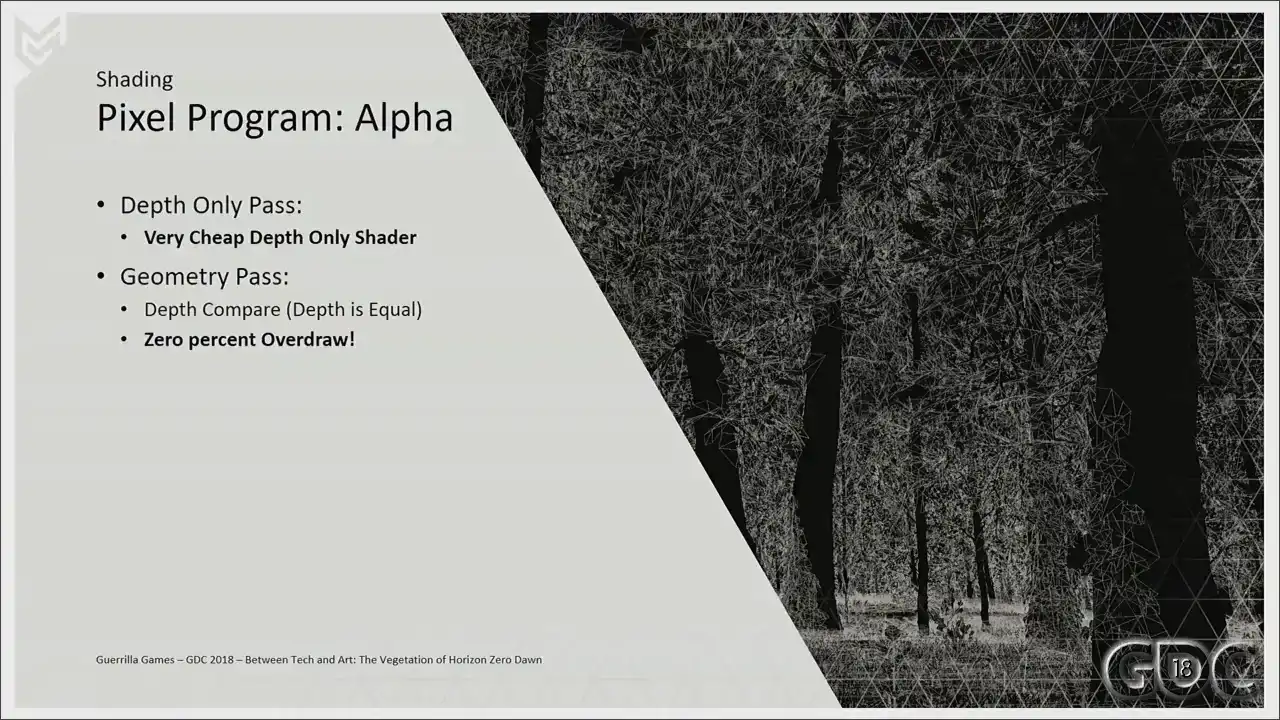
in two passes. First, as early occluders. After that, we render them normally.
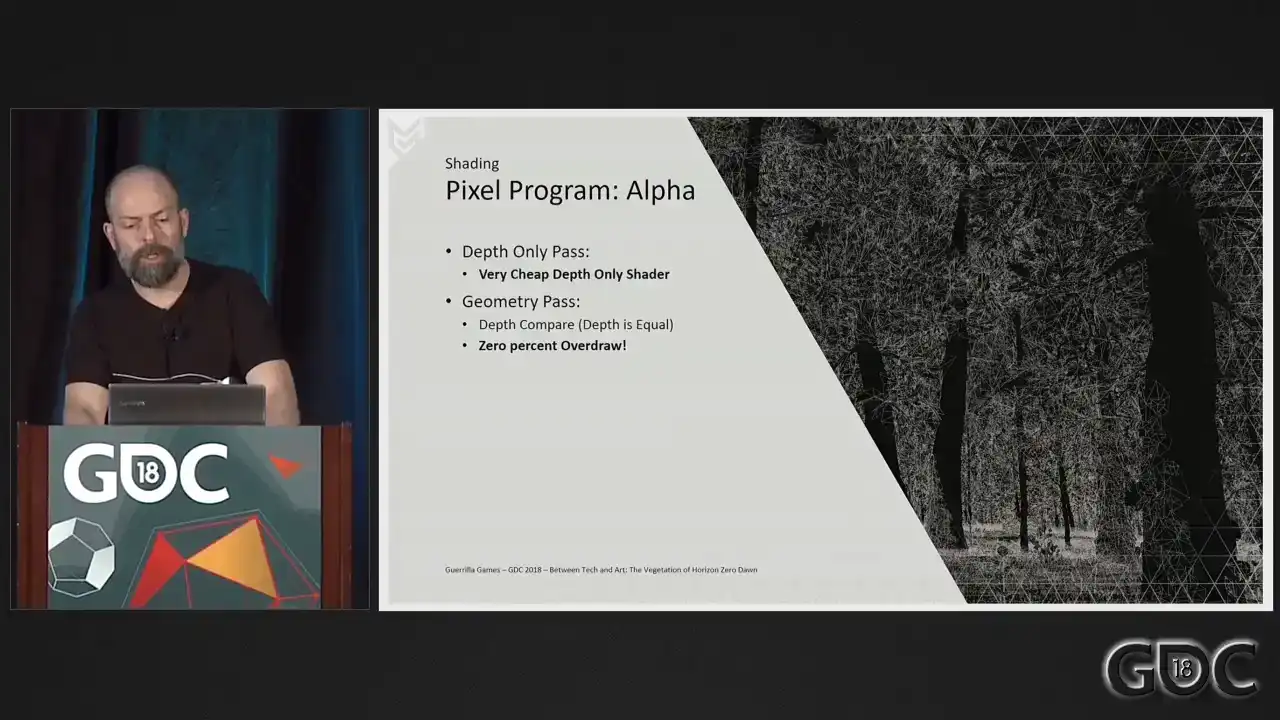
In this initial depth-only pass, we do our alpha test. Rendering this pass first will give us all the depth information, after which we only have to do a depth compare when rendering our geometry paths without an alpha test. This is important because alpha test is incredibly expensive, but this way we operate on a very cheap depth only shader. The geometry shader is much more expensive, but is now accelerated by a very efficient fixed function depth
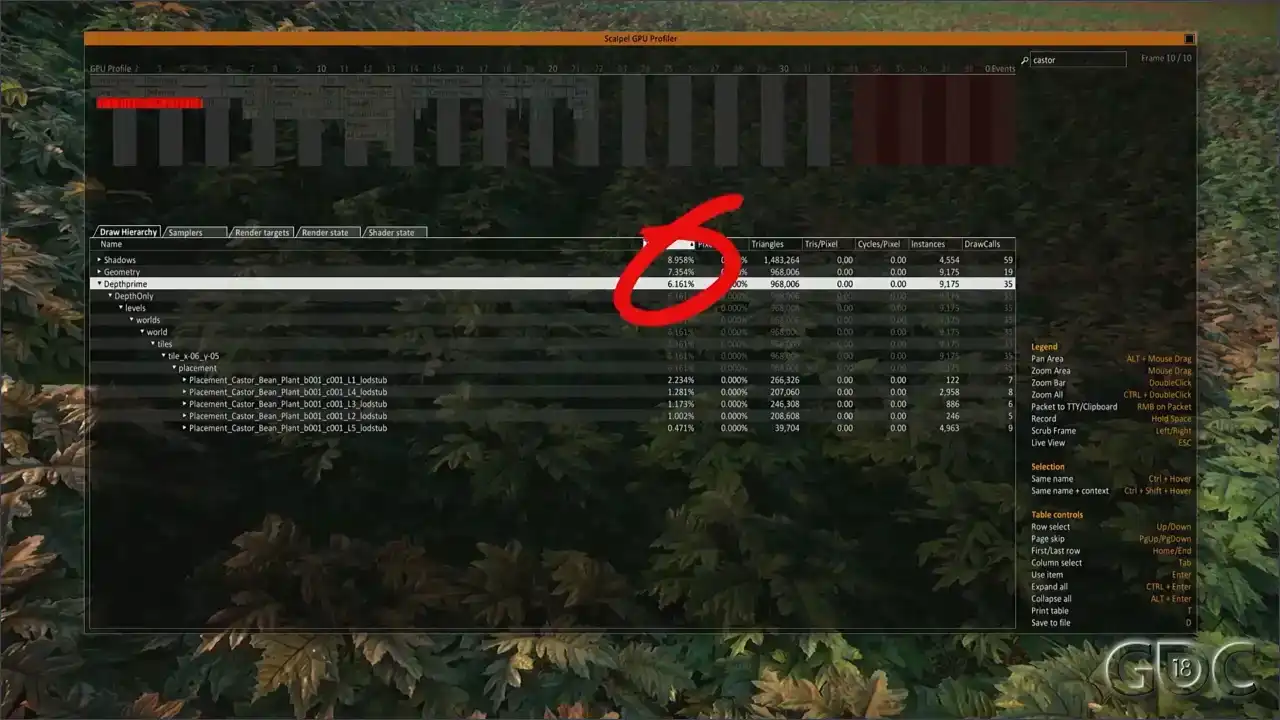
test. So let's analyze a frame of our game to see what that means for rendering times on the GPU.
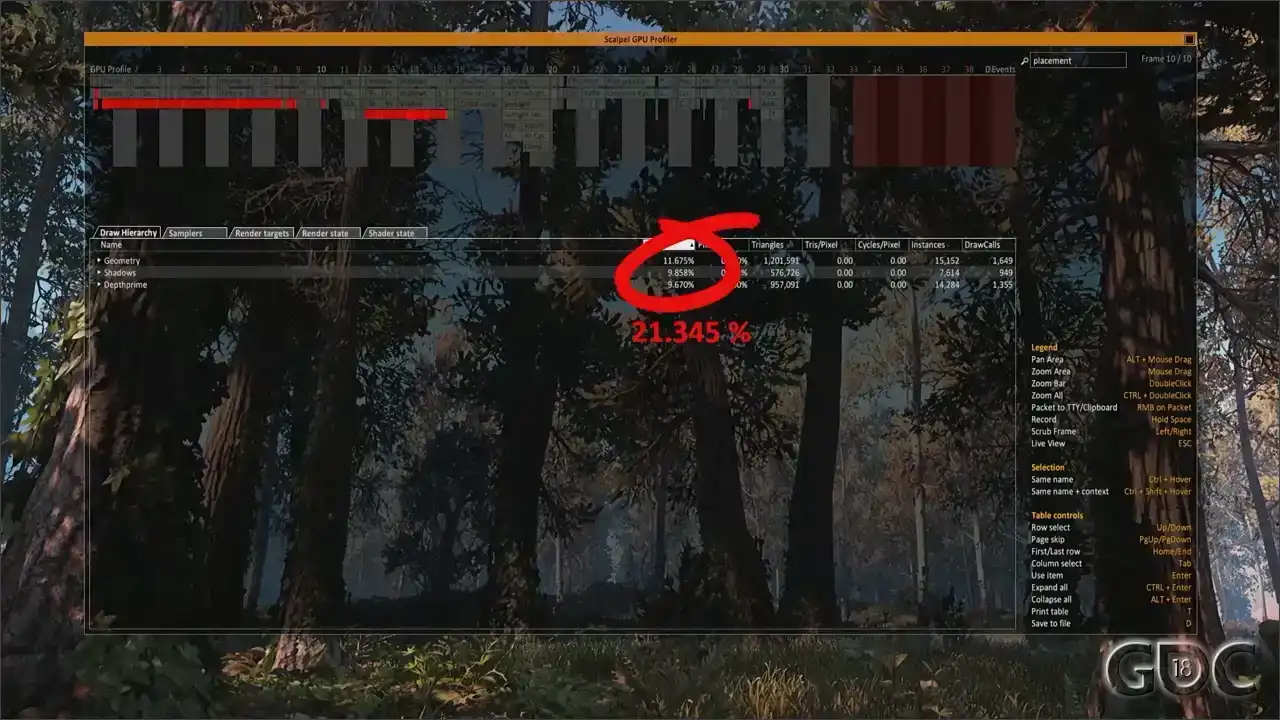
Here you can see a capture of our GPU profiler in-game. I am filtering. If you look in the top right, there's placement. I'm filtering on placement right now. So the percentage that you see here deal with all the assets placed by our placement system. Technically, not all are alpha-tested assets, But because we use the placement system for a lot more than only alpha-tested assets. But in a forest location like this, you can bet that 95% is alpha-tested. But the numbers that we are interested in are our depth prime pass at almost 10% of our frame and our geometry pass at about 11.5. So that's 21.345 in total. Now, let's see the cost of rendering all this without our depth only pass. That's a huge difference. So upon noticing this early on, it became clear what a huge difference the depth only pass made. So simply put, the alpha tested part needed to run on the cheapest shader possible.
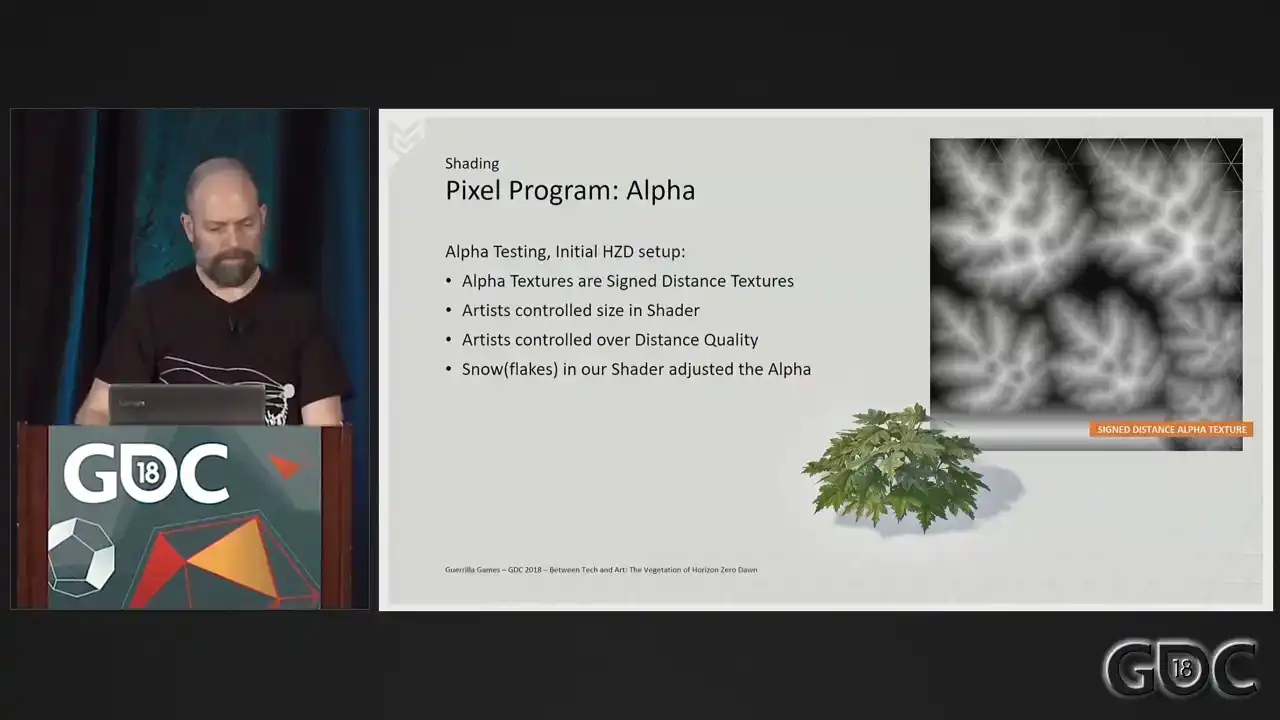
So our alpha textures. We started Horizon Zero Dawn with sign distance alpha textures that could give the artist control
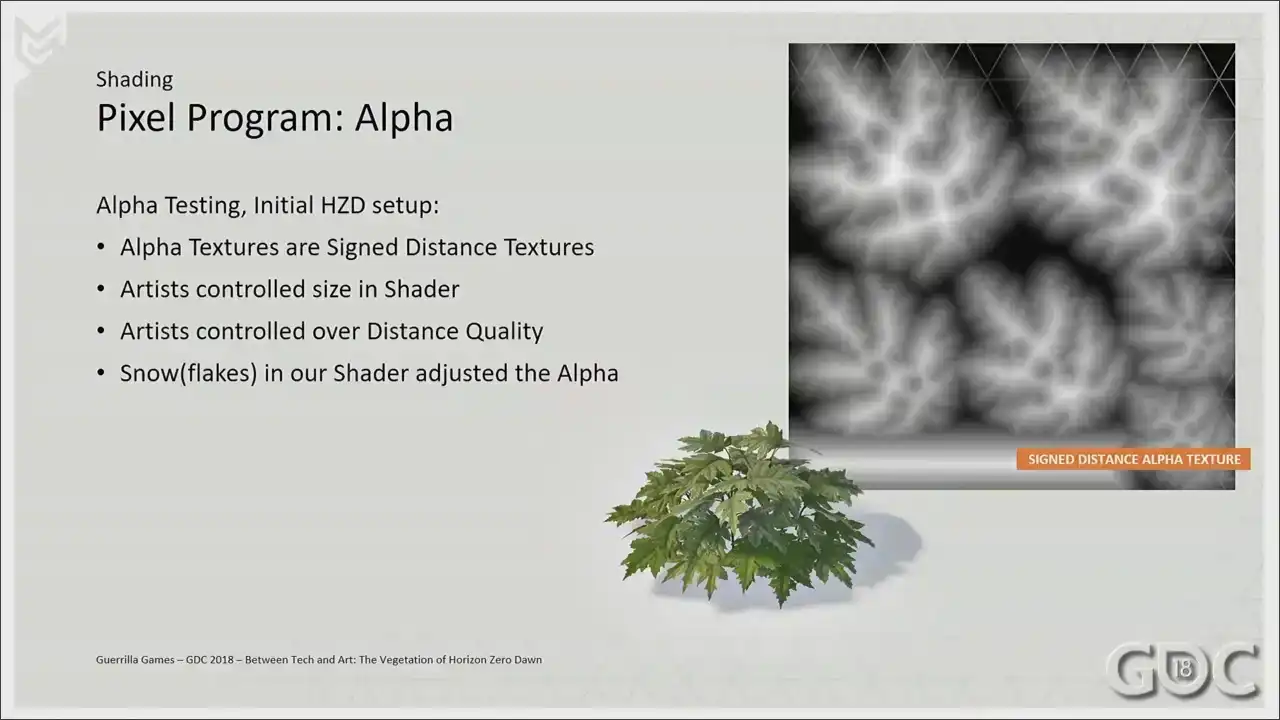
over the size of the alpha in our shader.
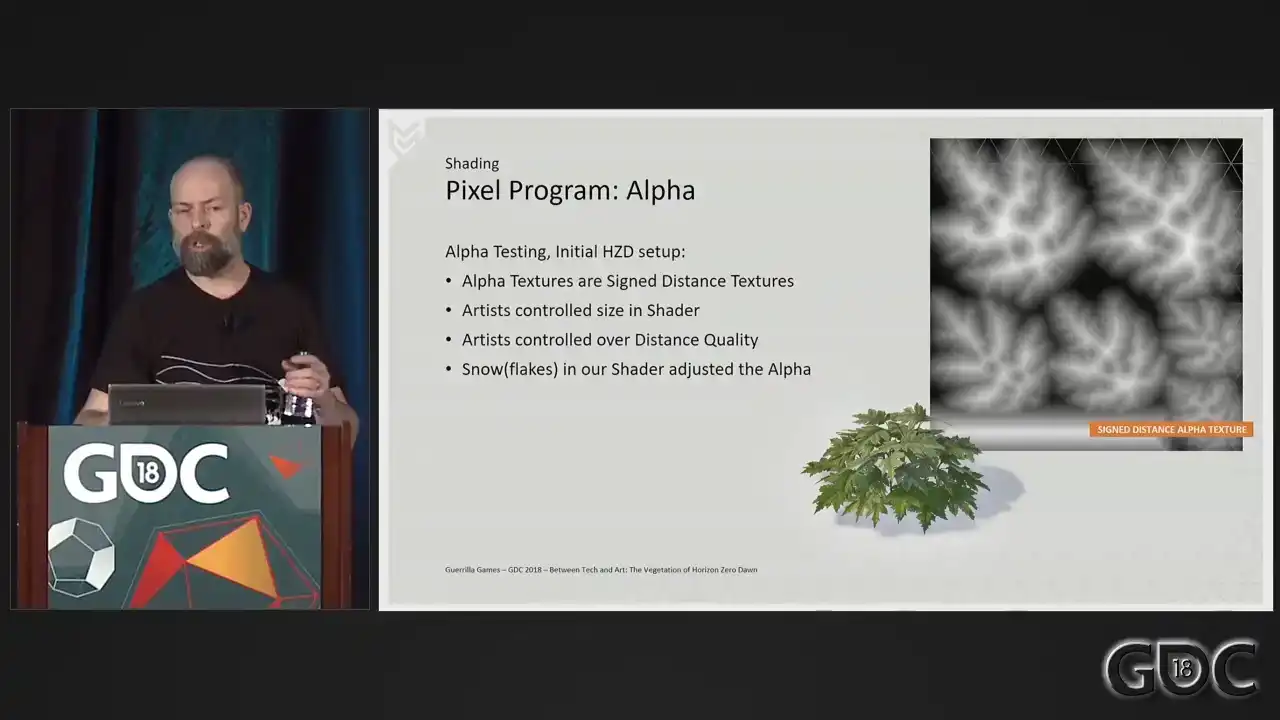
We could enlarge and shrink our alpha in shader, and we were enlarging our alpha over distance. We did this to combat the quality decrease that happens when the texture switches to lower mid maps. Also, at some point we had dynamic snow in our shader that could also adjust the alpha on the fly. However as the world of Horizon grew bigger and bigger and more populated we were always looking to improve performance And we found that adjusting the alpha in the shader proved to be a costly operation. And we really were looking for percentages to shave off.
So let's have a look at our GPU profiler again. And here's a little disclaimer. It's sometimes It's hard to replicate certain situations when so much changes over the course of a project. So this is a little testing that I built to hopefully mimic the effect. But here is the GPU profiler again.
The two numbers to look at here are once more the depth prime, but also the shadow pass is influenced by the way the alpha texture is handled in the shader. Shadows are at almost 9% of the frame. Debt prime is at six. And here is it with what we changed it to a nice drop of almost 2% on shadow and Debt prime dropped roughly a percent.
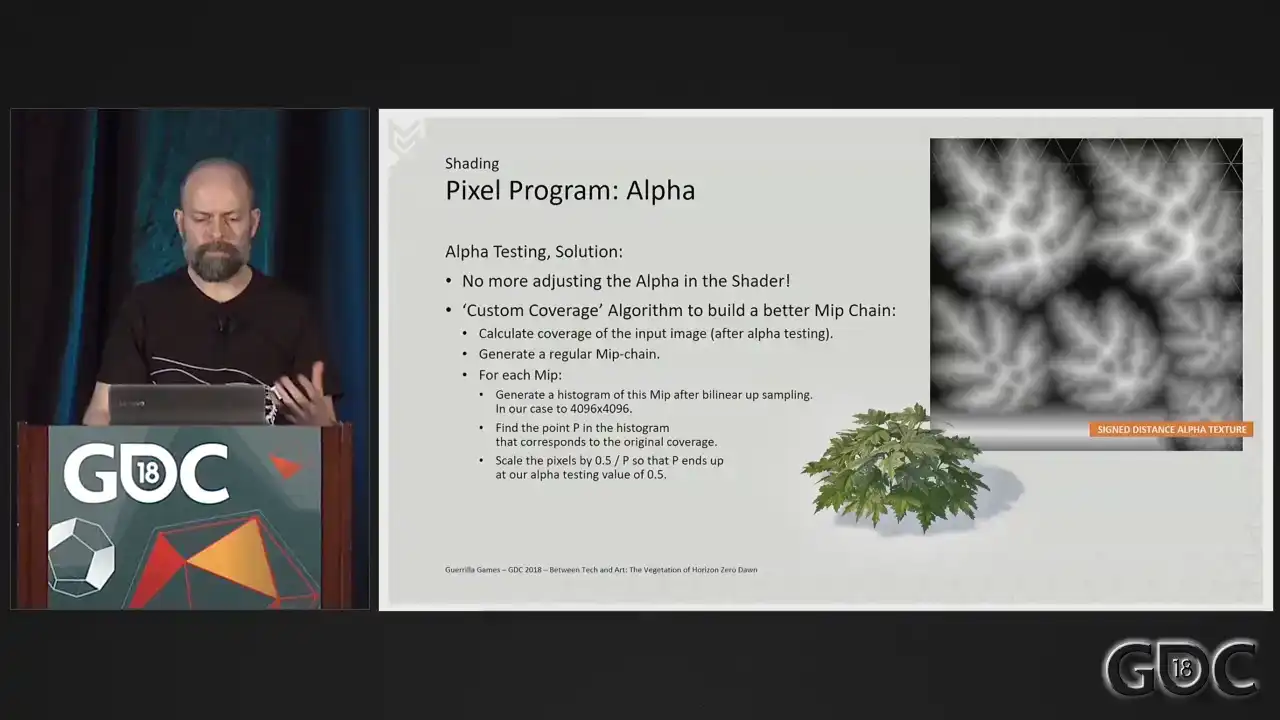
So what did we do to get these results? On finding out the cost of adjusting our alpha through our shader, we removed that functionality and replaced it by generating a custom MIP This makes sense because we already sampled this in our shader. So anything that we can get out of this is free. We build an offline tool to do this for us. And this tool is described on the slide here. And in short, it does this. The process calculates the coverage of the alpha tested image and builds up a normal MIP chain. Then we sample each MIP, we up sample each MIP bilinear, build a histogram, and within that histogram find the point that matches our original coverage. Our alpha test value in game is 0.5. So dividing 0.5 by the value found will give us the amount with which we need to scale that MIP to end up with our original coverage. Sounds logical, right? And here's a representation of our MIP chain
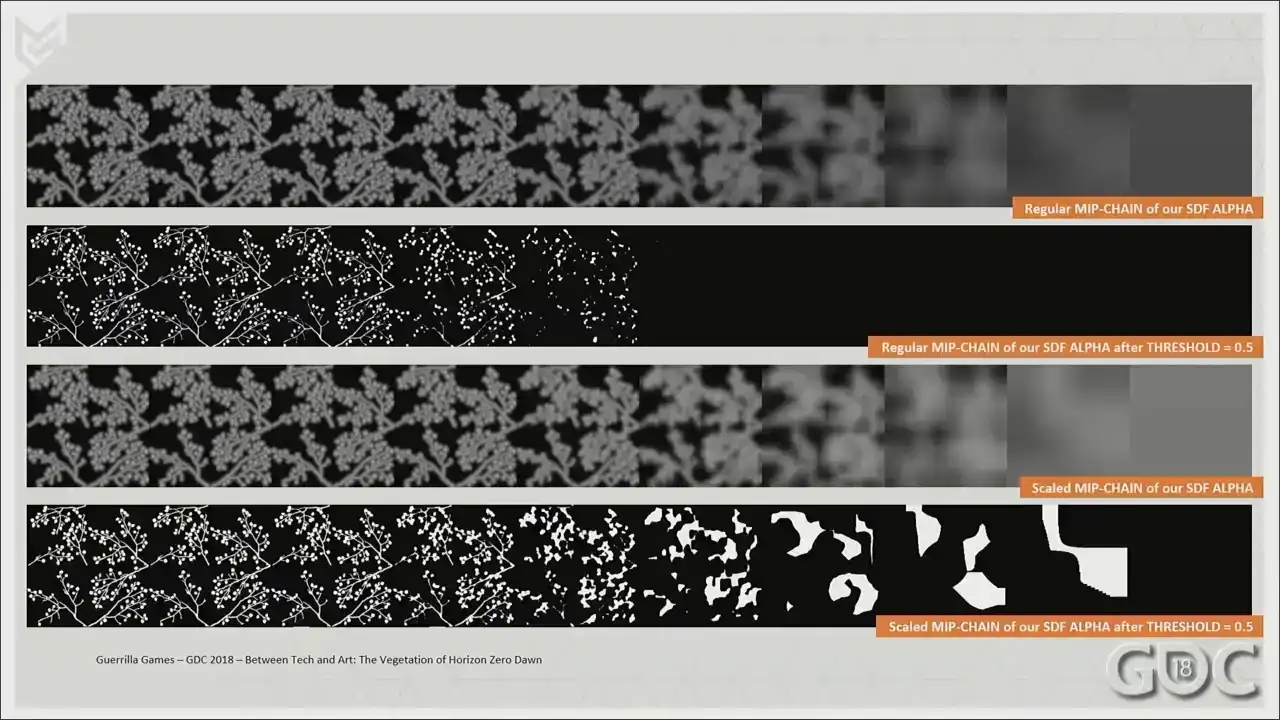
and its coverage after a clip at 0.5. And the bottom two rows that appeared represent the scaled up alpha created by our own custom coverage algorithm and its coverage after
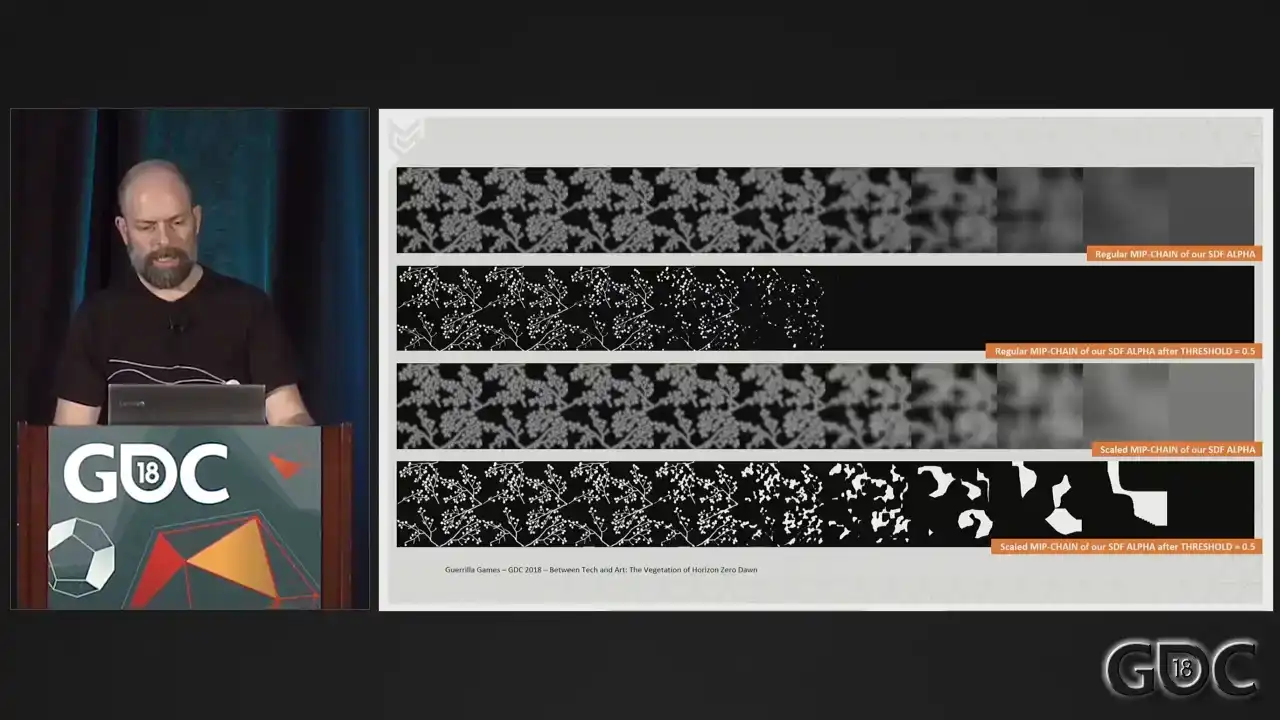
a clip at 0.5. So all the work that was done by our shader
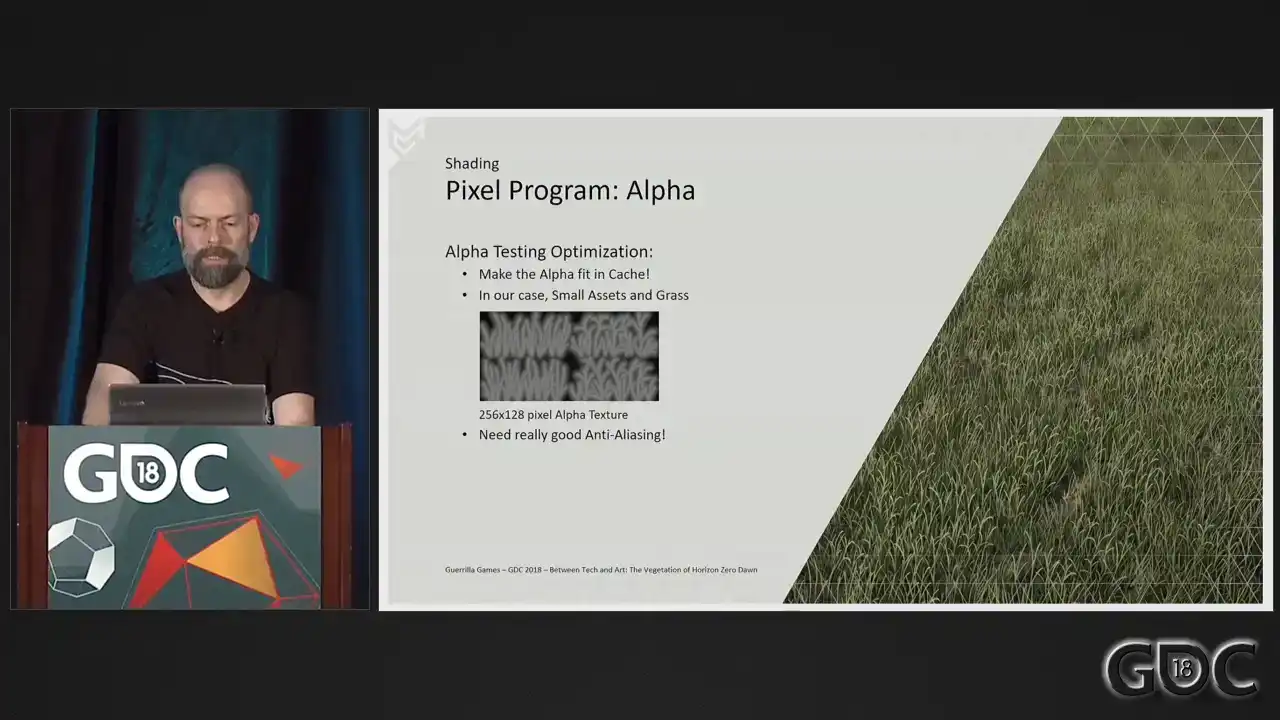
now resides in a single texture sample. Okay. Making your alpha as small as visually possible is always good practice. But another thing to keep an eye on, especially for assets that you know you will draw a huge amount of, is wherever you can, make your alpha small enough that it will fit in the cache. Especially for our grasses, this simple change was a huge win. A BC4 compressed texture, that texture over there, 256 by 128,
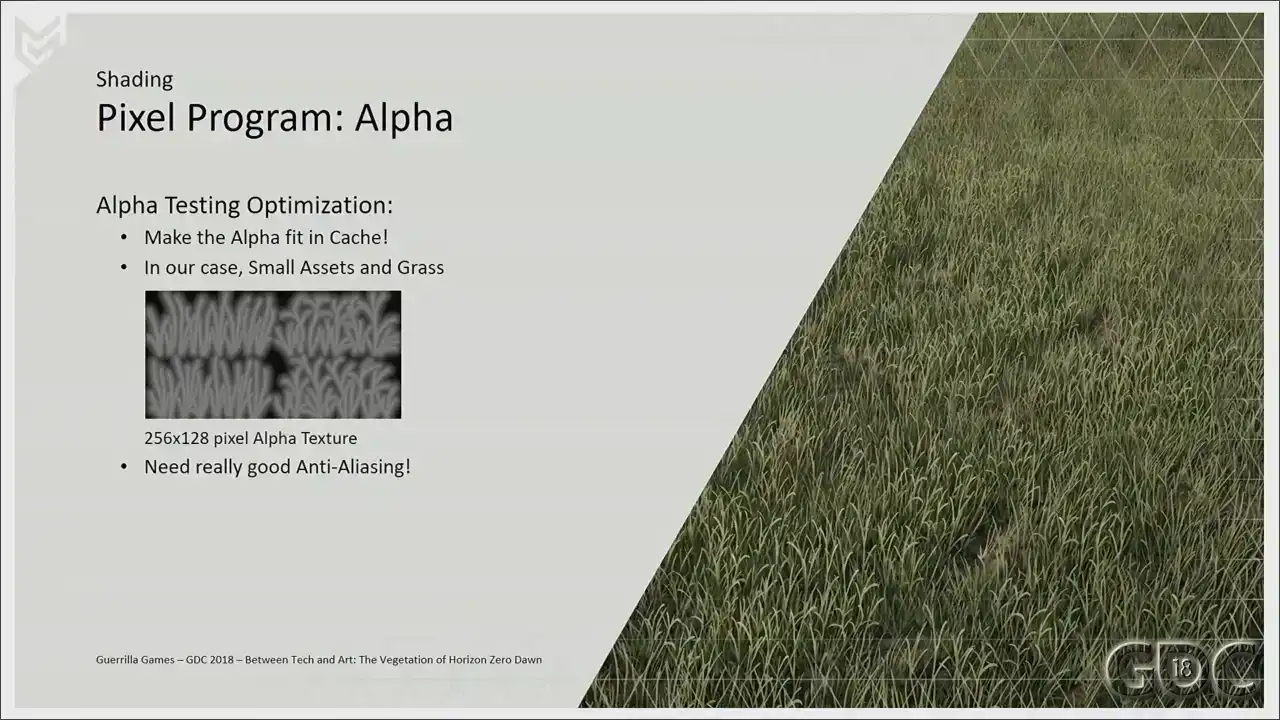
comes in at 16 kilobytes without mipmaps, 21 kilobytes with mipmaps. And I really started off with the version without the mipmaps
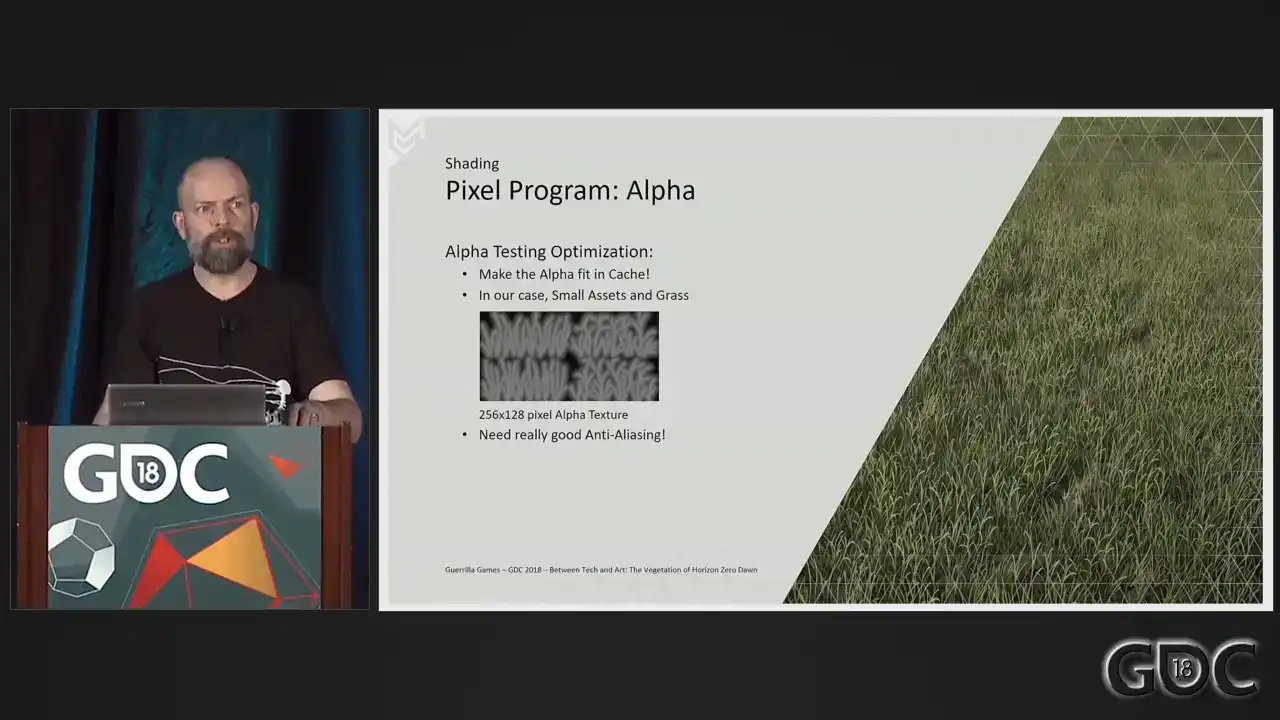
until the graphic programmer that was working on our anti-aliasing solution saw my check-in and wasn't too pleased about it. So we went for the larger version with the mipmaps included. But you do really need a good anti-aliasing solution to make this look awesome. So a shout out to a paper that our graphic programmer did with a Kojima programmer
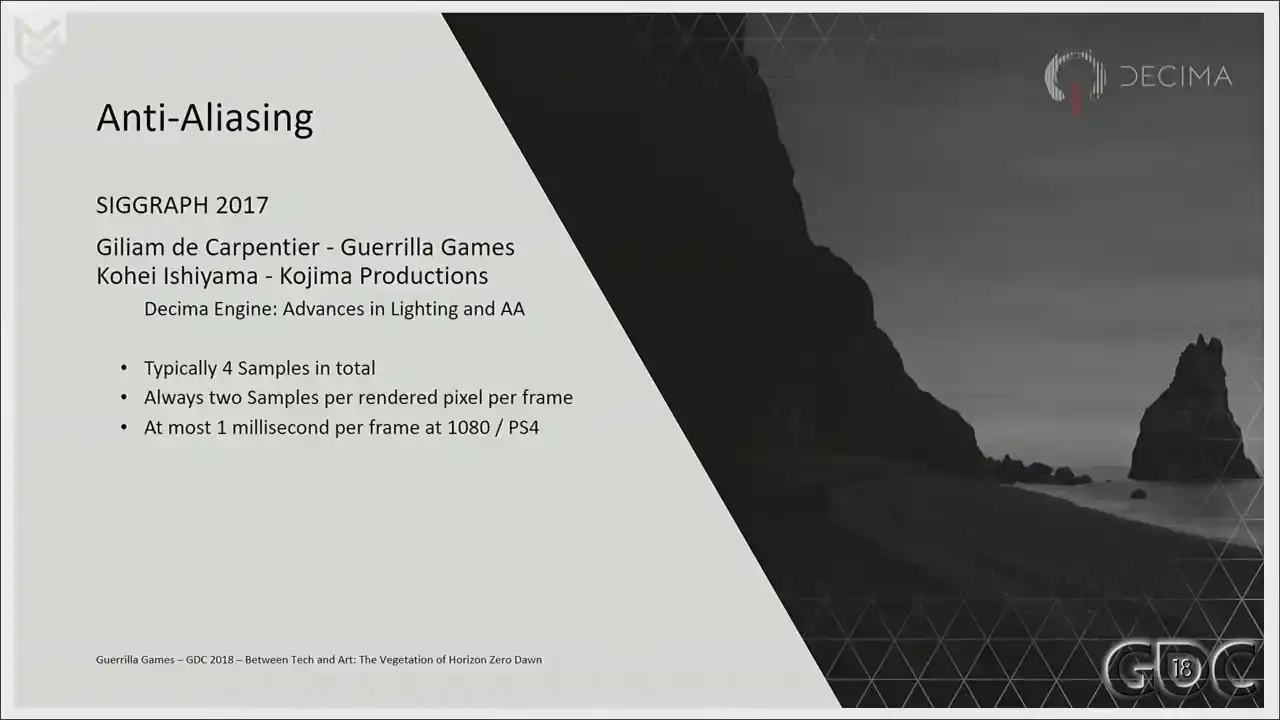
on SikGraft last year. This is in short the anti-aliasing solution that we have running in game right now. Again, I will supply a link after the talk in my last
slide. All right. Let's have a look at the rest of our pixel program.
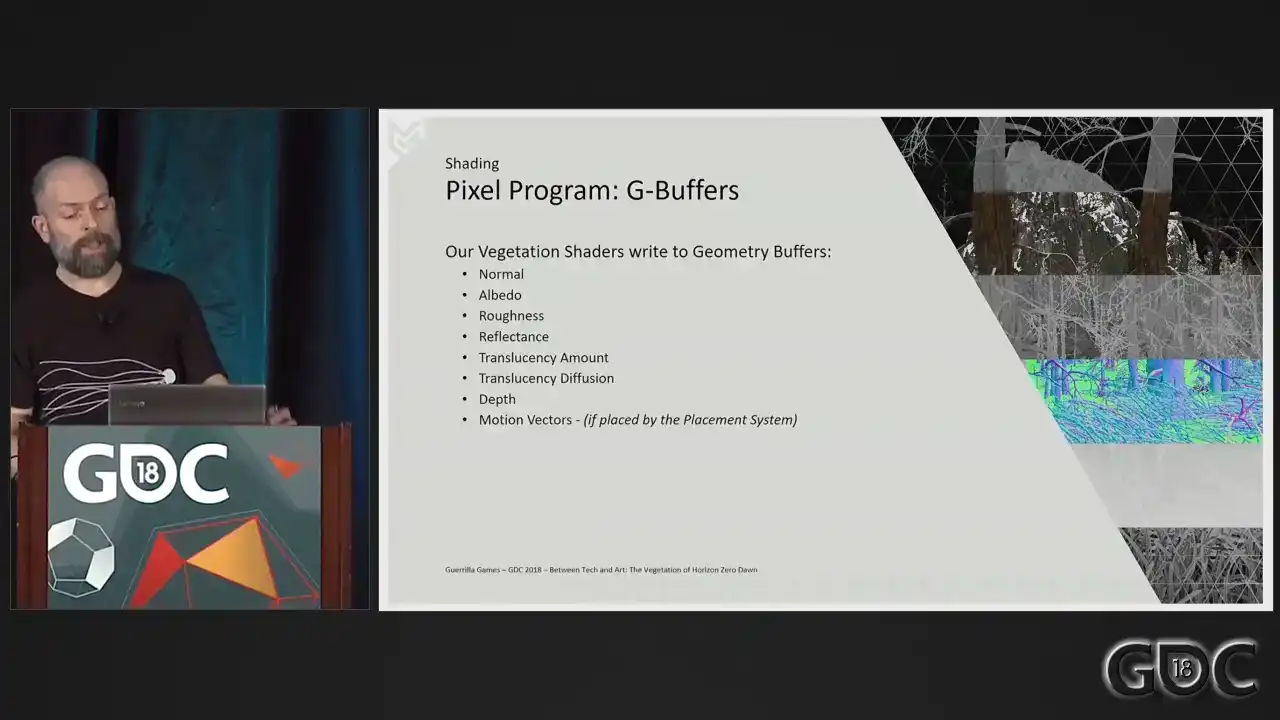
So our Decima engine uses deferred shading and our vegetation shaders right out to these
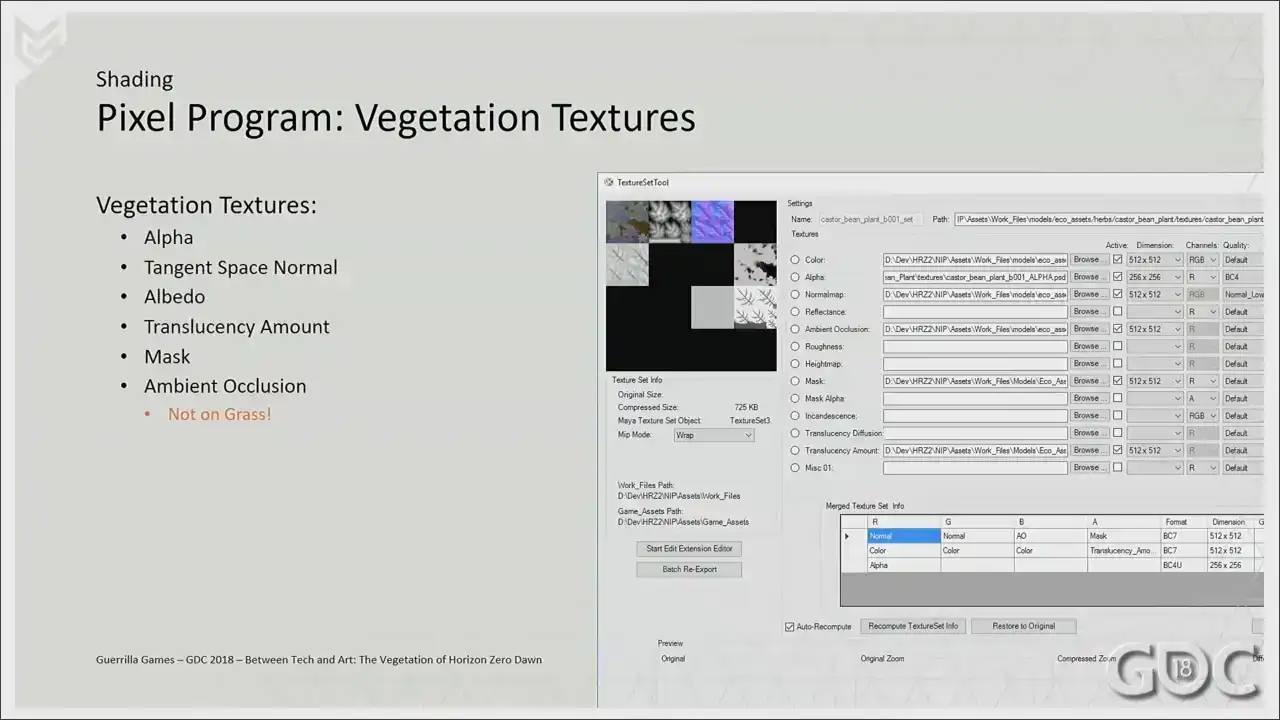
G buffers. And these are the textures that we supply to our shader with the exception
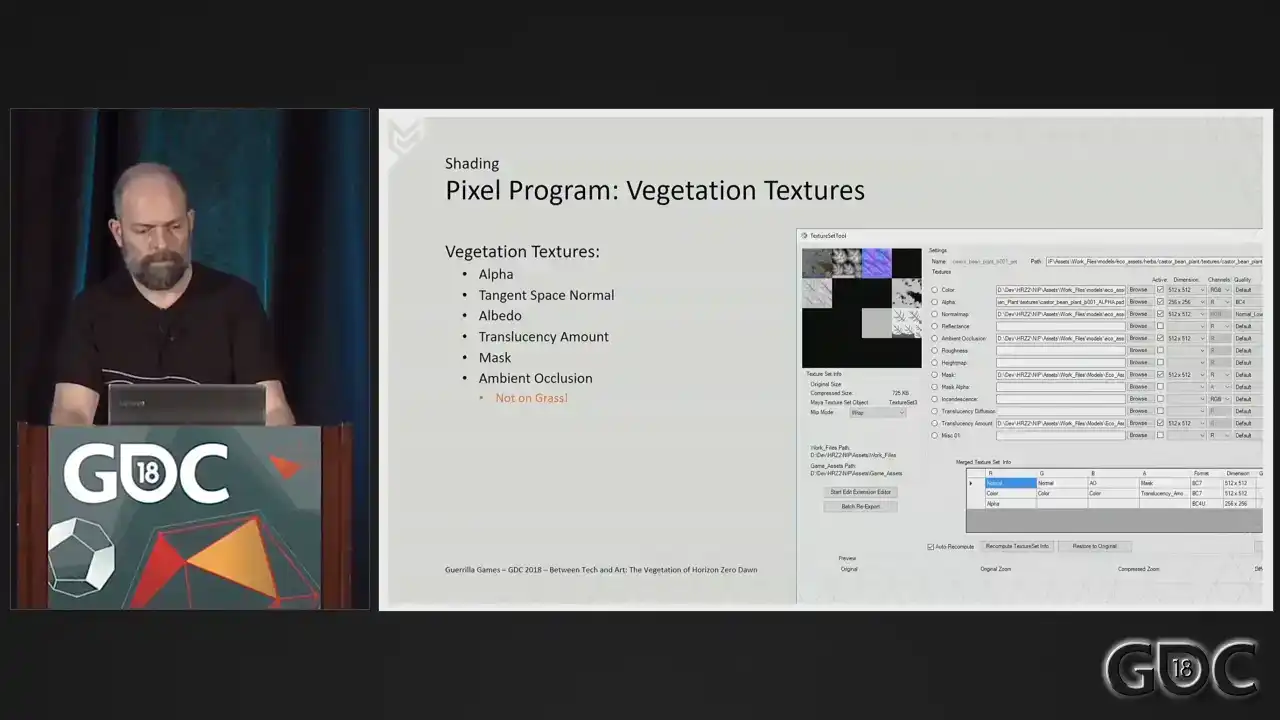
of grass which never has an ambient occlusion texture We also omit translucency when we render most barks On the slide you see a tool we have which is our texture set tool This is a cute little amazing tool that lets us load in Photoshop files and with the push of a button, we'll pack these into compressed DDS files ready for use in game and editor. And what you see here is a typical set up of vegetation textures. So two BC sevens and a BC four. All right. Normals. If we are dealing with proper geometry like the plant on this slide, we do not have to do much more than we would with any other 3D asset. We only have to take into account that we need to render it double sided. So based on a check to see if we're rendering a front or a back facing triangle, we flip the normal accordingly. But when our assets rely heavily on alpha planes or triangles, flipping the normal incorrectly can be extremely useful in hiding the carp like nature of our canopies and our grass. What we do is we adjust the normals of our vertices and take the absolute value of our view space normal to ensure we never render
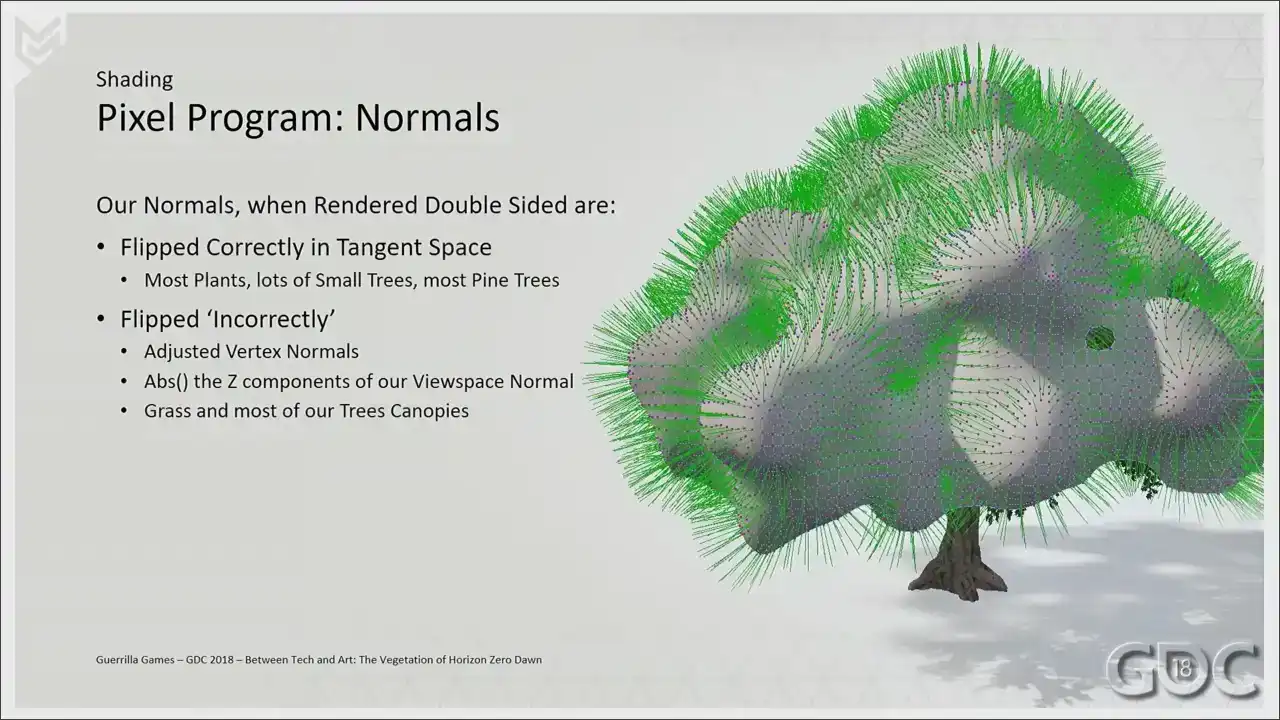
normals facing away from our camera. We use an ISO service to generate our normals.
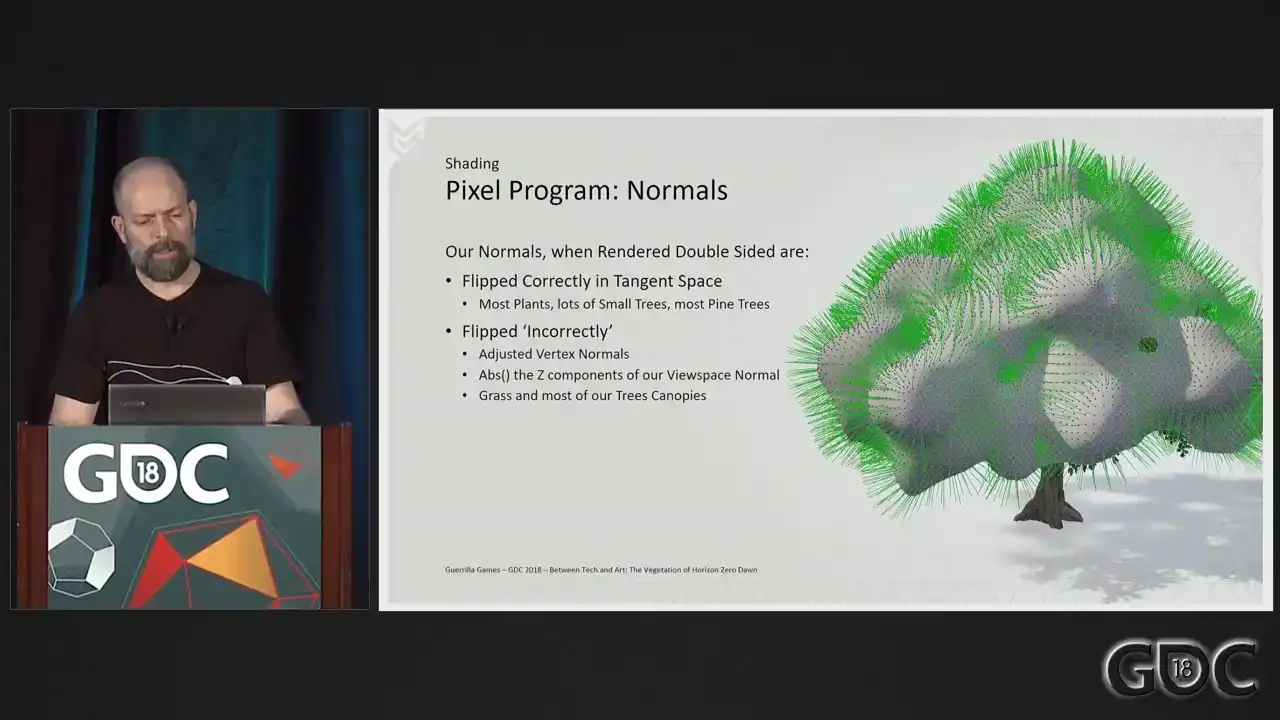
And this is an example of how the mesh would look surrounding our canopy. And we transfer those normals onto the verts. And this is what the normal buffer would look like. So let's compare between the incorrect
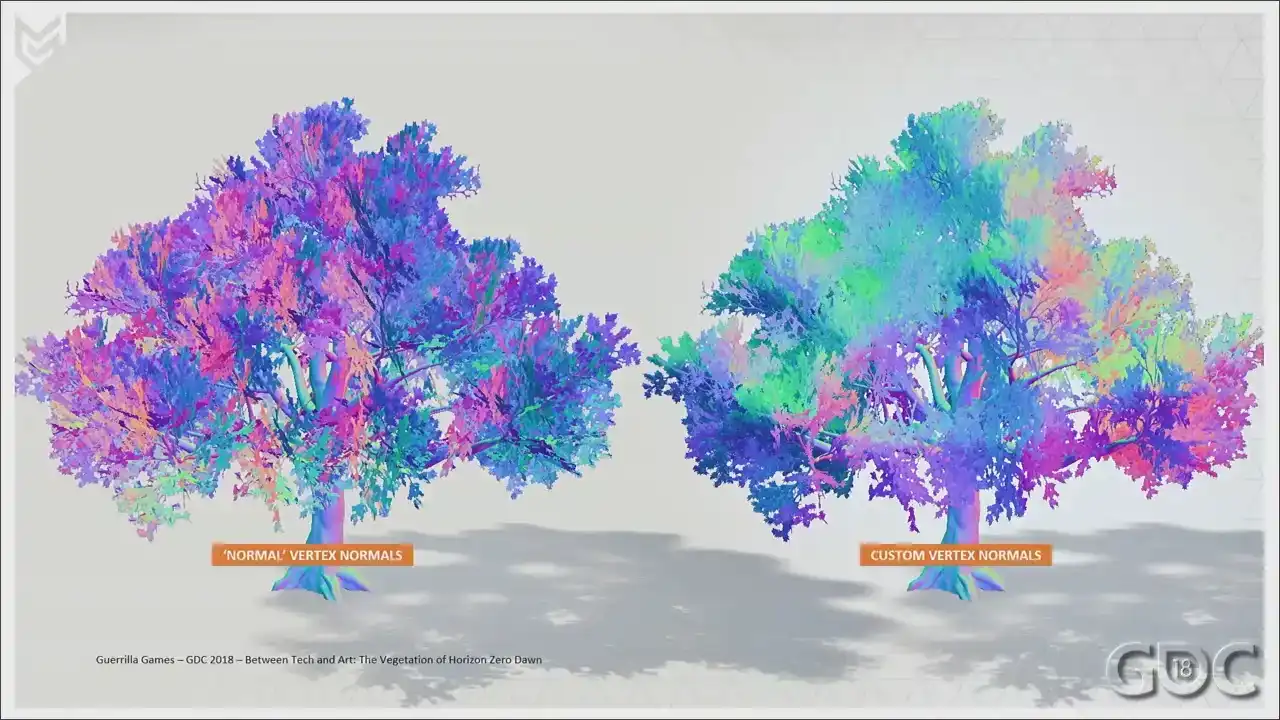
and the normal normals. This is a G-boover. And this is what we ended up choosing. It's a highly artistic choice because you're
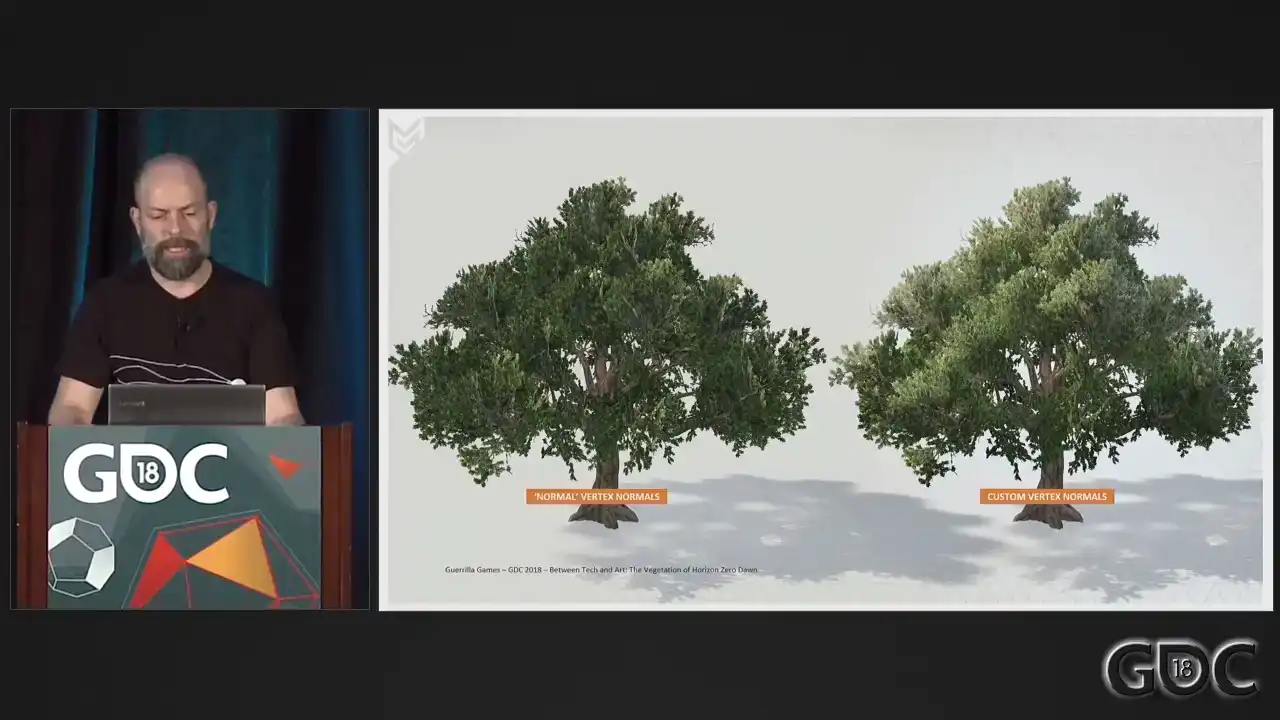
breaking lighting and translucency in a way. So we did not use it on everything. But again, when dealing with approximations of geometry, it can help in hiding the simple

nature of your assets. Especially on grass where we tried a lot of things to hide the fact that it literally are 32 triangles. We leave the geometry normals as is, but we still do the apps on the Z component of our view space normal. And again, a G-bervish shot.
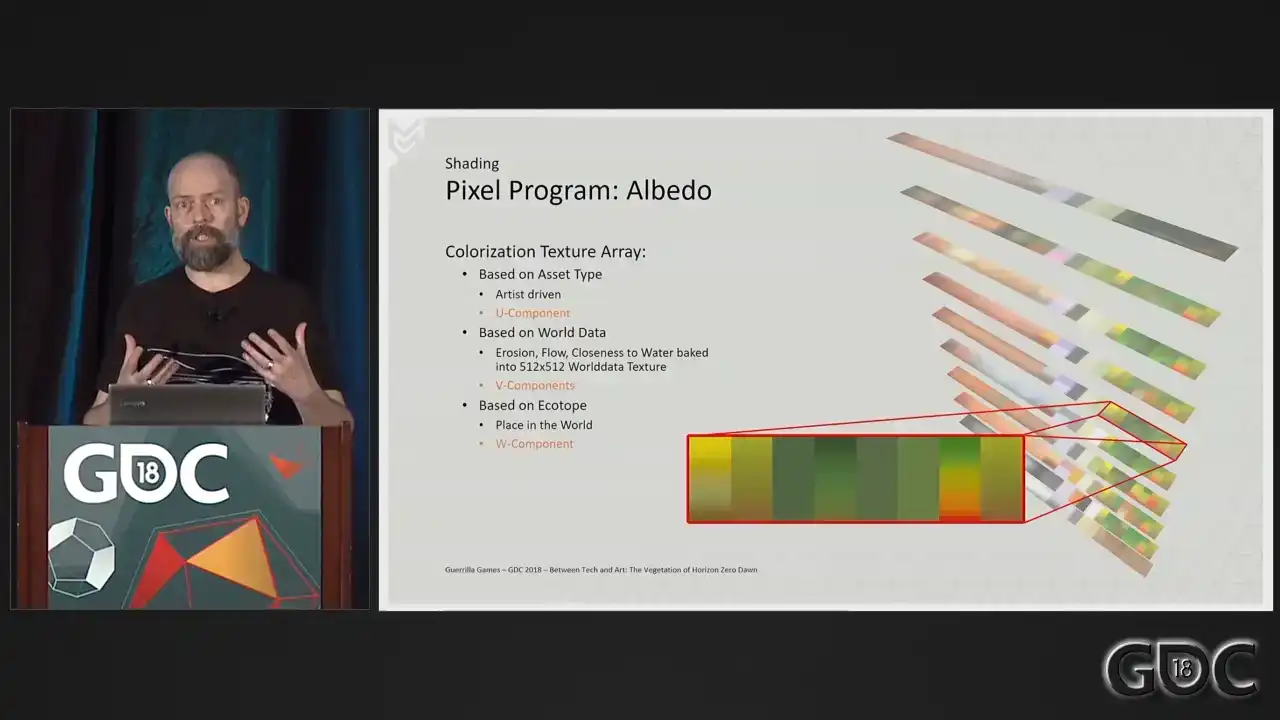
The albedo. All our vegetation in our game is colorized.
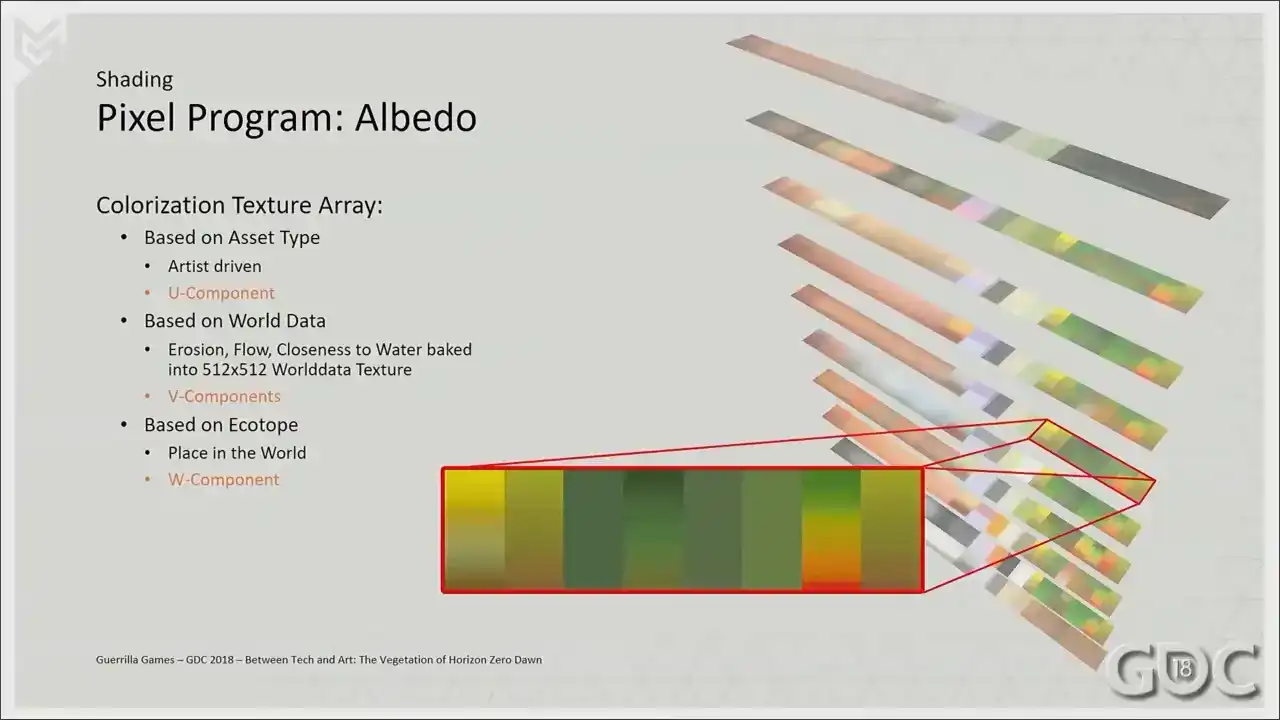
And for the colorization in our entire game, we have a texture array in which we store
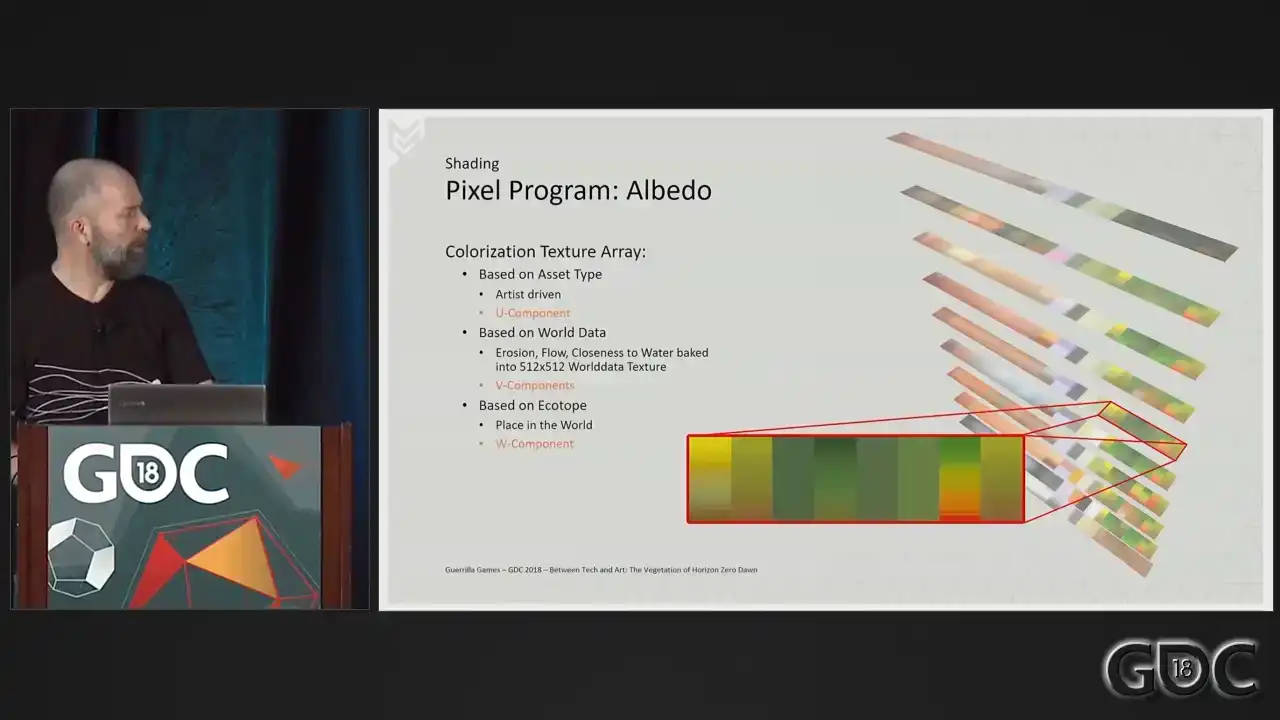
64 what we call ecotope colorized textures of 128 by 8 pixels. Apart from the colorization of vegetation, which is enlarged on the slide, these textures also hold colorization of our rocks, terrain, dust, and lichen. The place in the world of an asset dictates which texture to sample, so the W component. Different types of what we call world data are captured in one grayscale texture that drives the V component. And the artist can choose from eight bands and think of these as choices for different type of acids within the colorization texture. All vegetation acids take one sample for the whole object except grass, which we sample per vertex. To facilitate all this, we average out the color of our albedo textures to a mid-gray value. We also have a mask texture in case there are parts we do not want to colorize. In our shader, we overlay the sampled colorized value on top of the sampled albedo texture through the mask texture with an illuminate function. The resulting color is the background color mixed with the foreground color, brighter where the foreground is bright and darker where the foreground is dark. And this is what you get when you combine this in shader. We derive our roughness and reflectance from a combination of texture samples, the ambient occlusion baked in the vertex alpha,
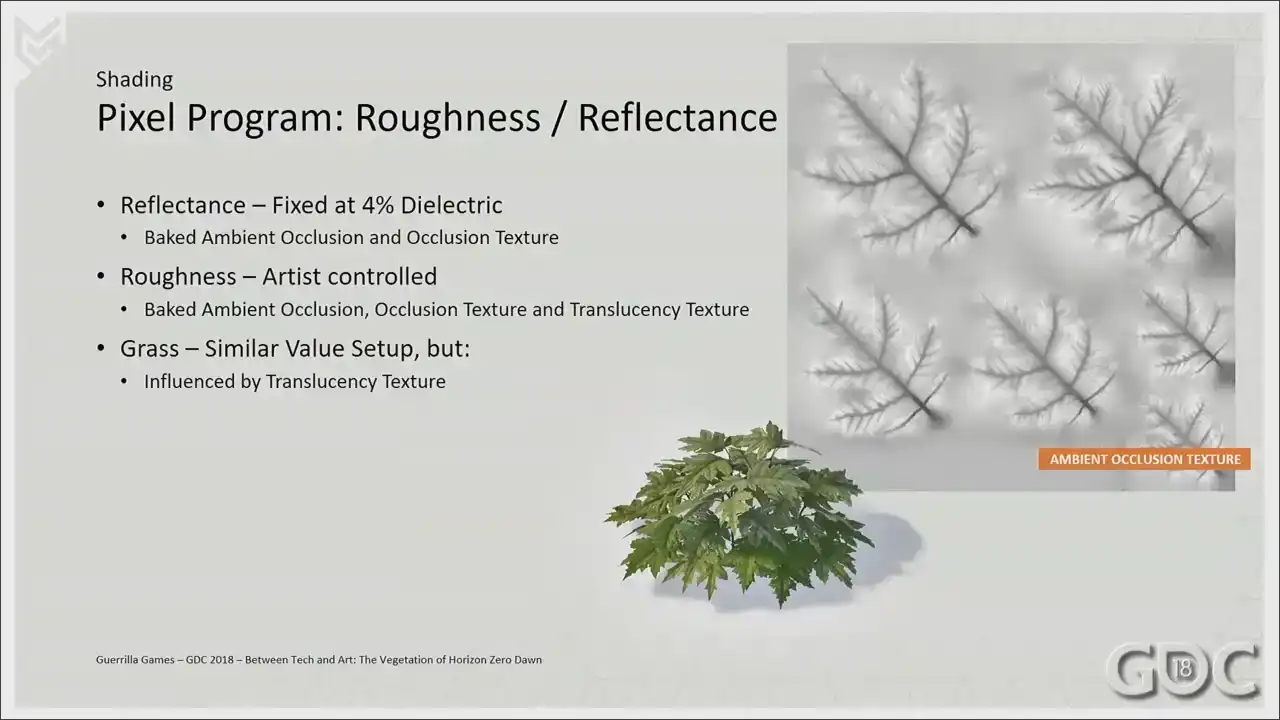
and a variable which for reflectance we fixed at 4 dielectric For roughness we still wanted a little bit of artist control so we opened up that variable and we added a level or set range version
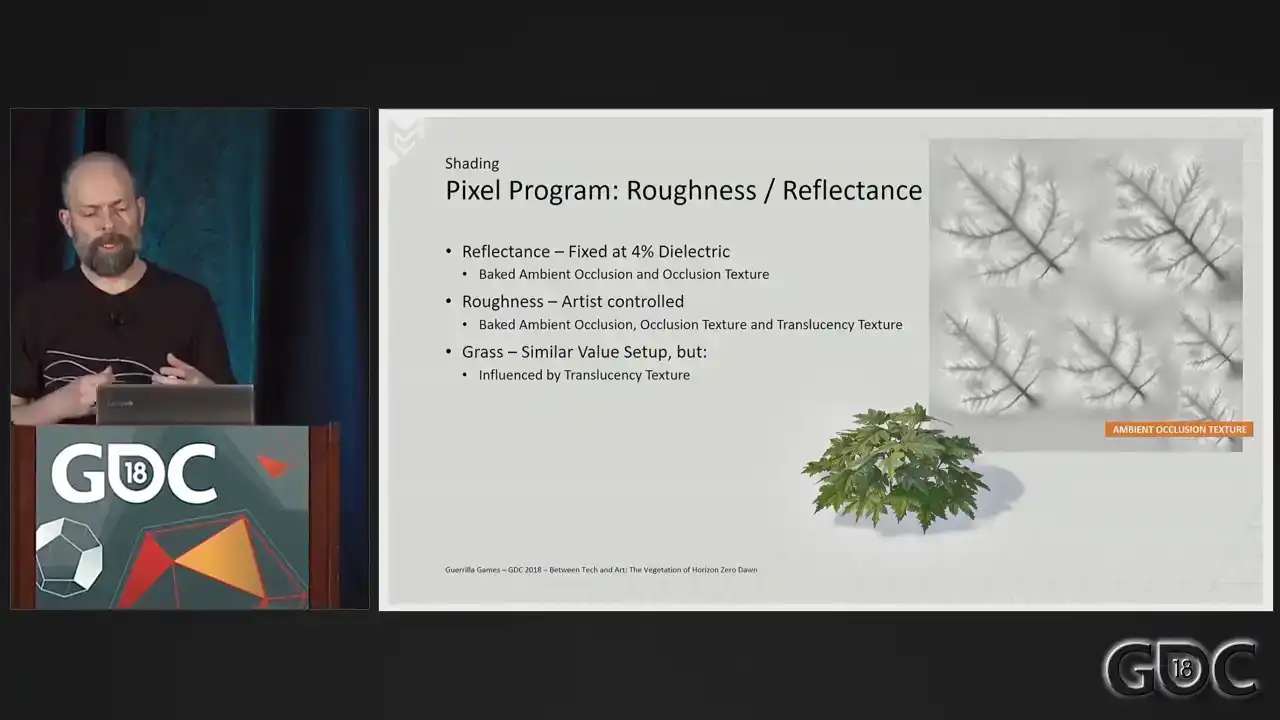
of our translucency texture on top of that to, as an easy way to differentiate the roughness between leaves and bark should that be present in a single texture. On grass, we do not have a vertex color stream or an ambient occlusion texture, so we use the translucency texture to do similar things.
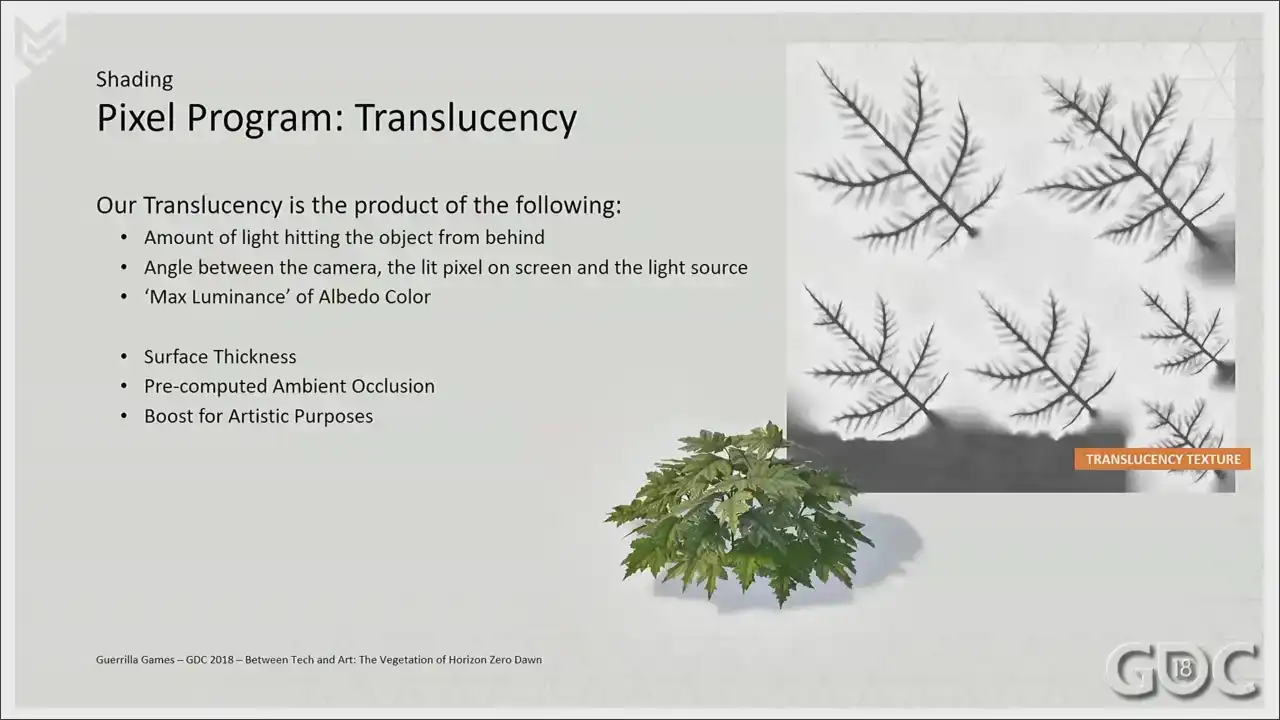
The first translucency, the first three items on screen here are happening under the hood,
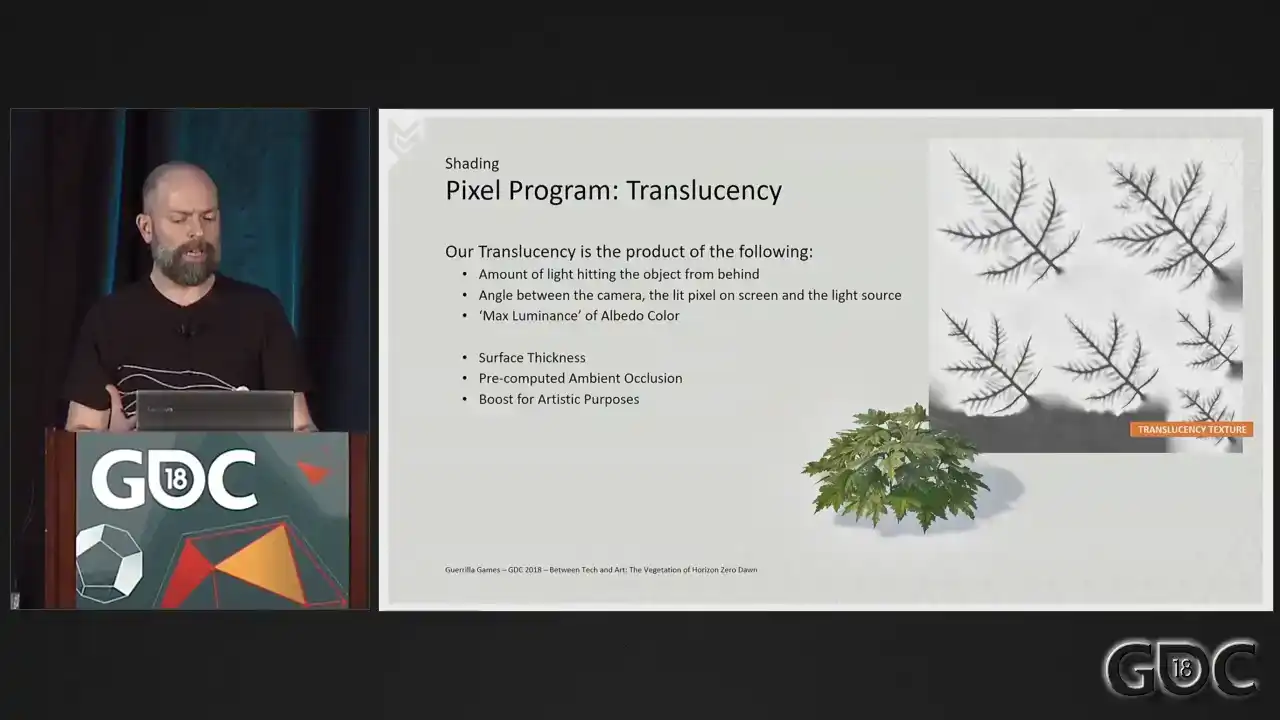
so to speak, and it's not something that we have access to or are able to adjust in our shaders, but I just wanted to put them out there for clarification. The last three items are open for our artists to adjust. The surface thickness informs the amount of absorption inside the surface and the whiteness of the scattering cone once it leaves the surface on the other side. We encode these as translucency amount and translucency diffusion values for our G-buffers. The translucency amount is the amount of absorption, while translucency diffusion is the amount of scattering. We pretty much locked the amount of diffusion for all vegetation at a certain value at some point, and we control the translucency amount by a texture sample. We also layer on top pre-computed AO, which is a combination of our AO texture and the AO stored in the vertex colors. For grass, again, we use a derivative of the translucency amount texture as our pre-computed AO. And the last one is a big one. Where we break away from attempting physical correctness is in the last phase. Where we have the ability to boost the amount of scattered light. This gives us more of a surreal effect that visually was more in line with the overall look for the game.
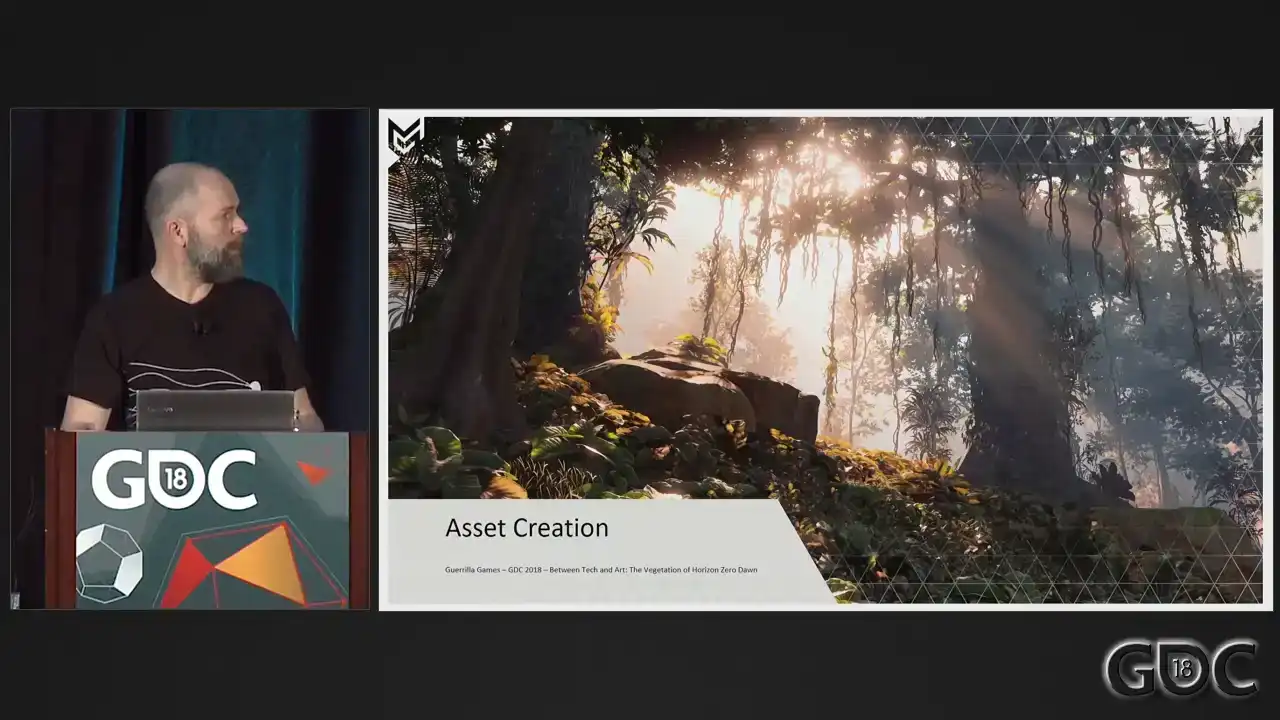
All right. That's sort of our shading explained. You know what we need for our wind simulation. Let us now look at the pipeline for creating vegetation. Once again, when we started, we were the
Killzone guys. So we knew how to build this. And things like this. And I had to dig deep, but we even found this. Kill zone vegetation. So we knew we had our work cut out for us. And to stretch our legs a bit, we built ourselves an art benchmark to see how far we could push vegetation. And I actually found a video of that I really wanted to share.
This is what we built. I believe it's in the beginning of 2014 to at least inform everybody within the company how dense we wanted to go and how much different assets we wanted to spawn within our forests. This beauty ran in-game at a whopping 10 frames a second. And there's some really funky mushrooms on it. But because for this test, we were still building our models
like we kind of would any other kill zone asset. Lots of attention to the highest lot, and hoping to crunch away enough vertices over distance to make it run. And we continued to do this for some time during production.
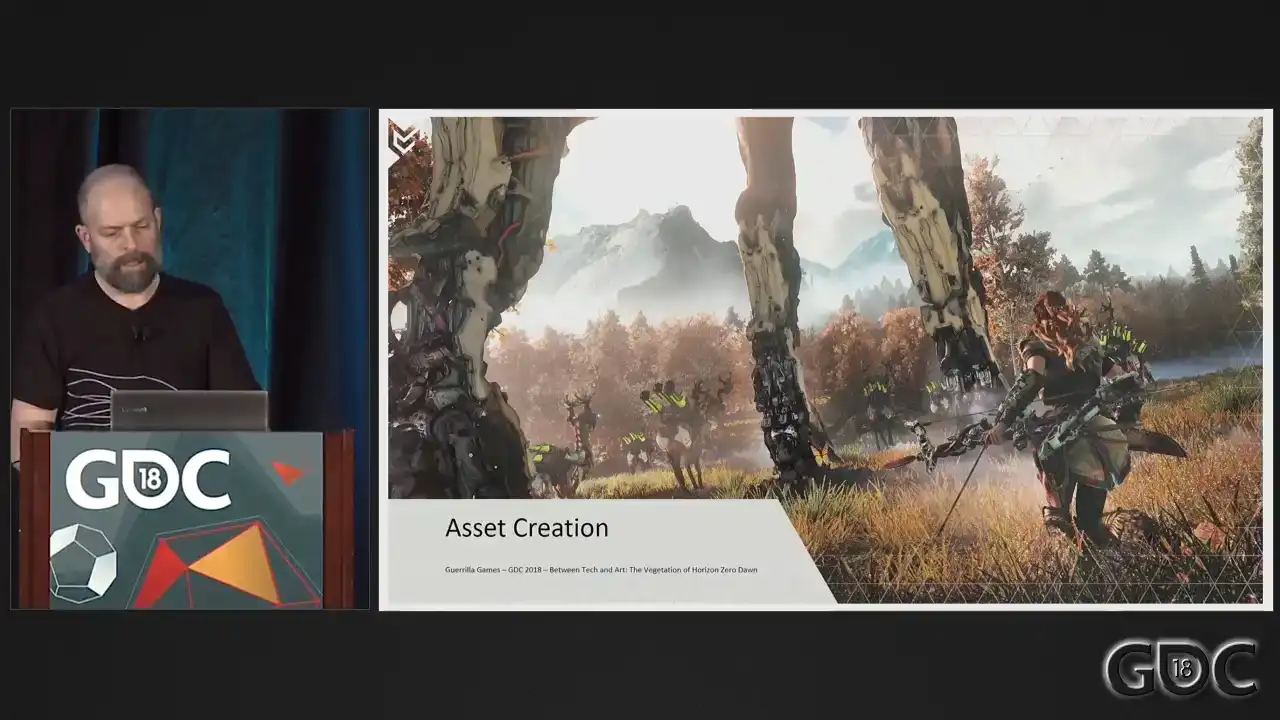
And then came E3 2015, our first reveal of Horizon. Not only at Treyer, but we were playable. And because the game needed to be playable for our developers to showcase the game, we needed to do a huge optimization pass on our LODs through all sorts of software processes. Not so much on the highest lot, but every other a lot needed to go down. So when E3 was out the door, we tried to figure out what we could do to improve the performance and quality of our LODs without having to resort on software solutions to reduce triangles. It needed to become part of creation. What we decided on doing was flip the creation process. So we build our lowest lot first, and if we happy with the look in game and the performance, we start adding detail that is needed for our higher meshes.
So let me illustrate this a little bit better.
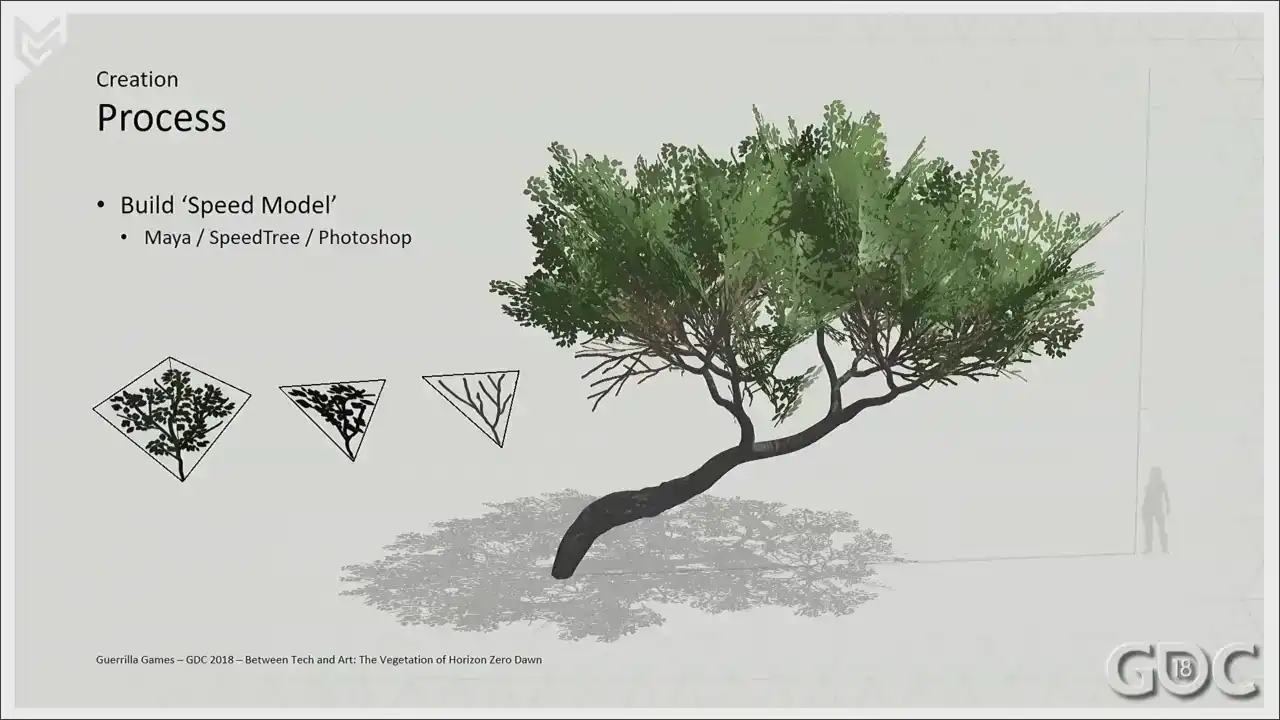
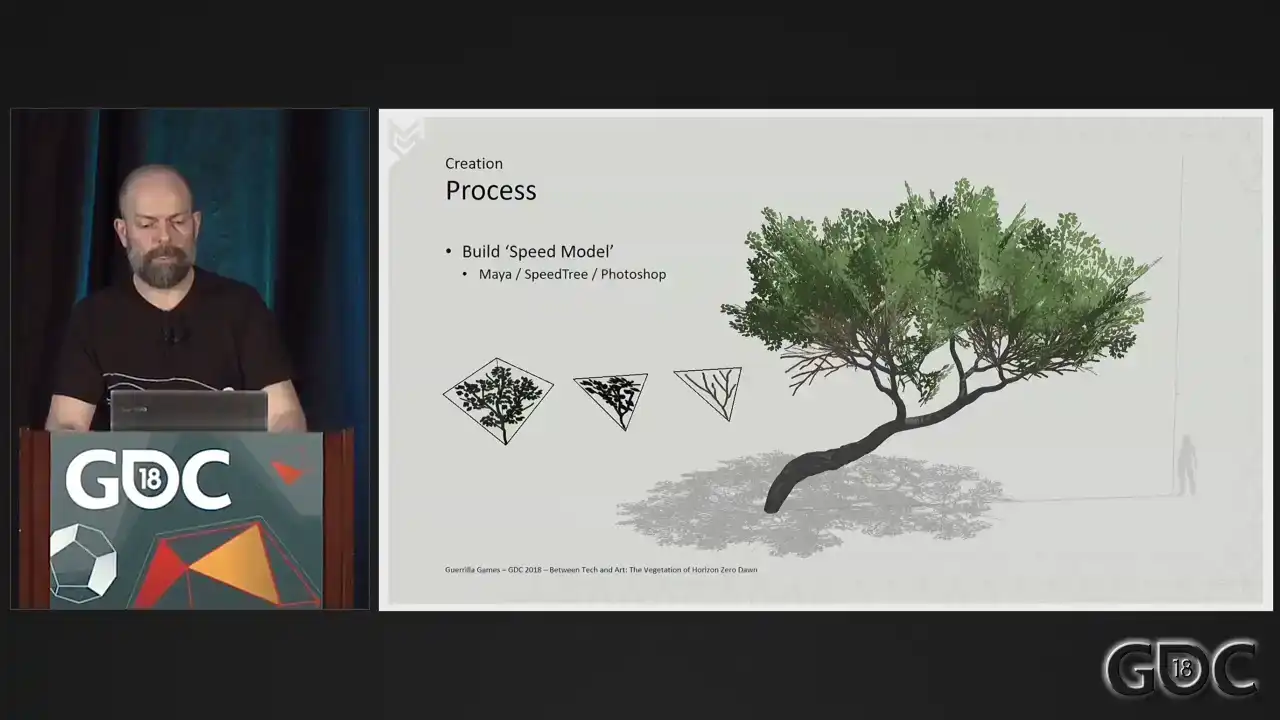
We built the lowest lot of our components that we want to dress our tree or any other assets with.
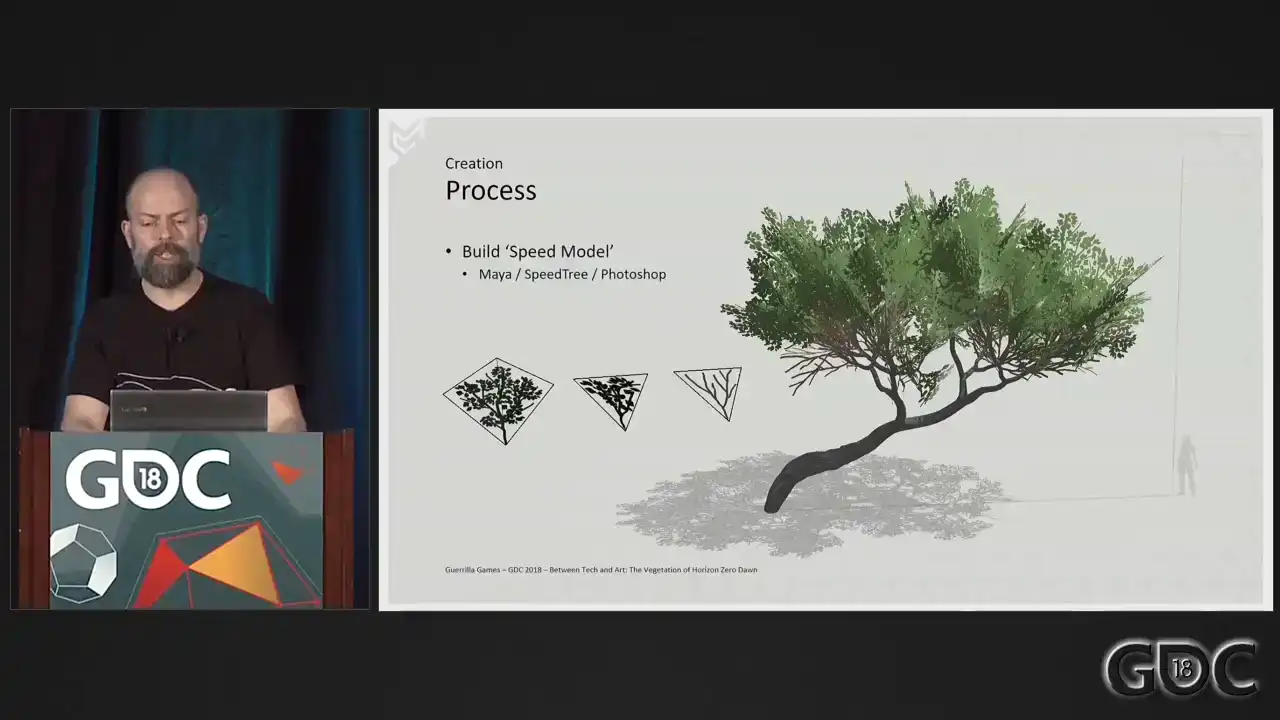
It's usually a triangle or a quad, and we spend a small amount of time sketching out what the texture or the silhouette could look like. And then we start building our assets with those. For this, we have used speed throughout the development of Horizon. And when we're happy with the results, we spawn these assets in-game, looking at things like performance, silhouette, density of the canopy, all stuff like that. If we're not happy, these changes can be made quickly, and we can still modify a lot in this stage. So as soon as we feel that the asset works, we go into building the high resolution component needed to create our textures from. And this is an example of a branch that we ended up making. I think this is a branch. It's a combination of Maya and Speedtree. But these high resolution components, as long as they match the texture and the texture layout that you sketched out when you were beginning this asset, as long as they match, you're fine.
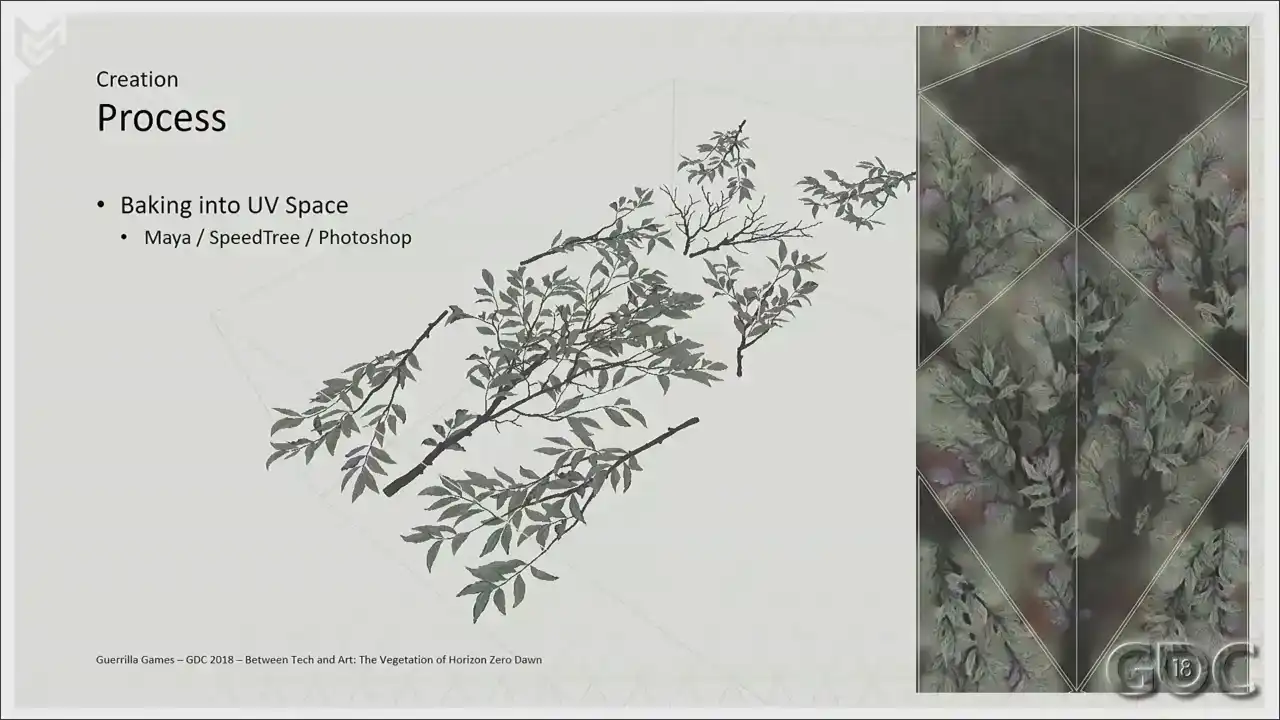
And once we have all the high resolution models built and laid out, we get them into Maya for texture baking. We apply our own shaders and have the ability to bake down these meshes and textures into the UV space that we will need for our game models.
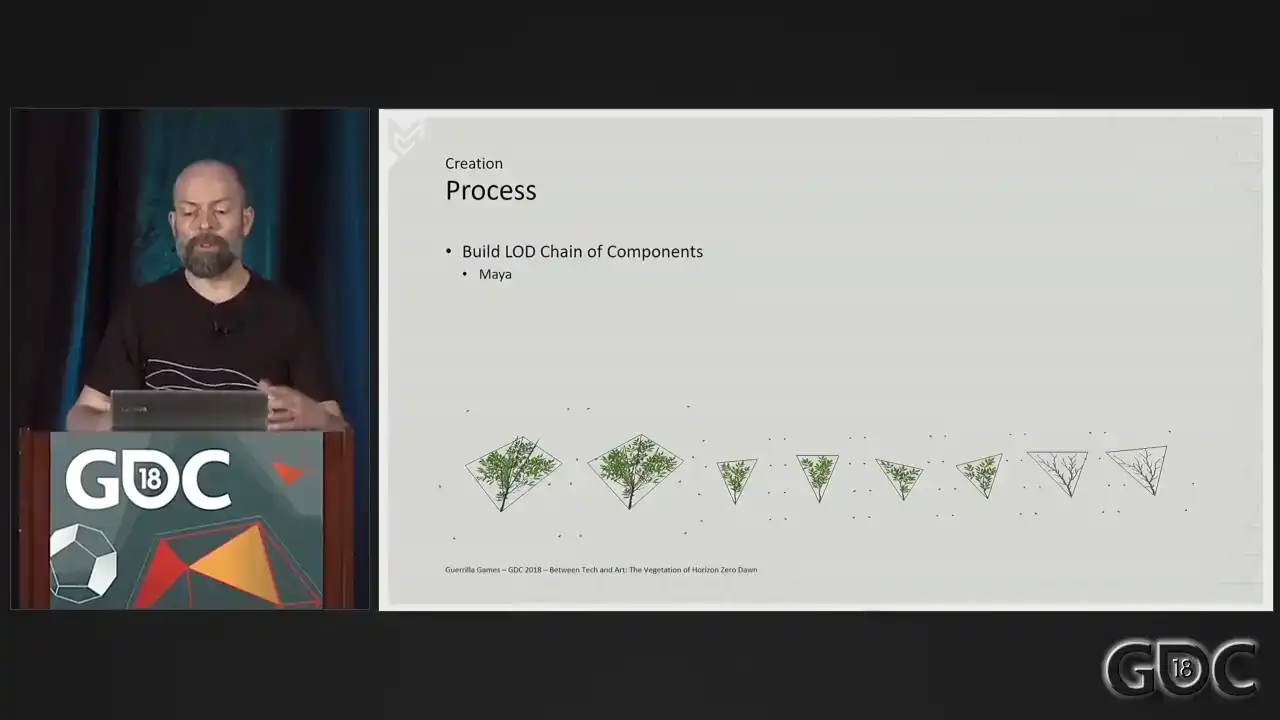
And now, with these textures baked and present, we return to our speed models, which we now
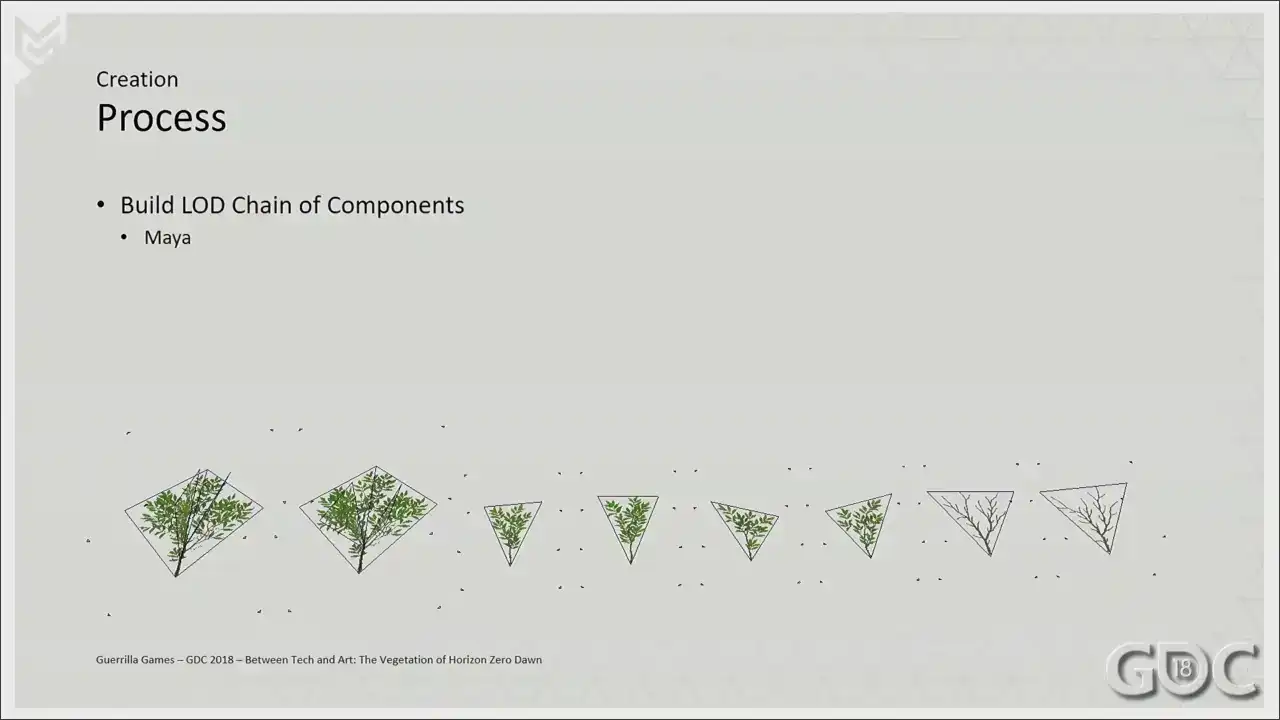
treat as lot three and start loading them up. In other words, we start detailing lot two and the first one. The little triangles you see surrounding these meshes were a small
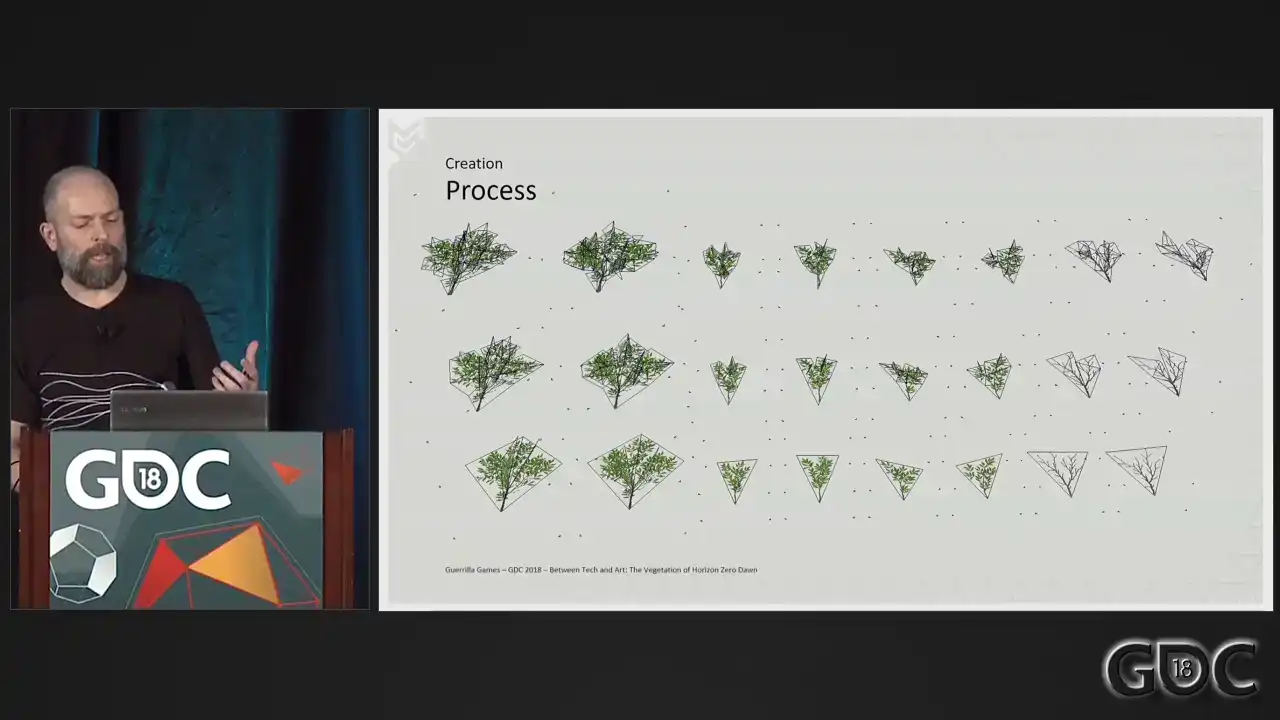
workaround to make sure that in Speedtree the LODs bounding boxes were similar. We've used Speedtree 6 throughout production, and this is a little thing that we needed to do to make sure that they aligned perfectly. Newer versions do not have that issue, but We did not want to switch software halfway through the pipeline or the project. Back in Speedtree, we replaced our speed model meshes with our new lot chain, and voila, we are good to go. By the way, did anybody notice that we hacked Aloy into the UI of Speedtree? Really easy to do, but quite fun when people do notice. So we export the lot chain from Speedtree with bones and AO to an FBX.

And then we use a custom Houdini process that we created in-house that takes that mesh,
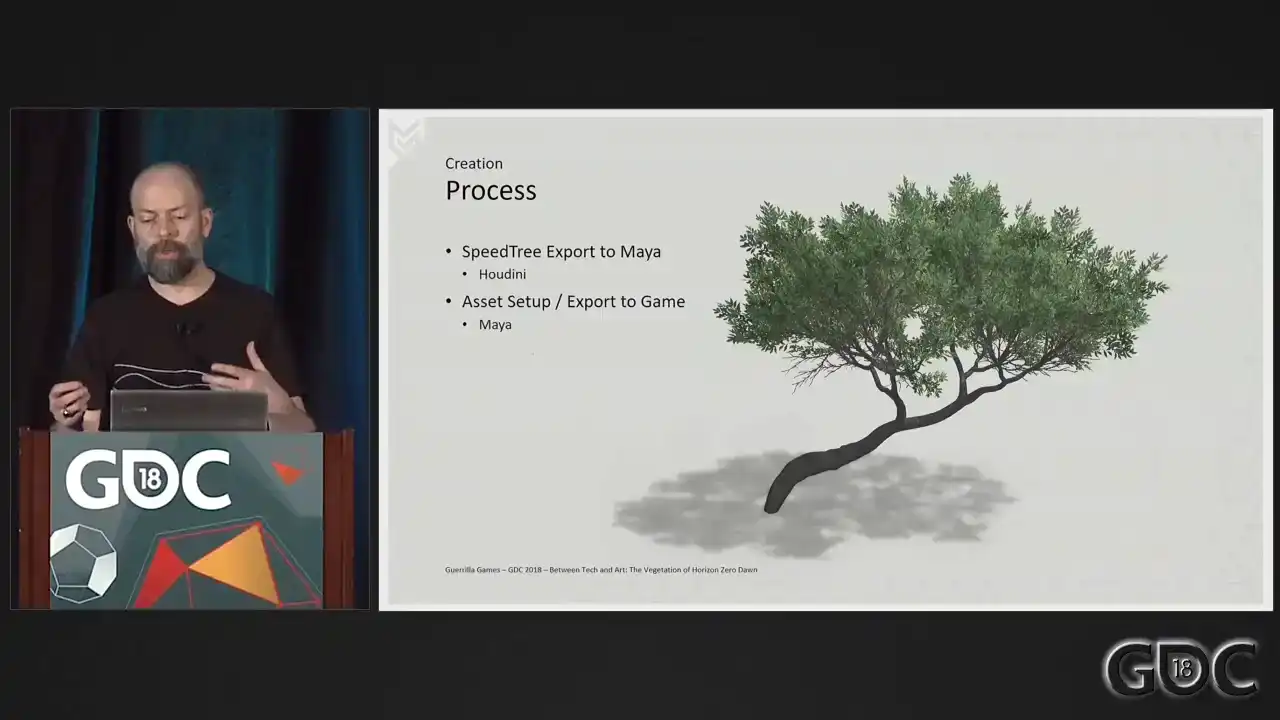
takes that skeletal and skinning data, and converts that data to the verticolor that I described at the beginning of this presentation. All that's left for us now is to set up the asset in Maya and export it to our game.
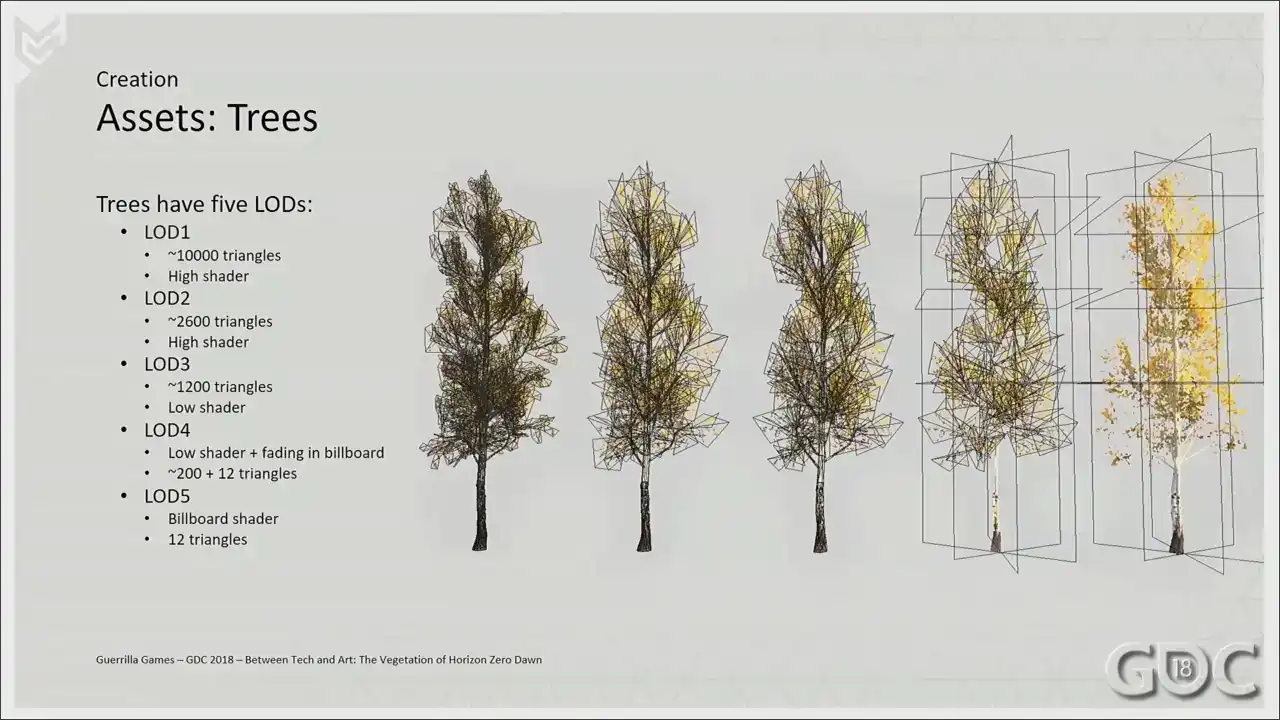
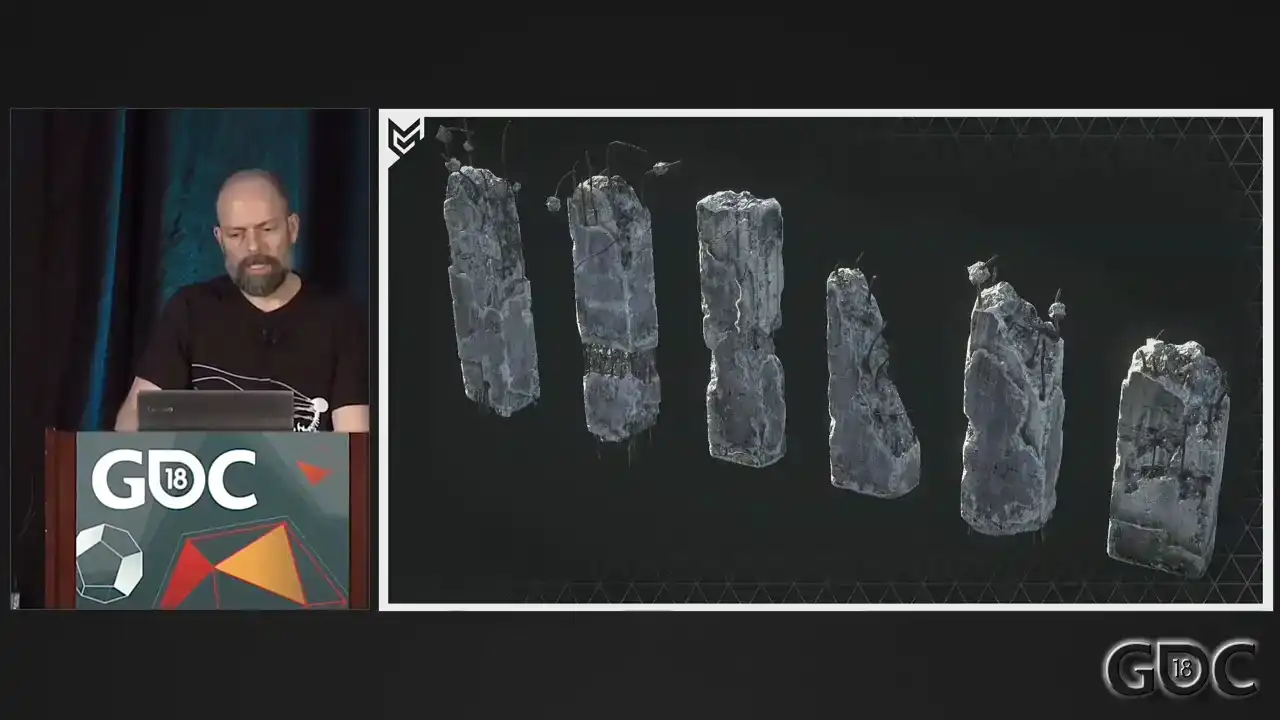
So here is what a typical lot chain of a tree asset would look like. Again, we use high and low lot shaders.
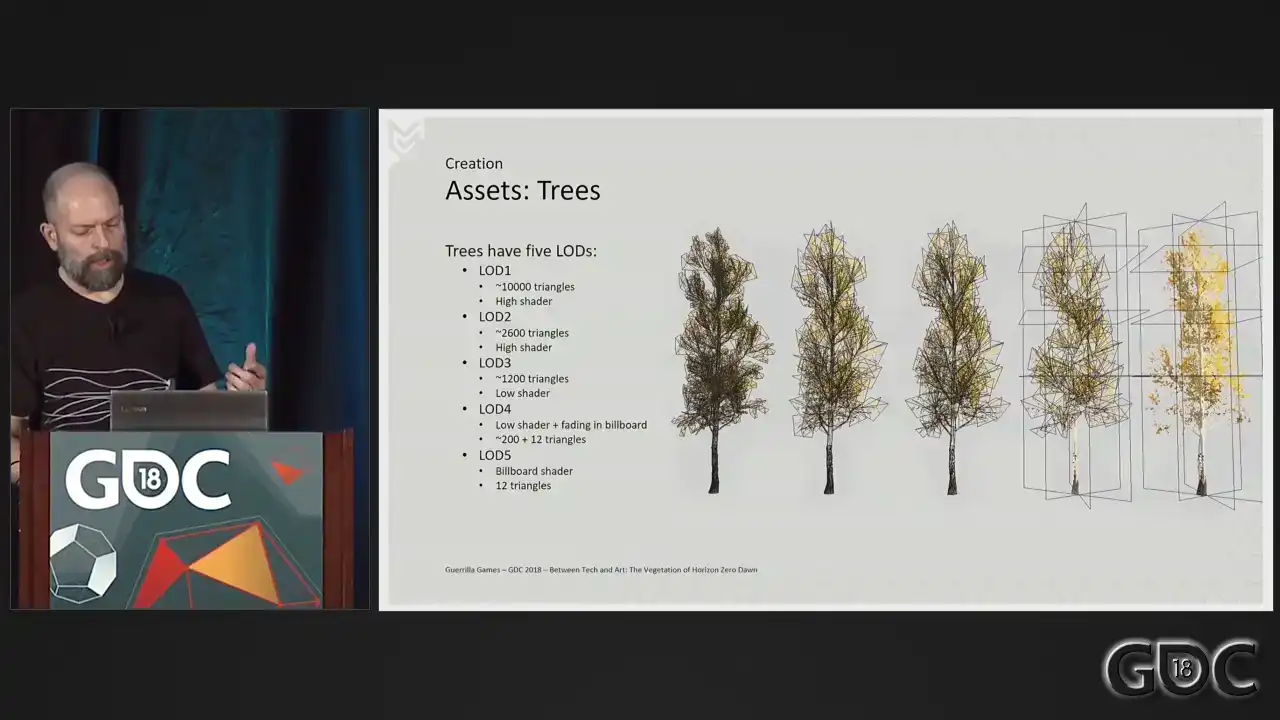
And you'll notice that we have billboards involved in lot four and five. I really wanted to include some information about billboards, but then I just looked at it, and they're nothing really special. They're just cross planes. So this is all you get.
And here you can see a sort of typical setup of our another asset.
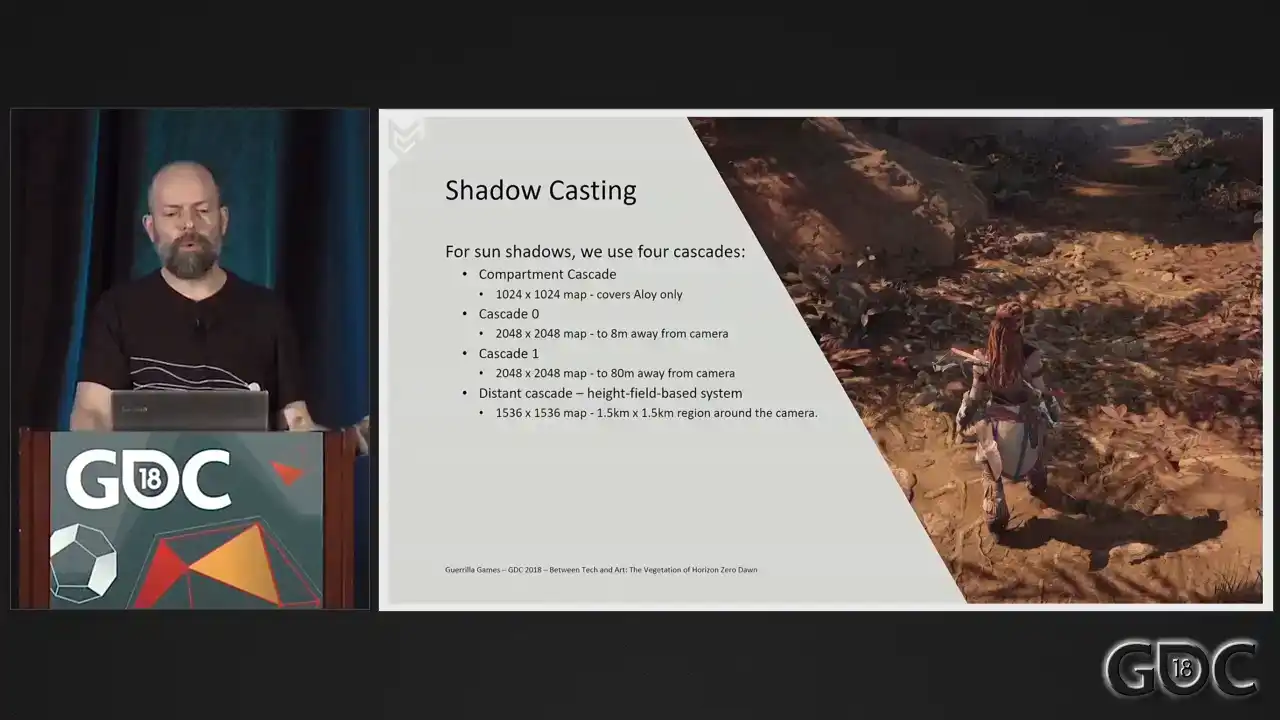
Okay. Shadow casting. We use four cascades for our sun shadows. In the compartment cascade that is called out first, we only render Aloy, including her hair, clothing, and equipment. And that means that they cast high quality shadows on Aylure herself and her close surroundings All my vegetation does not render in this cascade Cascades zero and one are standard shadow maps and we have a distance cascade which uses a height field system to render out shadows. But let's talk about cascade zero and one, the standard shadow maps, since these are the ones vegetation renders into. When rendering these shadow maps, we do something a little bit unusual. The natural way to select LODs for shadow rendering is distance to camera base. This causes shadows to pop noticeably because there's no crossfading between the lots when it comes to shadow map rendering. However, we do crossfade between our cascades. So what we decided to do is render objects into the shadow maps based on fixed distances and only one object per cascade. So every object rendered into cascade 0 will select a lot as if it is 5 meters from the camera. Every object rendered into cascade 1 will select a lot as if it's 25 meters away from the camera. This fixes the shadow lot popping, because while an object is in a particular cascade, it will always use the same shadow lot. If it transitions from one cascade to another, then the smooth blend between cascades will ensure that there's absolutely no popping during the change to the different shadow lot. This increases render cost somewhat, but it almost completely solves the problem of shadow popping, and it was definitely worth it. And I've got a small little movie. It goes fast, so pay attention, but I also have it looping, so you don't have to catch it the first time around.
So there you go. There you go.
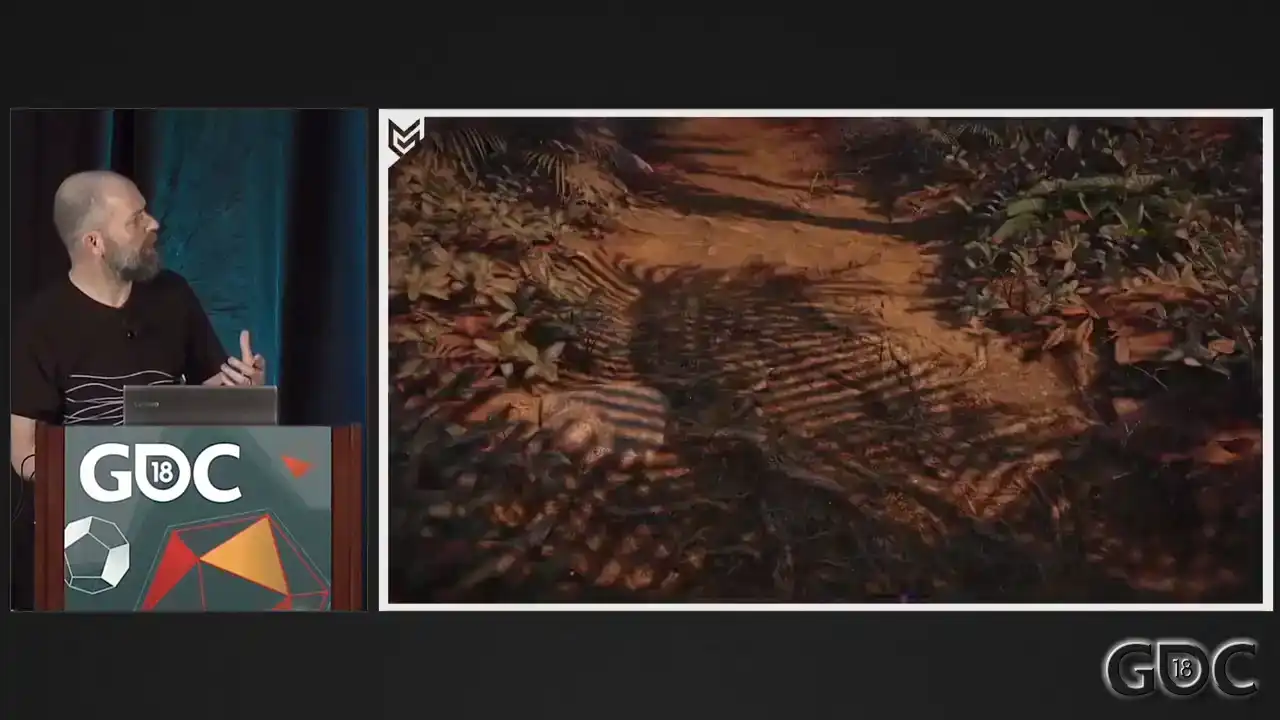
So here you can see that smooth transition between cascade 0 and 1.
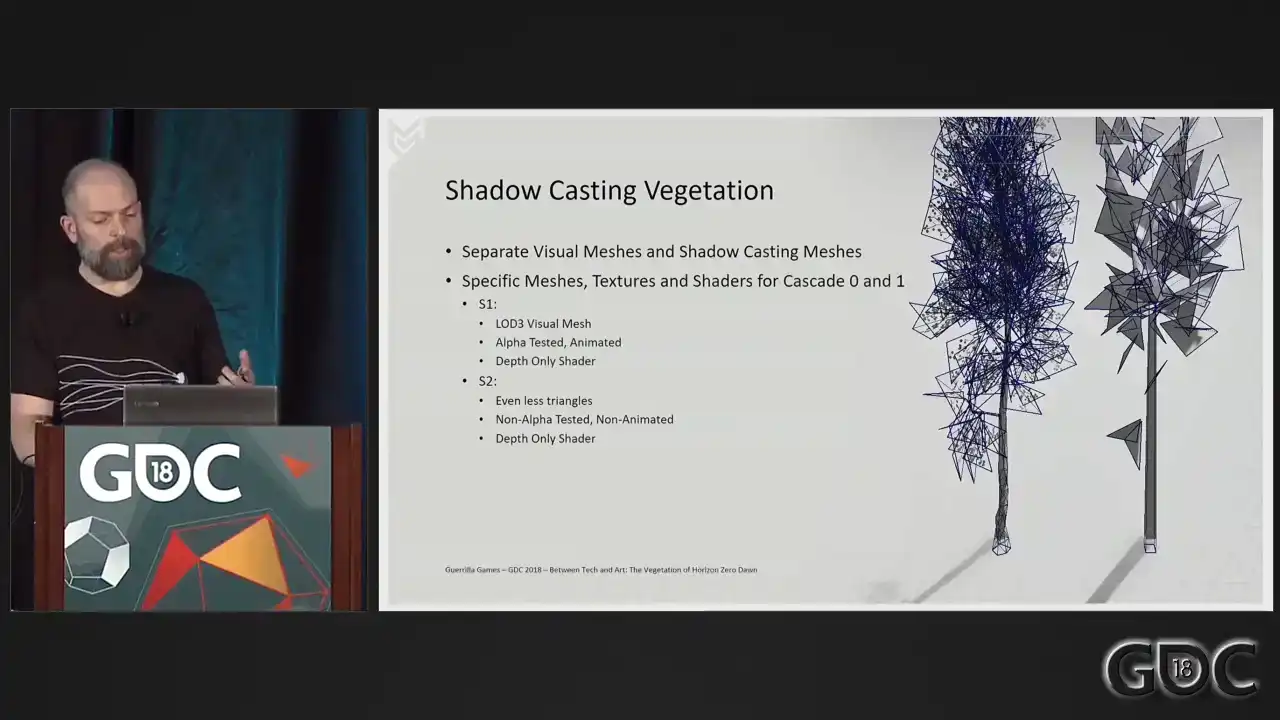
Another thing we did for vegetation and some other assets
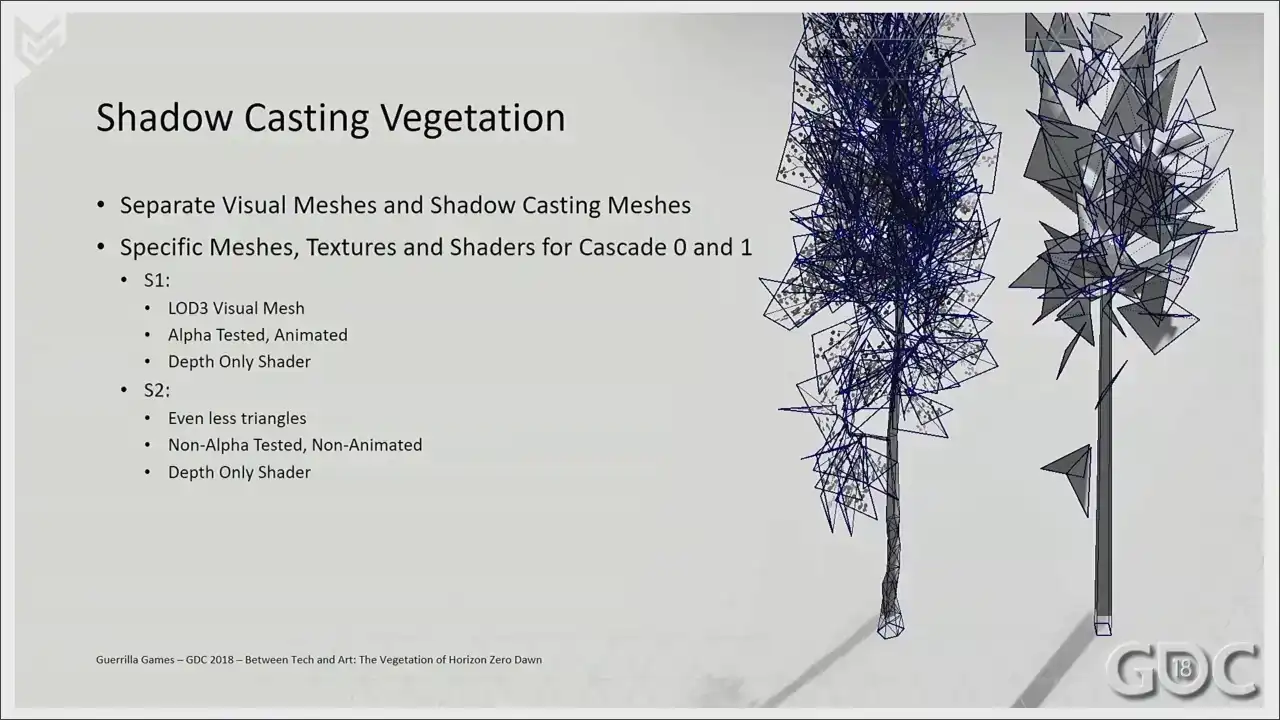
is we separated out our shadow casters

from our visual lot chain. So while our visual meshes are two, oh, sorry. So we have two shadow casting meshes where we have six visual meshes. This is an enormous win to begin with, because you can really crunch down on things like triangle count, and as you can see, our second lot, Shadowcaster, it's not alpha tested anymore. It's not animated anymore. So it is as cheap as you can possibly get.
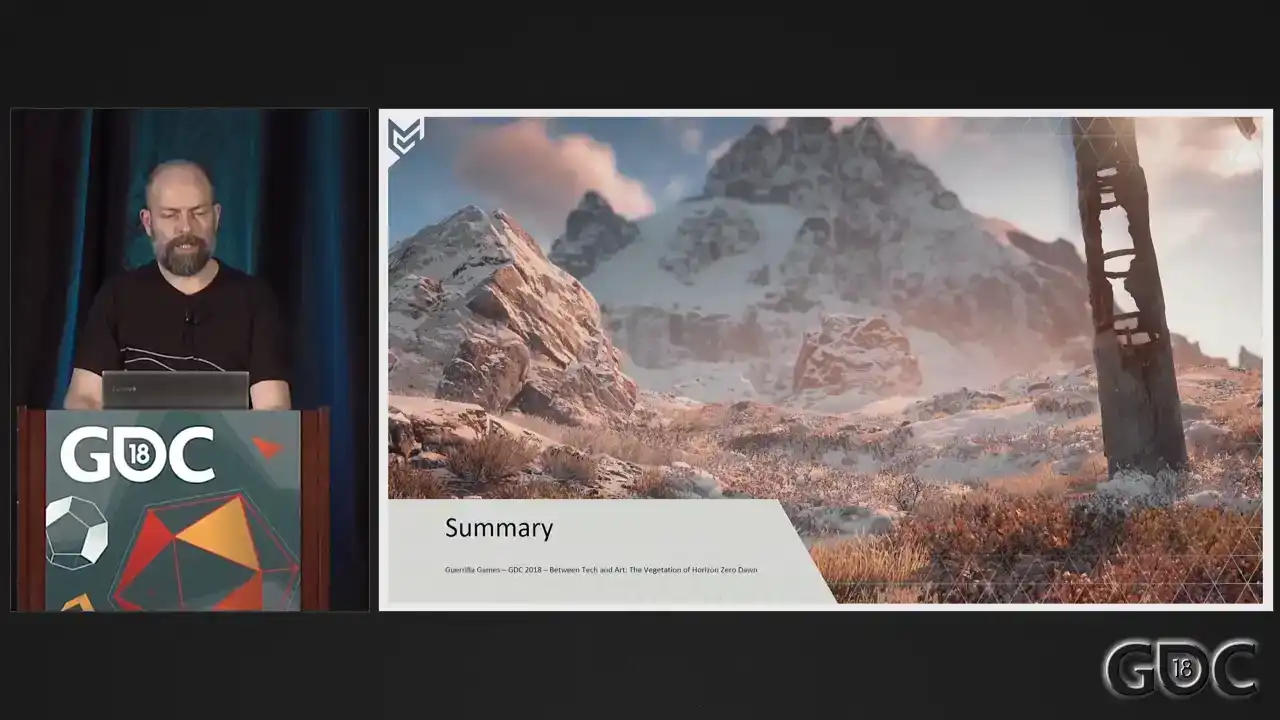
All right. We're closing to we're reaching the end of my presentation. and I thoroughly hope you at least enjoyed it.
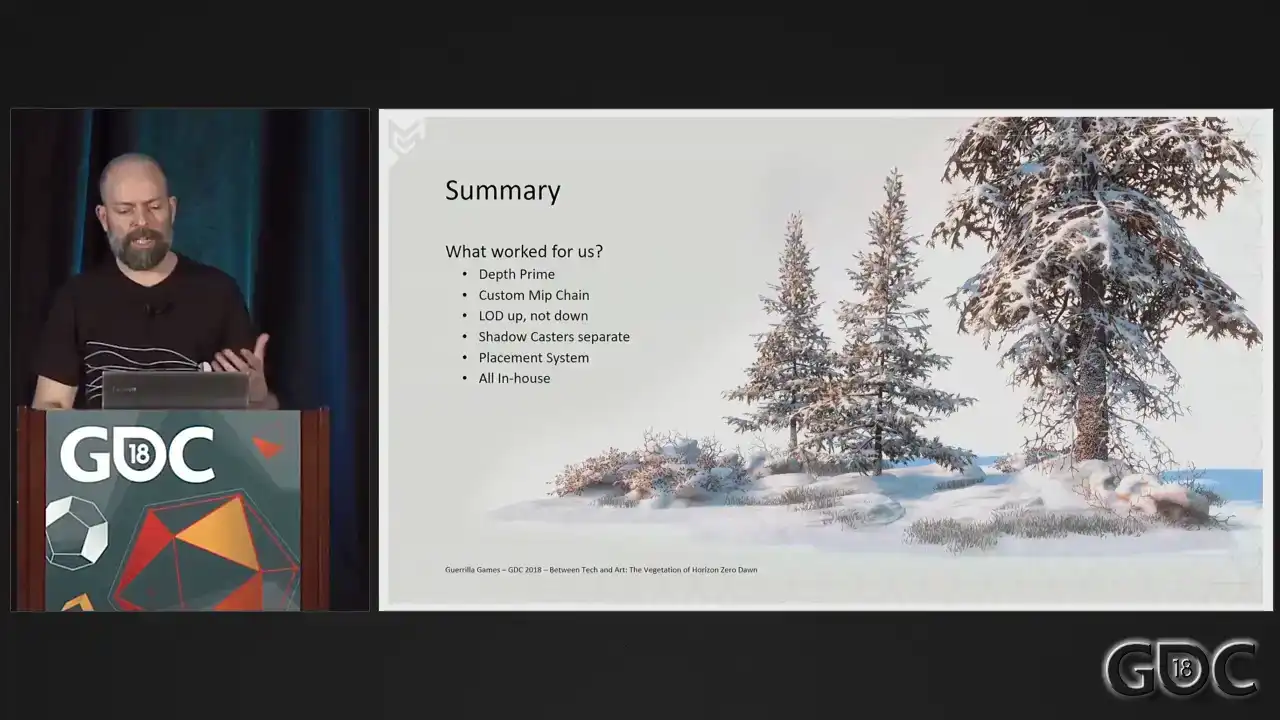
To summarize, let me end up with a short list of things that I would recommend all of you trying or utilizing if you take steps into vegetation,
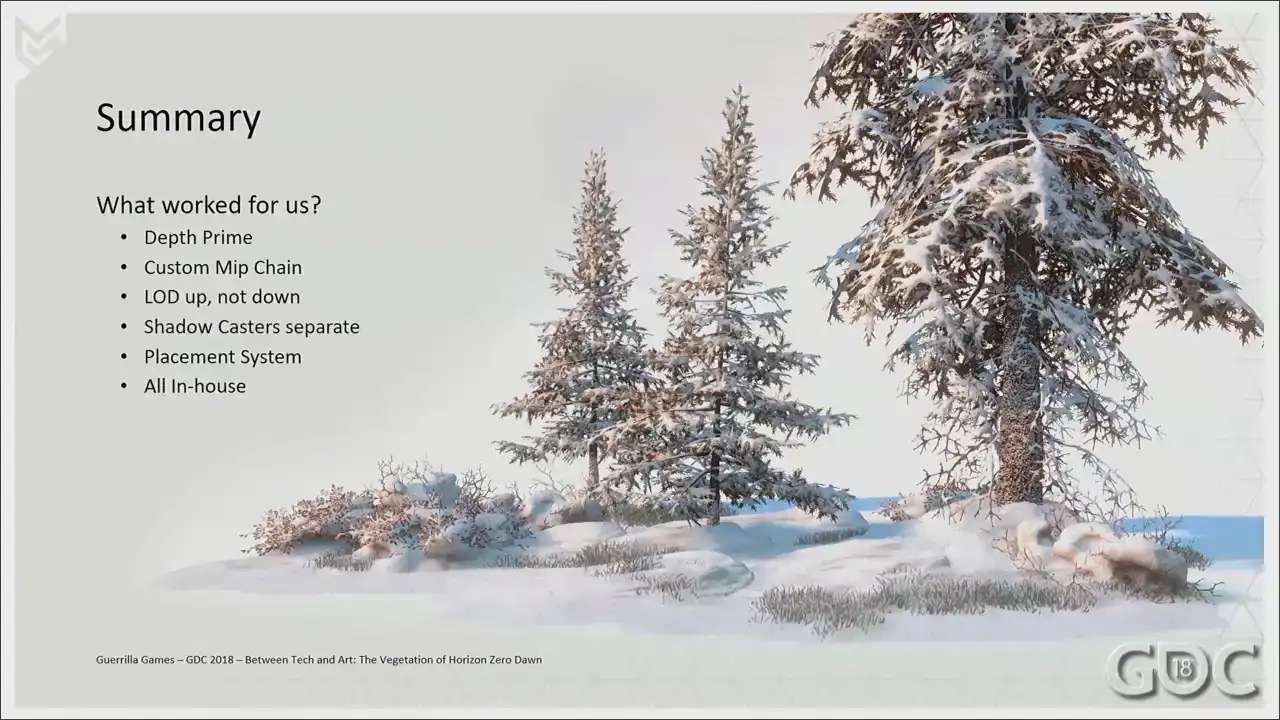
and that is the list up and down. So the stuff that I've mentioned, the depth prime, the custom MIP chain, the whole lot up and down
was a big one. Keep your shadow caster separate from your visual meshes. Use YAP's placement system. And one of the things that also helped us is that we were able to do it all in-house, which made it so easy to keep iterating and keep changing and keep shaving off performance. So that's a really big one for me.
So I'd like to thank you. And I promised you a slide with the references that I used.
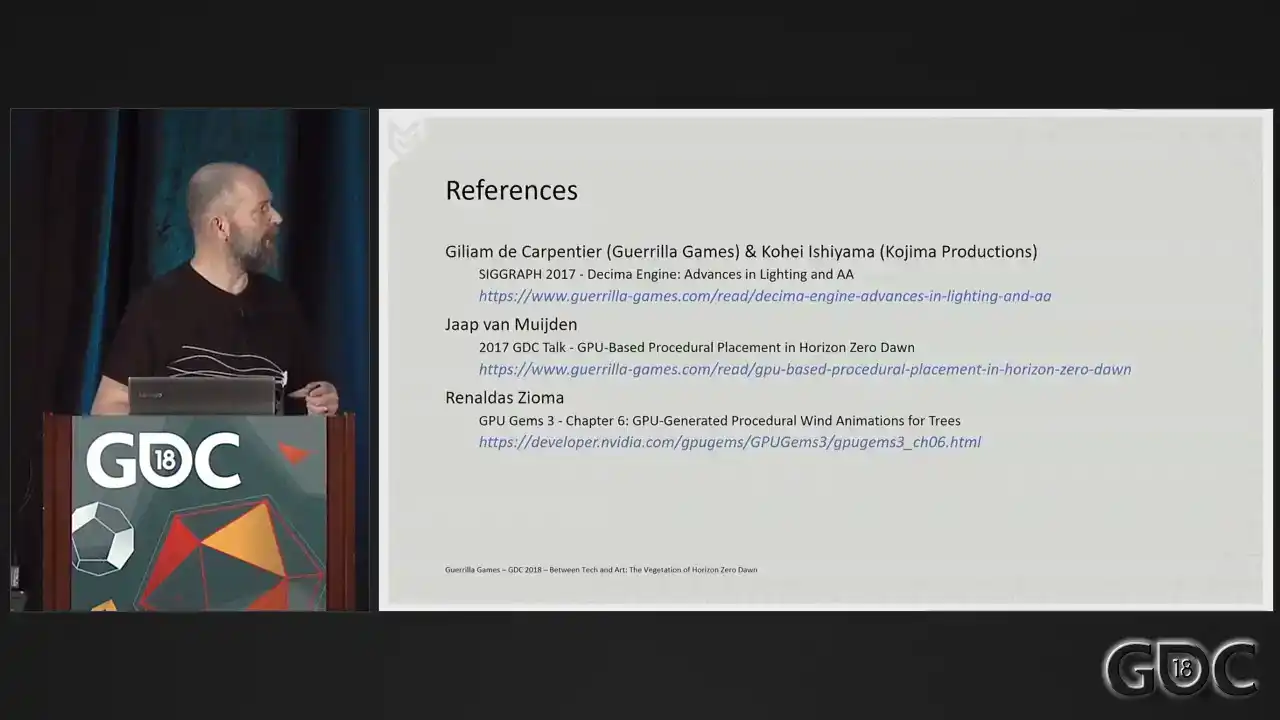
So here it is.
And I welcome everybody with questions to go up to the microphone if there's still time to do so.
Thank you. Thank you. Thank you. Thank you. Thank you. Sir. Is it working? Yes. Beautiful, by the way. Love the game. Cool. Amazing. You are? Your name? My name, Thomas. Thomas, welcome. Yes. I did have a question. You didn talk about the snow or the illusion of the weight of snow on vegetation Yeah How was that achieved Because I kept being impressed as I was walking down the bushes with the snow on top with the light hitting it. So I was just kind of wondering, did you go through any kind of physical simulation? No, I just said... Our snow started off as a dynamic snow system in the shader, where we would literally just sort of polka dot a little bit of white stuff on top. But it was expensive. So what we ended up is creating dedicated snow assets for where we can literally spawn in areas of heavy snow. And then just Speed2Beat gave us the tools to really, because it is a dedicated asset, we knew it was snow heavy, so we just sort of pushed it down and gravity, let gravity do its work. Okay. Thanks. All right. Thank you. Hi. Hi. Hi. Separating your shadow assets from your visual rendering assets, did you have any problems making sure that those continued to line up? And how did you solve those? Well, as soon as you separate them out, you have the ability to, well, you start optimizing your shadow casting blockchain. And after that, it is pretty much just a visual thing that you need to do. Everything we do is an approximation. So you'd be surprised how much you can get away with. I mean, our first shadow casting lot is about the triangle count as a lot three on our visual mesh would be. So inner shadow casting within the tree, it will all survive. It's just crunching down those triangles and while keep checking your working game, and it will end up working. Absolutely. Cheers. Sir. Hello. I wanted to ask you a few questions about placements. So I've seen the talk about the GPU placements. Yeah. And I was, did not really mention the tools for artists, like how did you author this and how you iterate on your placements? Well, OK, I can talk a little bit about the placement. Our placement system runs in our editor. And it's a node-based system where we combine all sorts of world data. And what we end up with is density maps. And it's all running on GPU. And you should imagine that you're just multiplying texture upon texture and then subtracting another texture. So, you know, if your whole tile is a forest, but there's a road in between, you know, that's, you multiply that road on top of that, so that will become black. So the forest will still have a density of one, but not on the road. And we layer all these stuff on top of all these other stuff. We look at things like slope, proximity to water, fluvial lines, all these things that you need to make it sort of work in a realistic fashion. And that's... Can we paint in real time? We can paint in real time, yeah. But we have one artist that builds up these rule sets, so that does the layering, not on a road, not on a river, you know. And then everybody else in the building can start painting in a forest or now we're in open fields. They have the ability to paint that. But there's one artist that defines what they're going to get when they paint that. So I'm not sure if that answers the question. Yeah, yeah, it answers the question. And because I've seen also the Ghost Recon placement technique and it's much more complex. It's on Udini, it requires CPU farms to be processed. It's like you're getting really good results also. And it's like it's almost real time on your side and it requires kind of a farm on the other side. So what do you think? Is there something is missing in your technique or is it only because it's your tech and it's on GPU? I don't think... Well, I thoroughly believe that the solution that we have running in-game is awesome right now for us. It works for us Is something missing for you in what you get Yeah I got a wish list It what I want to hear We cannot rotate assets based on any data that we have right now So what we wanted is to have trees overhanging over rivers, for instance, or on the outside of a forest. We cannot do a rotation based on curvature of the river or stuff like that. That's one of the biggest ones that I'm requesting now that I can think of right now. Okay. I'll leave the mic, but that's what I'm saying. Okay. Did you use some kind of capture? Some kind of capture? To make your vegetation like photogrammetry? Photogrammetry. Photometry is more. There's one tree in there that's photogrammetry. So, okay. And no. I didn't capture this one. The DLC, the aspen tree, by the way, the quaking aspen. In the DLC, we did more photogrammetry because that was also sort of slightly kind of, you know, let's experiment, let's go wild. We went really wild because the DLC is like we needed to scrape performance in the end. Hello. Thank you for sharing. Excellent talk. Cheers. I was wondering, for the trees specifically, since you have some motion going on in the shader for both the trunk, the branches, and even the more significant pieces of more rigid pieces of the tree, how do you treat gameplay for that? Like if I shoot at a branch that is being animated in a vertex shader? If whatever you're shooting has a force field attached to it? Oh, no, like I mean an arrow. Like am I going to collide with the branch, for instance? You have? Am I going to collide with the branch? No, collision is, collision or trees is usually just a cylinder that represents its footprint because we need to cut out the net mesh around our trees. And we need Aloy not to run into the trees, but our canopies have no collision whatsoever. I see, so they're just gonna push away if it has a force field associated with it. Yep, yep. Okay, thank you. All right, thanks. Hey, so I'm curious about the wind force field, and how does that exactly get generated? Like, where do the gusts of wind come from? Well, this is... Yap, where did it come from? And it's magic, right? It's all math. So when I talk about force field, that it's just an area defined in our game. Our weather system uses a couple of them that sort of blends. So the wind at max speed is like 33. So we start with force field for 0 to 10, and then force field at 0, force field at 10, force field at 20, and force field at 30. And we blend between those. And these are just, yeah, so these force fields have properties like flow, min flow, max flow, math. Thank you. It's slightly above my pay grade, but it's completely his pay grade. Hello. Hi. Do you have time for a more question? My name is Robin. Hi. I'm wondering about, I think it was explicitly the grass shader, having grass getting matted down when the character walked over it. And I guess I was wondering in, I assume that's not put into any of the other three shaders that you mentioned. Actually, we didn't have any interaction of Aloy with the grass, but it's something that we wanted to do. It's, again, on a mental wish list for me, because I think that's thoroughly enjoyable if more interaction happens. Of course. In the context of the snow, there was walking through snow. Would that same similar system have possibly worked in the context of grass, or was it just... You mean the snow in the DLC? Because in the DLC we introduced a system where you could curve through snow. Yes. And we're looking into abusing that same system for lots of other things. Very cool. Thank you. All right. So that's it. Cheers.